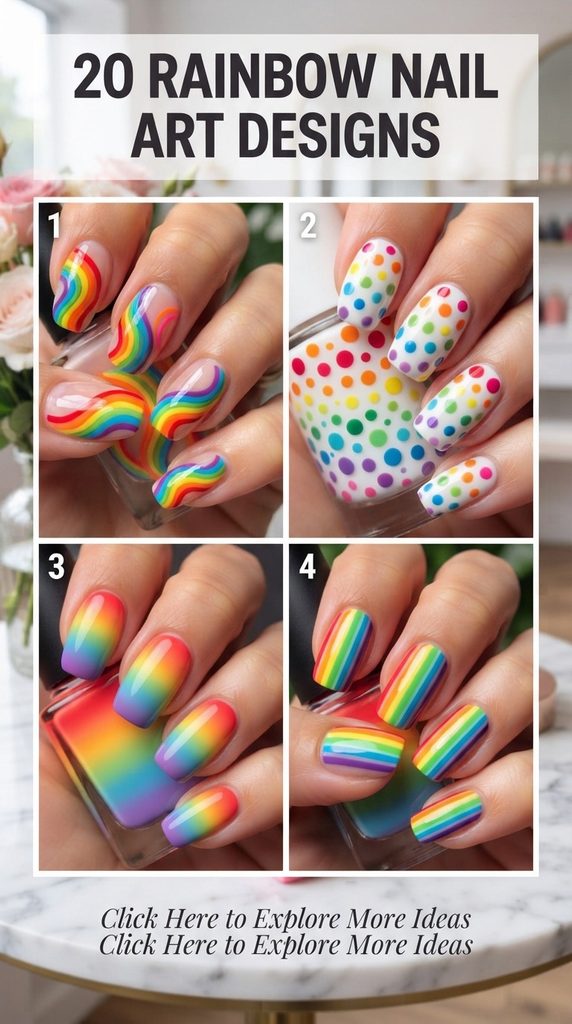
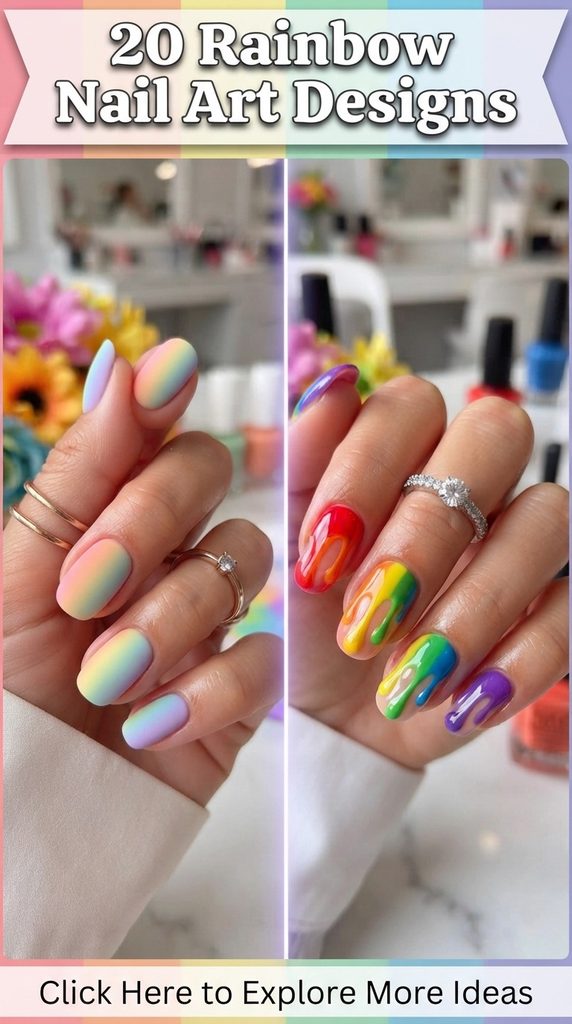
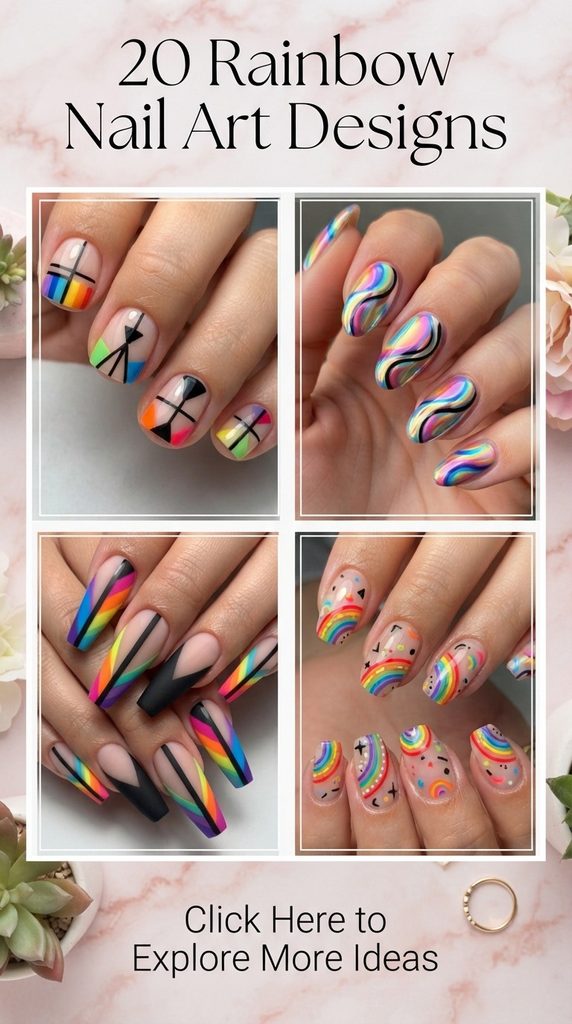
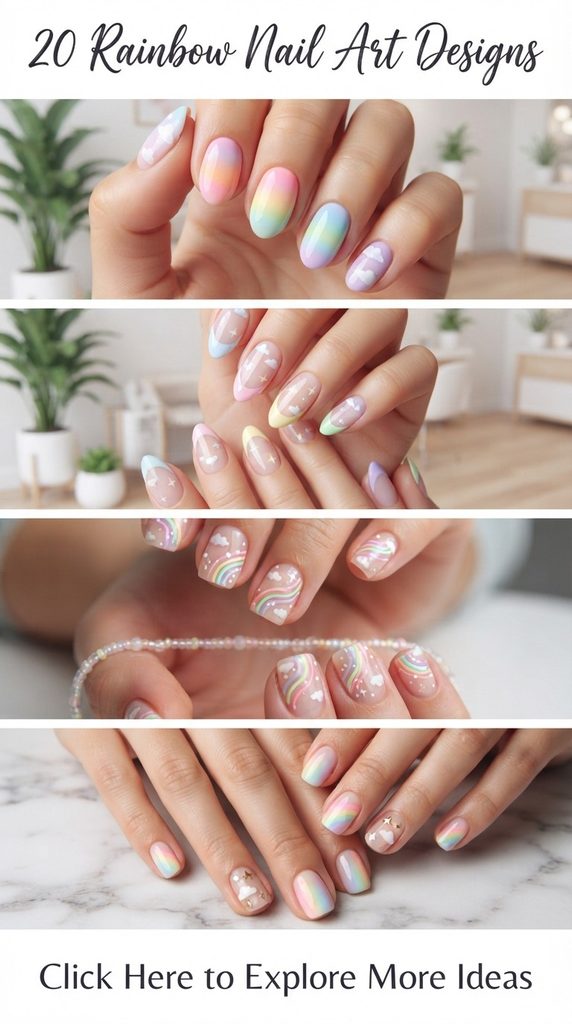
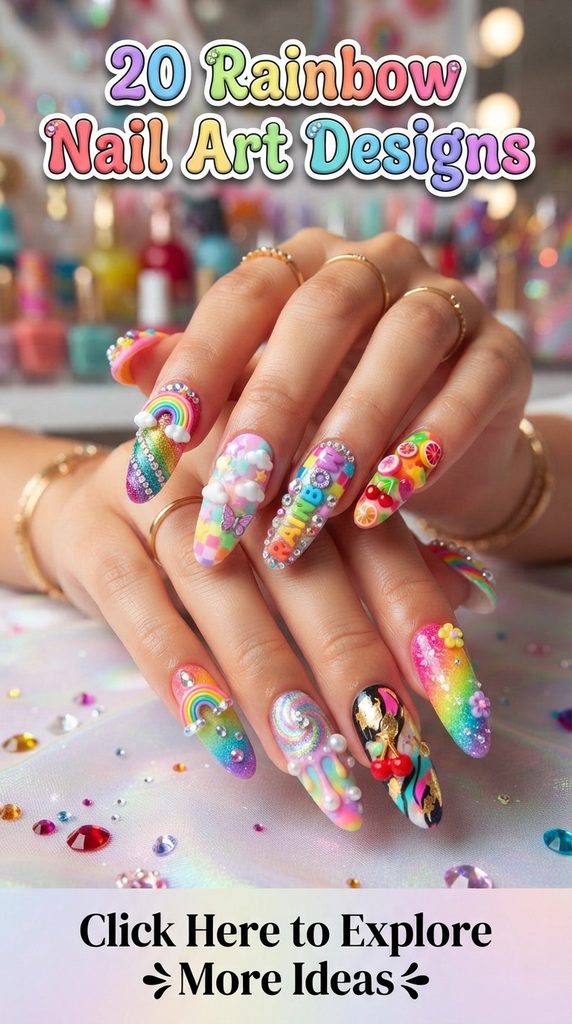
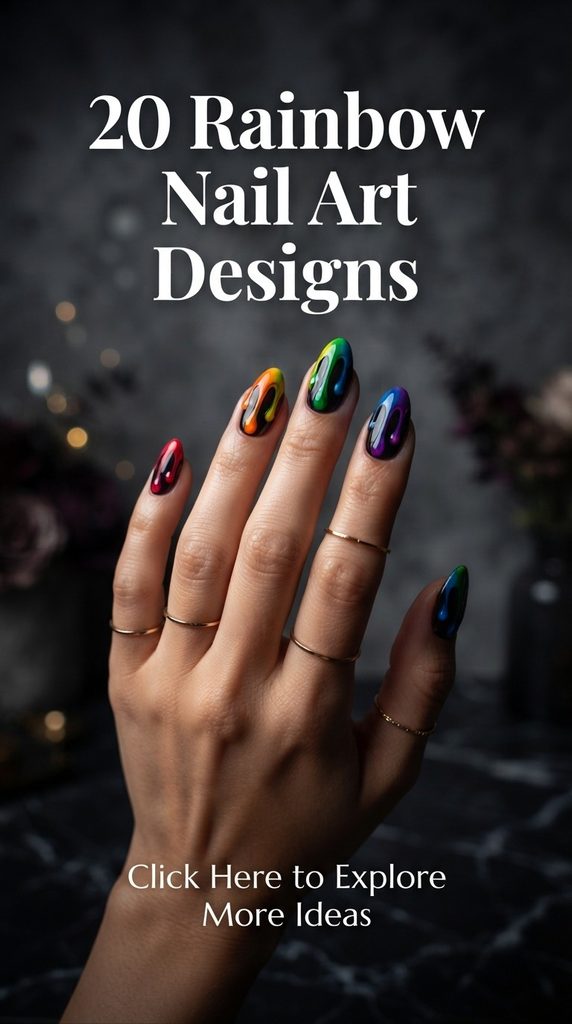
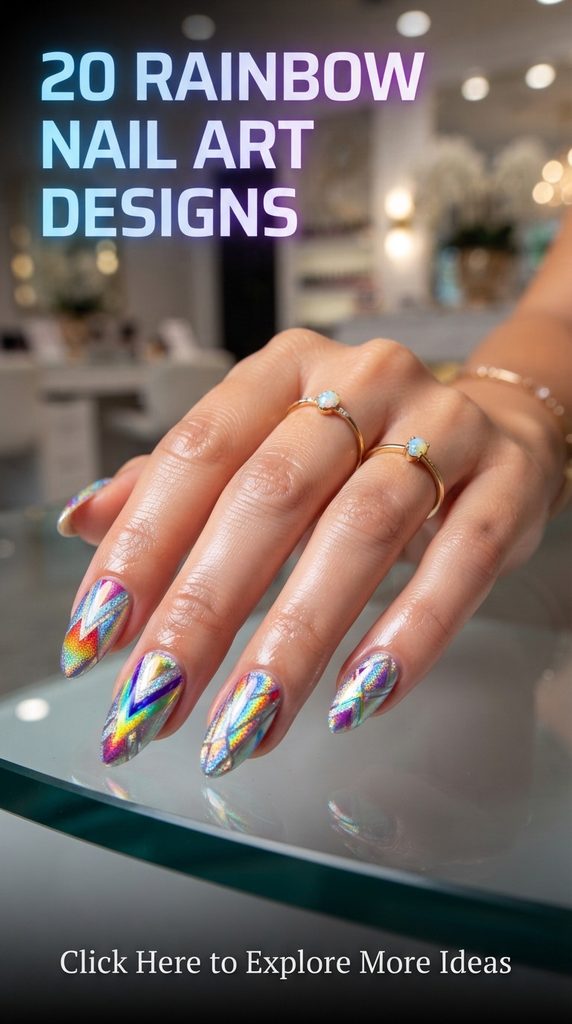
Rainbow nail art has stepped far beyond the realm of primary colors and simple arches painted on bare tips. Today, rainbow aesthetics span across delicate pastel gradients, hyper-glossy chrome finishes, moody neon geometries, and understated minimalist accents that transform fingertips into wearable miniature galleries. Embracing color does not mean sacrificing sophistication; rather, mastering rainbow designs is an exploration of how light, hue, negative space, and texture can intersect on a canvas as small as a fingernail. Whether you gravitate toward the soft, dreamy whispers of watercolor washes or the high-impact drama of multi-dimensional gemstone placement, the spectrum offers an endless playground for personal expression.
Achieving salon-quality results at home requires patience, the right tools, and an understanding of how colors interact with one another. Moving away from flat, chalky applications, modern rainbow nail trends prioritize depth, translucency, and intentional placement. This guide explores twenty stunning, trend-forward rainbow nail art concepts, complete with detailed step-by-step creation methods, expert tips for longevity and precision, creative variations for every style, and dedicated visual prompts to inspire your next manicure.
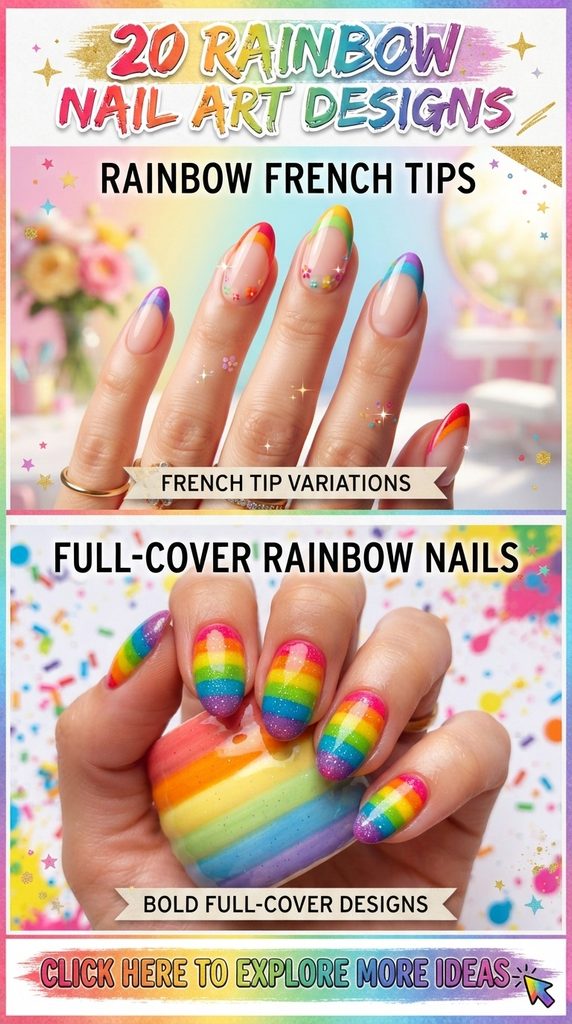
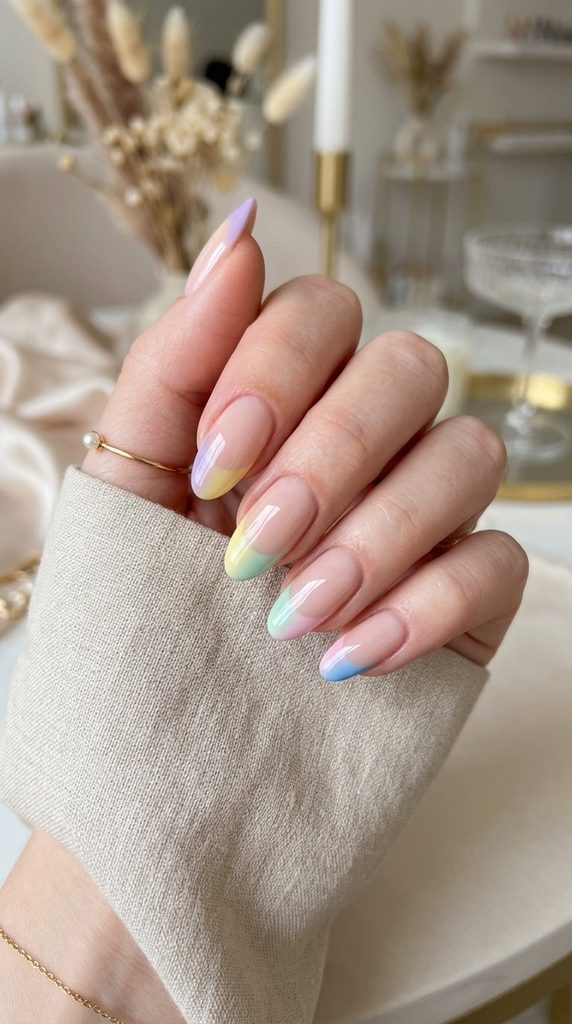
1. Pastel Ombré French Tips
Merging the timeless elegance of a French manicure with the gentle warmth of a spring sky, pastel ombré French tips use a seamless airbrushed or sponged gradient along the edge of each nail. Instead of a stark white line, soft lavender, buttery yellow, mint green, baby pink, and periwinkle melt into one another across the tips against a milky nude base.
How to Make It:
- Apply two coats of a sheer, translucent milky pink or nude base gel polish and cure.
- Take a small wedge makeup sponge and paint horizontal stripes of pastel gel polish (pink, yellow, green, blue, purple) directly onto the sponge, ensuring the colors lightly overlap.
- Gently dab the sponge onto the tips of your nails, rolling slightly from side to side to build opacity without harsh lines.
- Clean up any skin residue with a fine-detail brush dipped in isopropyl alcohol.
- Seal the look with an ultra-glossy top coat and cure.
Tips:
- Pre-wet your makeup sponge slightly with alcohol so it absorbs less product, allowing the gel or regular polish to transfer smoothly onto the nail surface.
- Tap the sponge on a piece of scrap plastic first to remove excess bubbles and ensure an even color blend.
Variations:
- Swap the glossy finish for a velvety matte top coat over the nude base while keeping the tips high-gloss for a striking textural contrast.
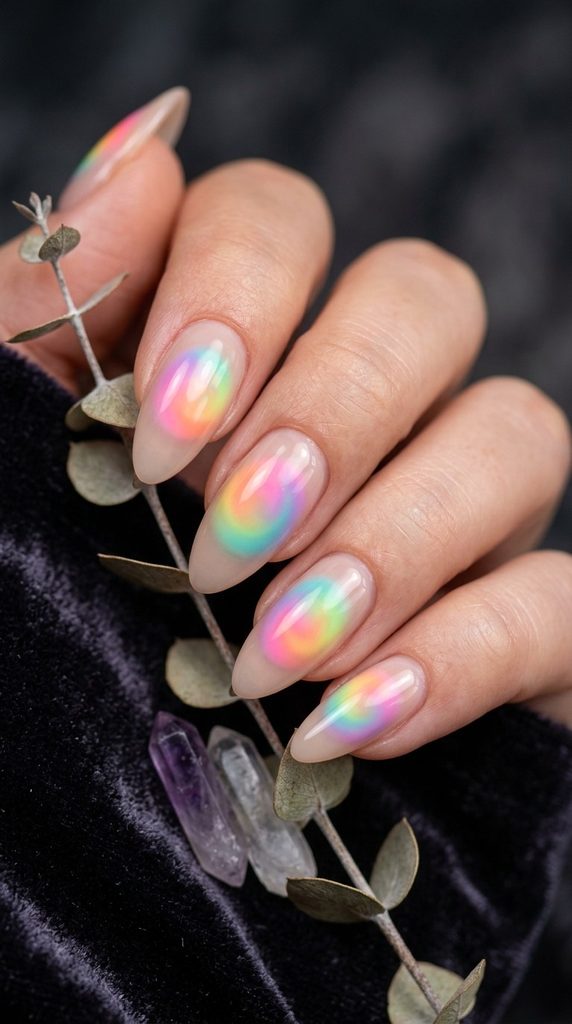
2. Aura Gradient Color Wheels
Aura nails capture a spiritual, glowing energy by concentrating a bright burst of color in the center of the nail that softly diffuses outward into a contrasting or neutral hue. A multi-tonal rainbow aura design features a shifting central orb that cycles through the spectrum across your ten fingers, creating a mesmerizing hypnotic effect.
How to Make It:
- Prep the nails with a neutral base color like soft gray or sheer white and cure.
- Using an airbrush machine or a specialized powder-buffing eyeshadow sponge, tap a vibrant neon or pastel pigment directly onto the center of the nail.
- Layer a second, contrasting pigment in a smaller circle right in the middle of the first dot to create an inner glow.
- Blend the outer edges gently with a clean fluffy brush to achieve a soft, smoky aura diffusion.
- Lock in the pigment with a rubber base coat before finishing with a glossy top coat.
Tips:
- Loose eyeshadow pigments or specialized nail art powders offer much softer diffusion than liquid polish when creating aura gradients.
- Work in thin, buildable layers rather than packing on heavy pigment all at once to maintain a smooth, airbrushed look.
Variations:
- Outline the perimeter of each aura with a delicate, fine-line silver chrome border to give the soft glowing orb a structured, modern frame.
3. Abstract Geometric Color Blocks
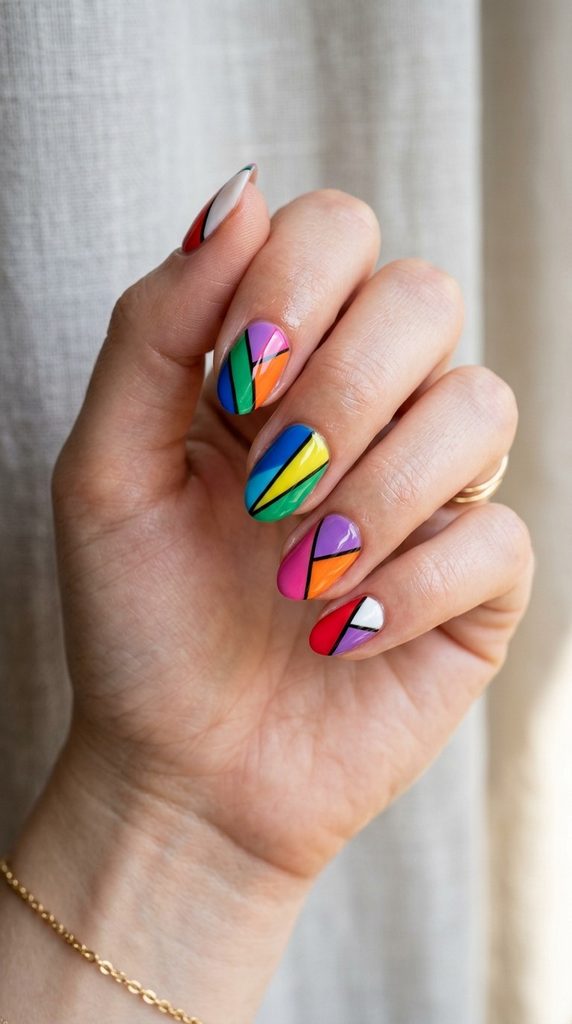
For those who prefer crisp lines and modern architectural aesthetics, geometric color blocking divides the nail into asymmetric triangles, diagonal slashes, and interlocking rectangles, each filled with a different shade of the rainbow.
How to Make It:
- Apply a strengthening base coat and a neutral sheer foundation, then cure.
- Use flexible striping tape to mask off sharp geometric sections across the nail plate.
- Paint distinct rainbow shades into the exposed triangular or rectangular sections using a precision liner brush.
- Carefully peel away the striping tape while the polish is still slightly wet (if using lacquer) or right before curing (if using flash-cure gel) to maintain razor-sharp edges.
- Fill in adjacent sections with alternating colors until the abstract composition is complete.
- Cure fully and apply a leveling top coat.
Tips:
- Always let your base layer dry completely before applying striping tape to prevent the adhesive from peeling up your foundation color.
- Press down firmly along the edges of the tape to prevent paint seepage underneath.
Variations:
- Incorporate thin, metallic gold foil lines between the color blocks to elevate the abstract design into a luxurious, high-end statement.
4. Holographic Liquid Chrome Swirls
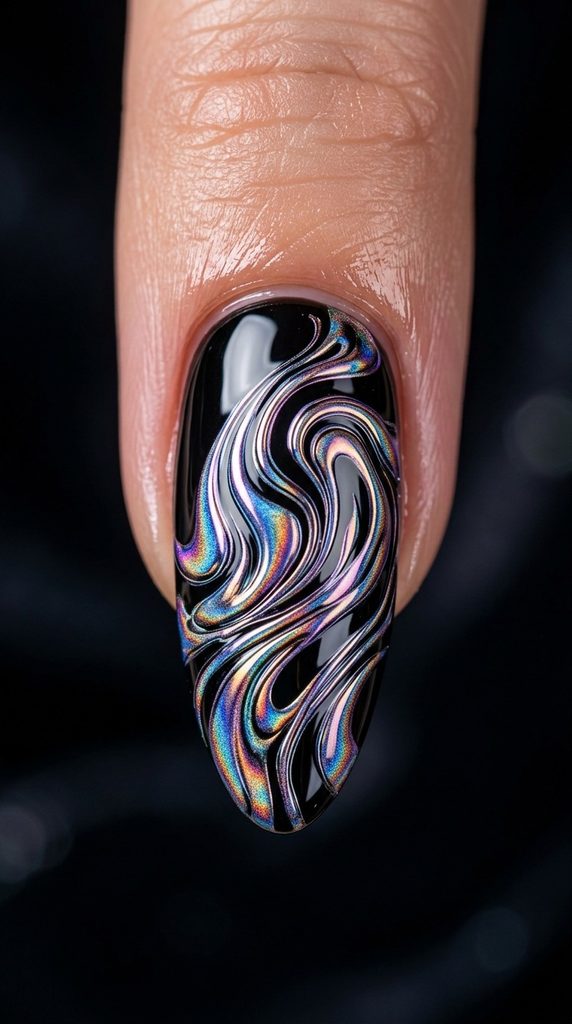
Liquid chrome has dominated modern nail art, and when paired with a psychedelic rainbow swirl pattern, it creates a liquid-metal mirror effect that reflects shifting prismatic colors under every light source.
How to Make It:
- Start with a solid jet black or deep obsidian base coat to make the chrome pop, then cure.
- Using a fine liner brush and a thick, non-wipe gel paint, draw fluid, interconnected retro swirls across the nail surface. Cure.
- Rub a multi-colored holographic or unicorn chrome powder over the entire nail using a silicone applicator tool. The powder will adhere exclusively to the cured gel swirls, leaving the black background matte or glossy.
- Dust away excess powder with a soft fan brush.
- Cap the free edge and seal with a hard gel top coat to prevent chipping.
Tips:
- Apply chrome powder when the cured gel is warm or right after curing for maximum adhesion and reflectivity.
- Use a gentle circular motion when buffing the powder to achieve a smooth, liquid-mirror finish without patchy spots.
Variations:
- Use a white or lavender base underneath the chrome swirls instead of black for an ethereal, angelic, fairy-core aesthetic.
5. Minimalist Micro-Dot Constellations
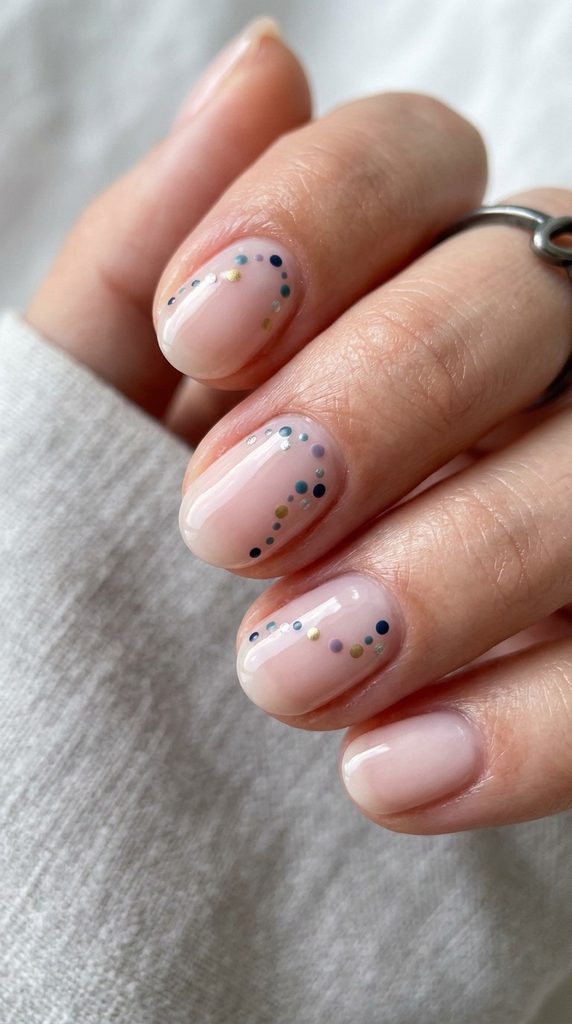
Proving that minimalism and rainbows can coexist beautifully, this design features tiny, perfectly spaced micro-dots of rainbow hues trailing across a bare or sheer pink nail in delicate, sweeping orbital arcs.
How to Make It:
- Apply a clean, high-shine nude or sheer peach base coat and cure.
- Dip the tip of a fine dotting tool or the very end of a bobby pin into vibrant rainbow polishes (red, orange, yellow, green, blue, purple, magenta).
- Carefully stamp ascending or descending rows of micro-dots along a curved pathway sweeping from the cuticle to the top corner.
- Vary the dot sizes slightly for a natural, organic constellation effect.
- Seal the delicate dots with a protective, non-shrinking top coat to prevent them from wearing away.
Tips:
- Wipe your dotting tool clean with alcohol between every single color switch to keep the dots crisp and prevent color contamination on your palette.
- Keep your hand stabilized by resting your pinky finger against your opposite hand while dotting.
Variations:
- Add tiny, hand-painted white starburst twinkles interspersed between the rainbow dots for a magical, celestial sky theme.
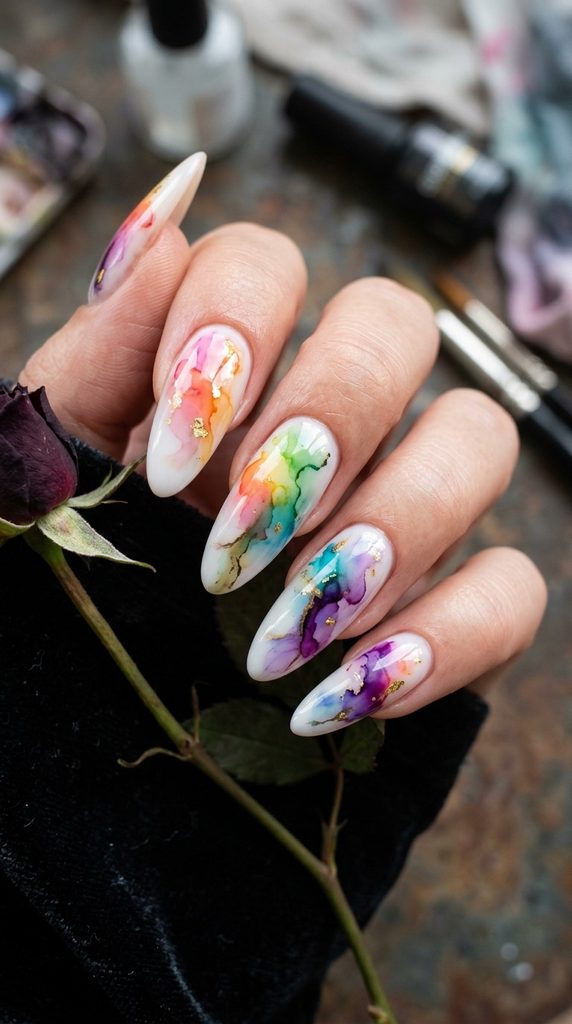
6. Watercolor Splash Watercolor Washes
Watercolor nail art mimics bleeding inks on damp paper, creating a dreamy, diffused watercolor effect where rainbow hues bleed organically into one another without rigid borders.
How to Make It:
- Paint the nails white or very light cream to act as a bright canvas, and cure.
- Apply a specialized watercolor blending liquid or clear blooming gel over the surface without curing.
- Drop tiny dots of pigmented inks or thinned-out gel polishes (red, yellow, blue, pink) onto the wet blooming gel layer.
- Watch as the colors naturally bloom, feather, and blend outward into soft, organic watercolor pools.
- Once you achieve the desired abstract watercolor dispersion, flash-cure the design.
- Apply a glossy top coat to lock in the dreamy, ethereal finish.
Tips:
- Control the spread of your colors by using a brush dampened with isopropyl alcohol to push or pull the ink edges.
- Work quickly, as blooming gel moves fast and will continue to expand the longer it sits before curing.
Variations:
- Outline the amorphous watercolor patches with a delicate black fine-liner pen to give it a stained-glass or comic-book art edge.
7. Frosted Velvet Cat-Eye Rainbow
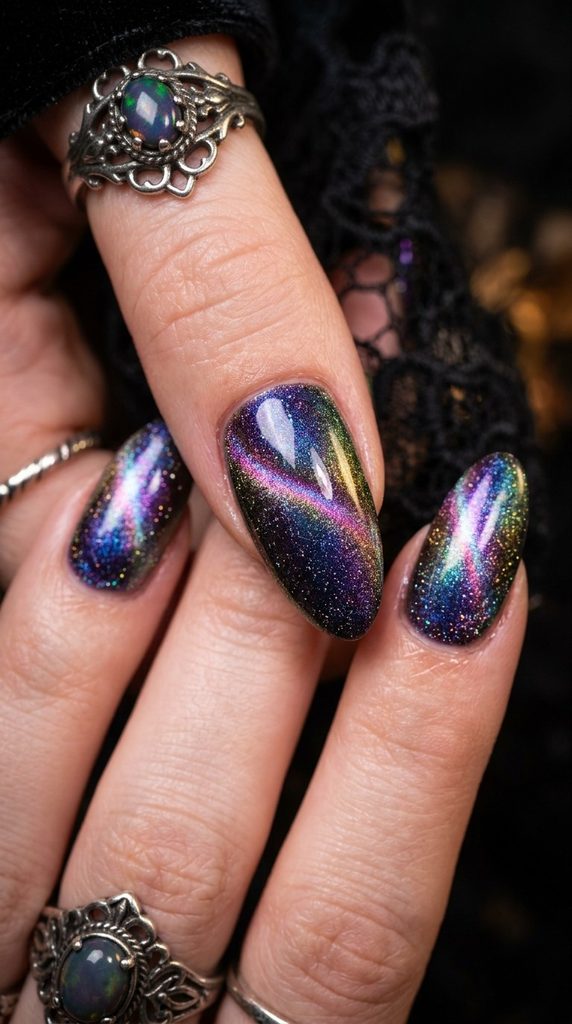
Velvet cat-eye nails use magnetic particles suspended in polish to create a dynamic, glowing light-shift. By layering multi-colored cat-eye gels over a rainbow gradient base, you achieve a multidimensional velvet aura that shifts colors as your hands move.
How to Make It:
- Apply a base coat and cure. Paint your nails with a vertical rainbow gradient using sheer jelly polishes, then cure.
- Apply a magnetic cat-eye gel infused with prismatic or multi-colored reflective shimmer.
- Hold two small neodymium magnets on opposite sides of the nail to push the magnetic particles toward the center, creating a glowing velvet band.
- Immediately cure the polish while the magnetic field holds the particles in place.
- Finish with a high-shine top coat to amplify the reflective depth.
Tips:
- Invest in strong rare-earth neodymium magnets to achieve a sharp, concentrated velvet beam quickly before the gel settles.
- Experiment with magnet angles to create deep, tunnels of light across your rainbow gradient.
Variations:
- Use a silver holographic magnetic polish over a black base, then add translucent neon jelly tints on top for a stained-glass velvet hybrid.
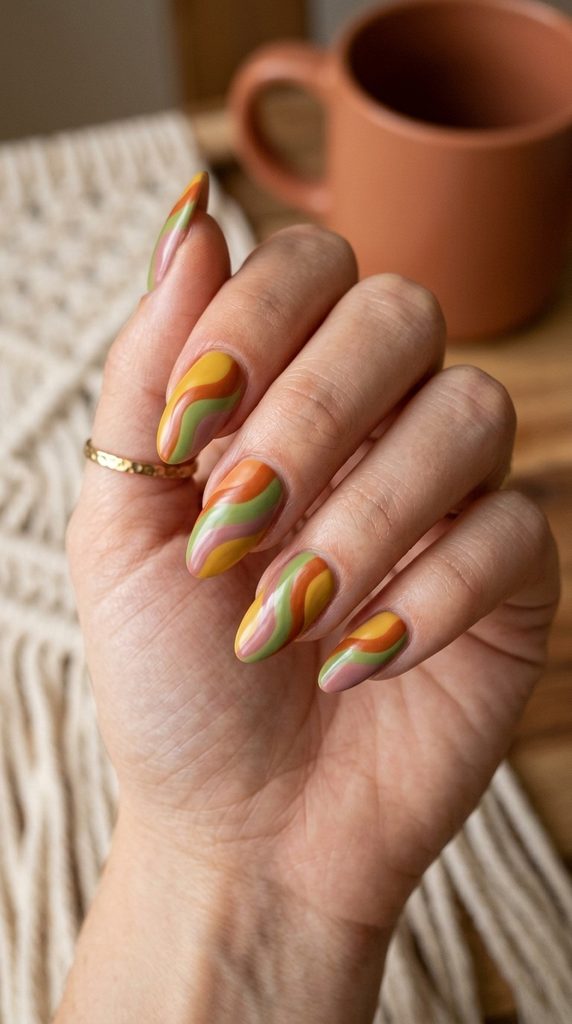
8. Retro 70s Groovy Waves
Channeling vintage retro nostalgia, thick, undulating wavy bands of saturated rainbow colors sweep horizontally across the nails, bringing an upbeat, joyful energy to your manicure.
How to Make It:
- Apply a neutral beige or cream base coat to provide a clean backdrop, and cure.
- Using a fine striper brush, sketch out parallel wavy lines across the nail from side to side.
- Fill in the alternating channels with bold retro shades like mustard yellow, burnt orange, avocado green, dusty rose, and retro blue.
- Clean up any wobbly side curves with a cleanup brush dipped in acetone.
- Seal the design with a durable top coat and cure.
Tips:
- Paint the wider sections first using a standard polish brush, then use your detailed liner brush to perfect the outer borders and curves.
- Keep your strokes fluid by moving your entire arm rather than just your wrist for smoother wave lines.
Variations:
- Add a tiny white outline running parallel to each colored wave to make the retro pattern pop with 3D dimension.
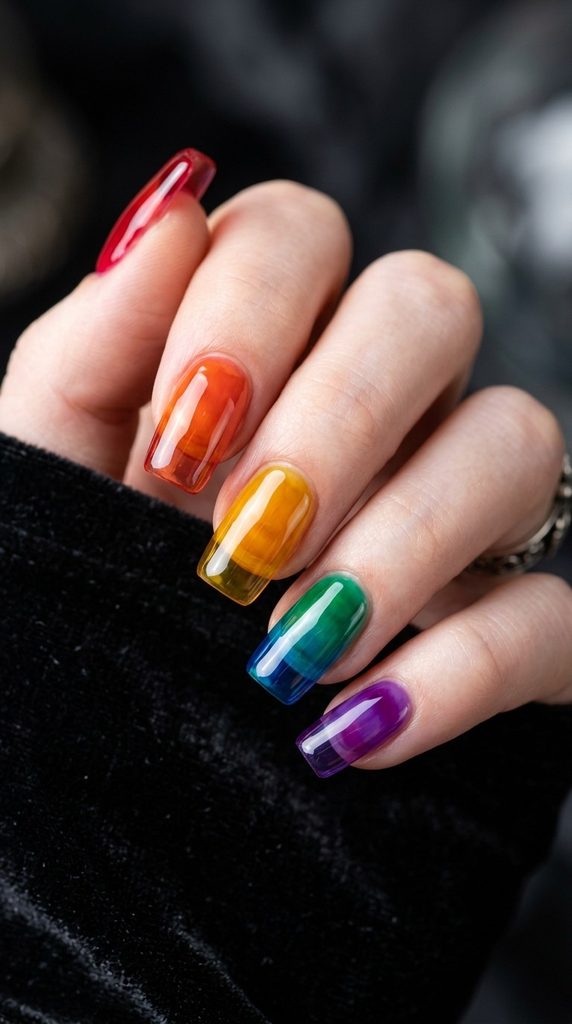
9. Translucent Jelly Glass Rainbow
Jelly polishes possess a translucent, squishy syrup-like transparency reminiscent of stained glass or hard candy. Grouping different jelly colors side by side creates a stained-glass rainbow effect that catches the light brilliantly.
How to Make It:
- Prep the nails with a standard base coat and cure.
- Apply vertical sections of jelly red, orange, yellow, green, blue, and purple across each nail, or assign one solid jelly color to each individual finger for a skittles rainbow effect.
- Apply a second coat of jelly polish to deepen the translucent syrup saturation without losing the see-through quality.
- Cure each layer thoroughly.
- Finish with a thick layer of ultra-glossy top coat to give the nails a wet-look glass finish.
Tips:
- Jelly polishes show streaks easily; apply them using light, floating strokes with a well-saturated brush to keep the application level.
- Clean your brush frequently between color blocks if doing multiple shades on a single nail.
Variations:
- Encapsulate tiny silver star glitters inside the jelly layers for a floating, multi-layered starry night rainbow glass look.
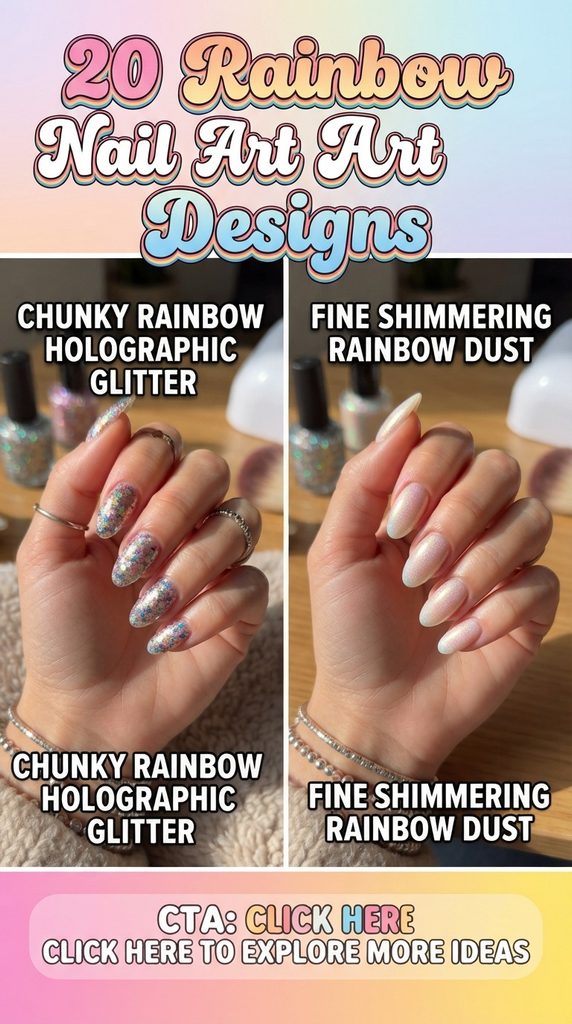
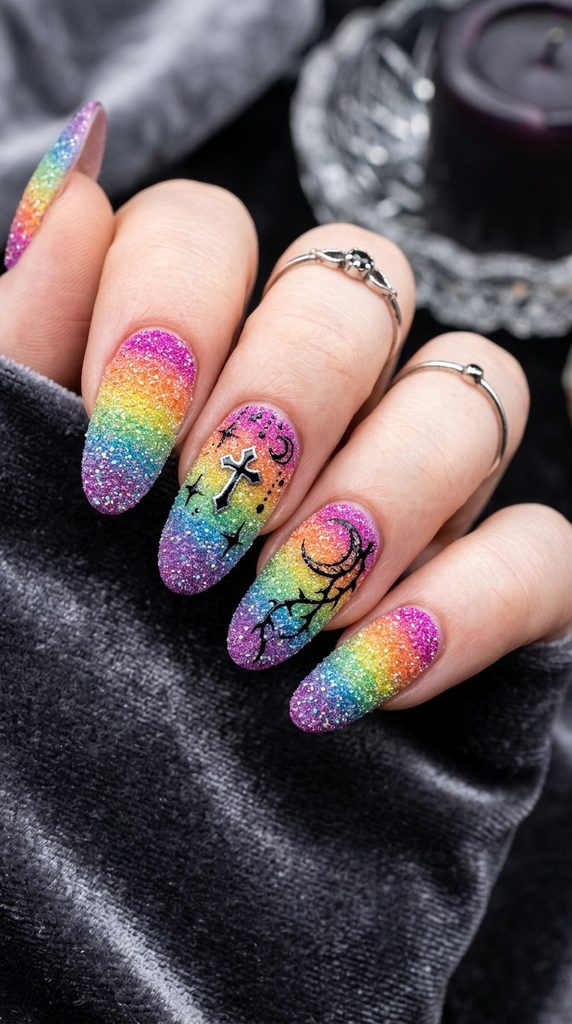
10. Textured Sugar-Spun Glitter Gradients
For tactile lovers, textured sugar nails use fine micro-glitter or acrylic powder sprinkled over uncured polish to leave a sparkling, frosted matte-sugar texture that feels incredible and looks dazzling.
How to Make It:
- Apply a base coat and cure. Paint a rainbow gradient base using standard matching color polishes.
- Without curing, or by applying a fresh layer of top coat, generously sprinkle fine holographic sugar glitter or clear iridescent pixie dust over the entire nail.
- Gently press the glitter down into the wet layer to secure adhesion.
- Flash-cure the nails, then brush away loose excess glitter with a stiff dusting brush. Do not apply a top coat over the final sugar layer, as it dulls the tactile texture.
Tips:
- Place a clean sheet of paper underneath your workspace before sprinkling glitter to easily funnel unused particles back into your container.
- Ensure your base color matches the glitter shade closely so any minor gaps remain unnoticeable.
Variations:
- Create sugar-spun rainbow stripes by applying the glitter selectively to individual colored lines rather than the whole nail surface.
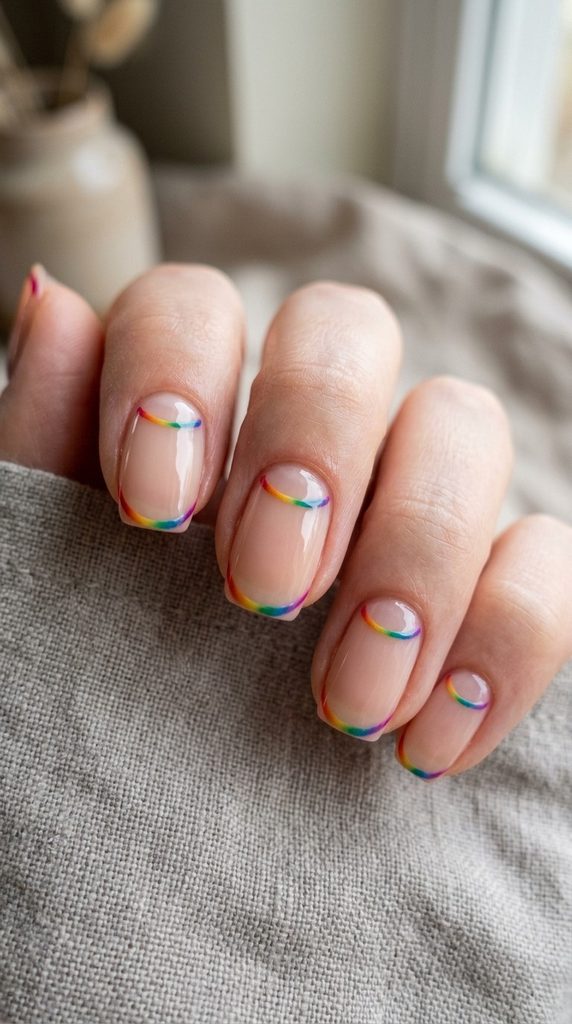
11. Negative Space Rainbow Halos
By letting natural nail beds peek through, negative space designs feel light, breathable, and modern. This design features delicate, floating arc halos framing the cuticle and tip in vibrant rainbow hues.
How to Make It:
- Apply a strengthening base coat and a nude camouflage polish that matches your natural skin tone, then cure.
- Using a fine nail art brush or a curved stamping plate, paint a thin rainbow arc along the cuticle line and a matching inverted arc along the free edge.
- Leave the center portion of the nail completely bare to create the striking negative space window.
- Clean up the edges sharply using a flat brush dipped in acetone for a polished finish.
- Seal with a glossy top coat and cure.
Tips:
- Use reinforcement hole stickers as stencils if you struggle to freehand smooth, symmetrical curved arcs around your cuticles.
- Keep the lines ultra-thin to maintain the airy, minimalist elegance of the negative space technique.
Variations:
- Alternate the colors so that the cuticle arc is warm-toned and the tip arc is cool-toned for a balanced chromatic contrast.
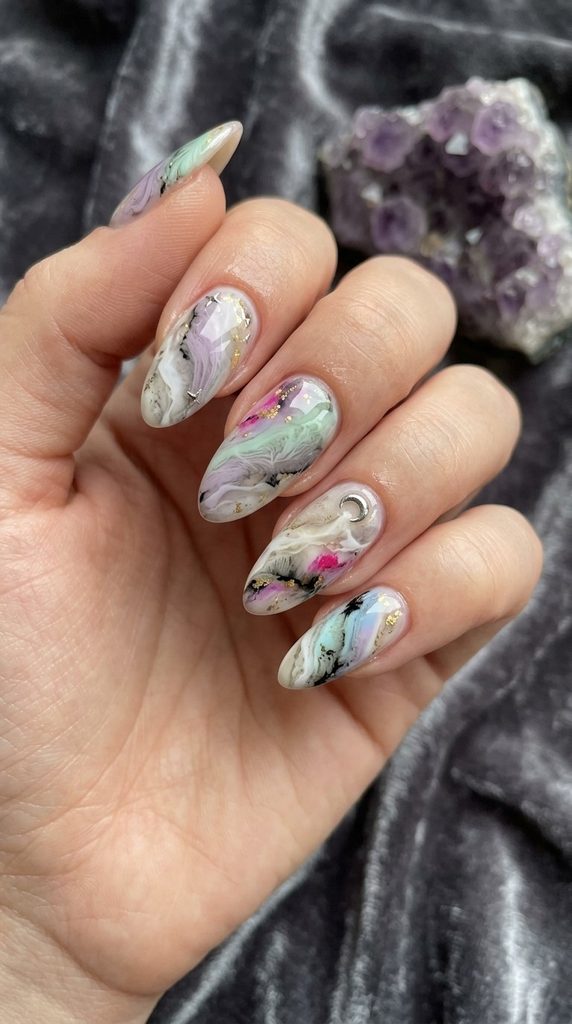
12. Blooming Marble Stone Swirls
Marble stone nails look luxurious and earthy. By swirling pastel and bright rainbow inks together in a wet medium, you create an organic, gemstone-like quartz texture across the fingers.
How to Make It:
- Apply a milky white or soft gray base coat and cure.
- Apply a layer of clear blooming gel without curing.
- Drop wisps of pink, turquoise, golden yellow, and lavender ink onto the wet surface, allowing them to feather naturally.
- Take a fine needle or detail brush and gently pull the inks into fine, jagged veining lines resembling natural agate or tourmaline stone.
- Cure the design instantly to lock the marble pattern in place.
- Finish with a high-shine glass top coat.
Tips:
- Less is more with marble veining; a few delicate, wispy lines look far more realistic than heavy, thick blobs of color.
- Use isopropyl alcohol on your brush to dilute heavy ink concentrations for softer, translucent quartz layers.
Variations:
- Paint delicate gold metallic veining directly over top of the cured rainbow marble lines for a gilded crystal effect.
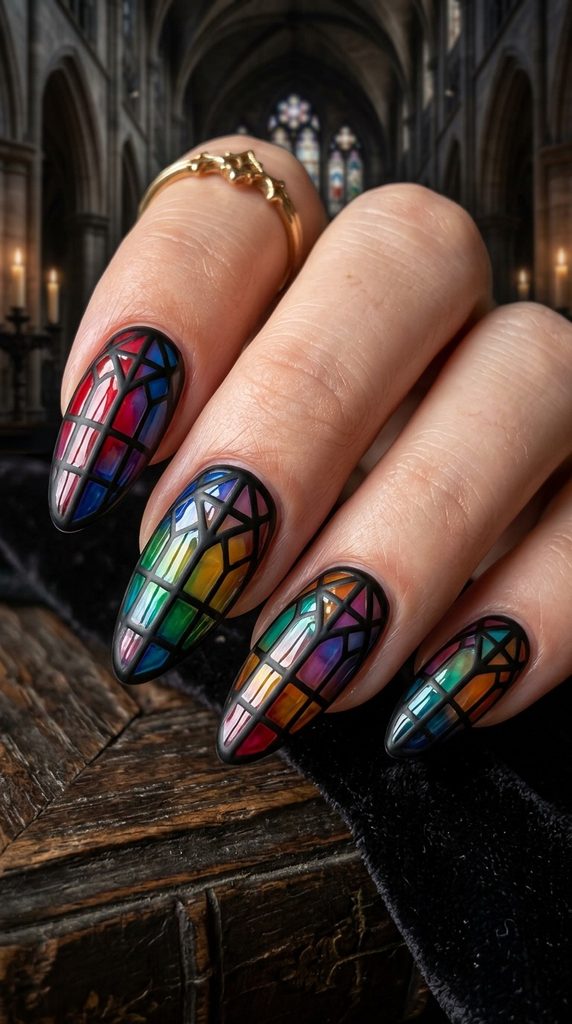
13. Stained Glass Black-Out Lines
Taking inspiration from Gothic cathedral windows, this design uses bold black borders to section off vibrant translucent rainbow fills, creating a striking stained glass aesthetic.
How to Make It:
- Apply a base coat and cure. Use a thick black gel paint and a fine liner brush to draw a stained-glass grid or floral lattice pattern across the nail. Cure.
- Fill each individual black-outlined compartment with a different vibrant jelly rainbow color, allowing the transparency to mimic tinted window glass.
- Cure the color fills thoroughly.
- Apply a thick structuring top coat to give the cells a domed, dimensional leaded-glass feel.
Tips:
- Ensure your black outlining gel is highly pigmented so it doesn’t bleed when you paint the wet jelly colors inside the cells.
- Keep your black lines uniform in thickness for a clean, professional finish.
Variations:
- Use metallic copper or silver gel paint instead of black for a modern, metallic stained-glass wirework look.
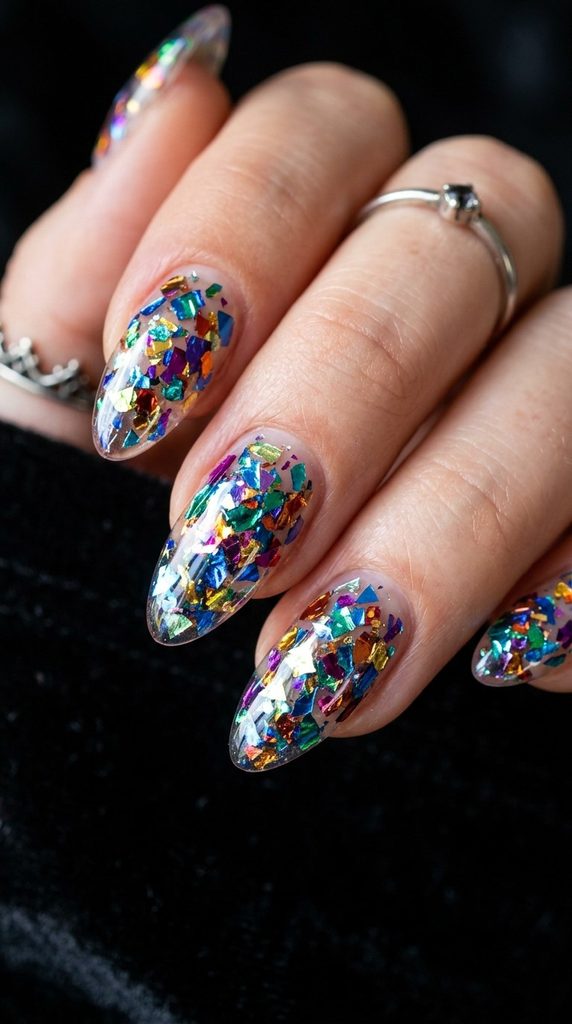
14. Metallic Foil Flake Confetti
Rainbow metallic flakes catch light from every angle, creating a shattered-glass or confetti effect embedded deep within a crystal-clear gloss foundation.
How to Make It:
- Apply a clear or sheer nude base coat and cure.
- Using a silicone tool or orangewood stick, pick up multicolored metallic foil flakes (gold, rose gold, magenta, teal, emerald, violet) and press them randomly across the nail surface in a confetti cluster.
- Tap down any sharp edges so they lie flat against the nail plate.
- Encapsulate the flakes by applying a thick layer of builder gel or high-shine top coat, smoothing out any bumps.
- Buff the surface if needed, then finish with a final glossy top coat and cure.
Tips:
- Tear larger foil sheets into smaller, irregular fragments before application to achieve a more delicate, distributed confetti look.
- Always encapsulate foil flakes under a thick top or builder gel to prevent them from flaking off during daily hand-washing.
Variations:
- Apply the foil flakes exclusively concentrated at the cuticles, fading outward toward the tips for a glittering metallic gradient.
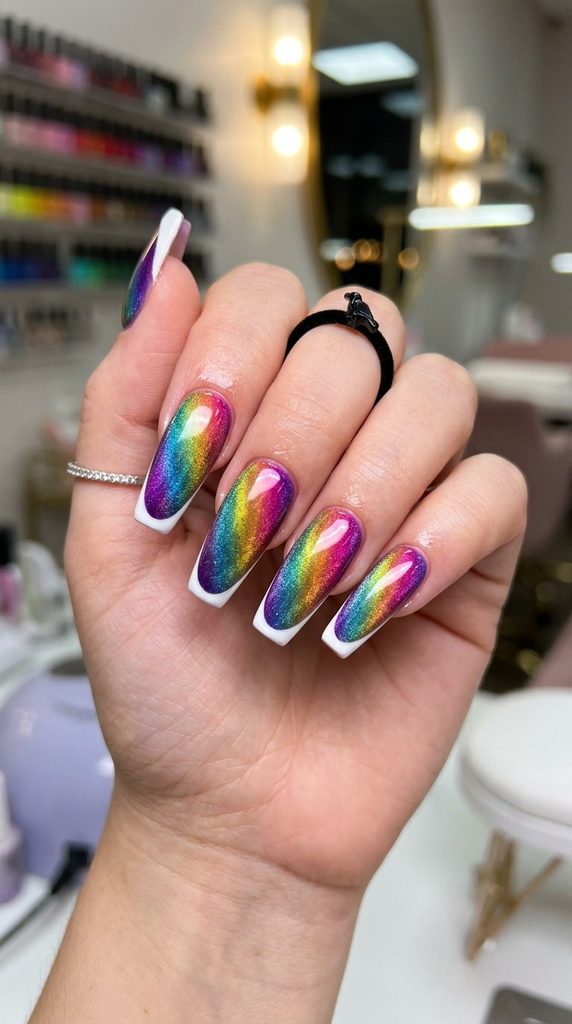
15. Velvet Ombré French Combo
Combining two major trends into one powerhouse look, this design features a rainbow velvet cat-eye base paired with clean, crisp white or matching chrome French tips.
How to Make It:
- Apply a base coat and cure. Paint a multi-colored cat-eye magnetic gel base, magnetize into a velvet glow, and cure.
- Paint a classic deep French tip over the velvet base using a crisp white or shimmering silver gel.
- Cure the tips and seal the entire manicure with a high-gloss top coat to maximize the light refraction of the velvet background.
Tips:
- Keep your French tip line opaque so it stands out cleanly against the shifting, multidimensional velvet background.
- Re-magnetize lightly for five seconds before curing your top coat if the velvet effect shifted during application.
Variations:
- Use a matching rainbow chrome powder for the French tips instead of solid white to keep the entire design chromatic and glowing.
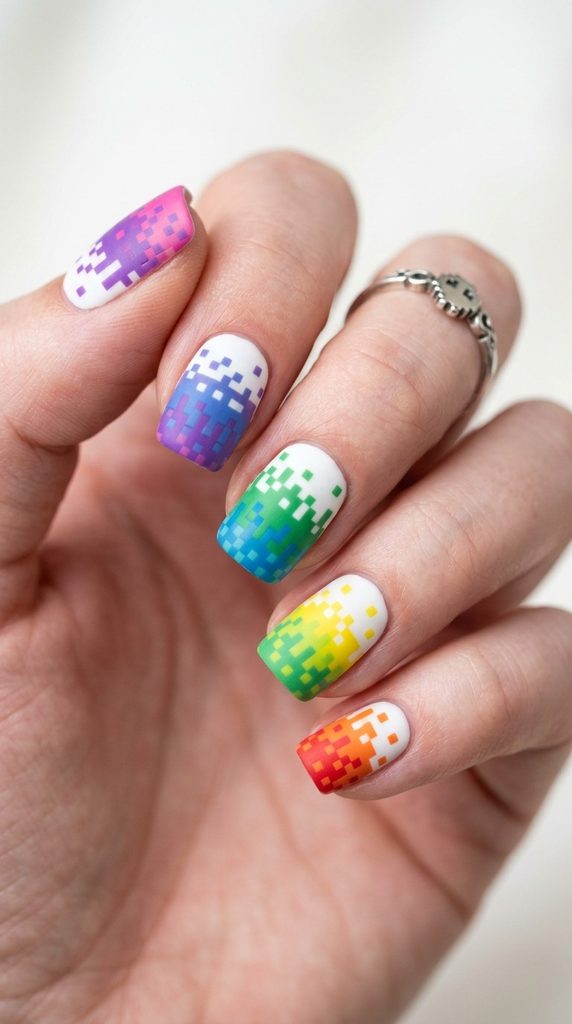
16. Pixelated Retro 8-Bit Rainbow
Perfect for gamers and graphic design lovers, pixelated nail art breaks down smooth rainbow gradients into blocky, square 8-bit digital pixels for a fun, nostalgic aesthetic.
How to Make It:
- Apply a clean white or black solid base coat and cure.
- Using a square nail art brush or a micro-detail grid stamp, paint tiny adjacent squares of color, transitioning from red to purple across the nail in a stepped pixel gradient.
- Keep the grid alignment strict to maintain the authentic digital computer-graphic look.
- Seal with a matte top coat for a retro video game cartridge feel, or a glossy coat for a sleek modern screen finish.
Tips:
- Use a grid stamping plate if hand-painting square pixels proves too tedious or time-consuming for all ten fingers.
- Keep your paint consistency slightly thicker than usual so the square pixel corners don’t bleed or round out.
Variations:
- Incorporate tiny 8-bit heart or star icons into the pixelated rainbow gradient for an extra layer of playful detail.
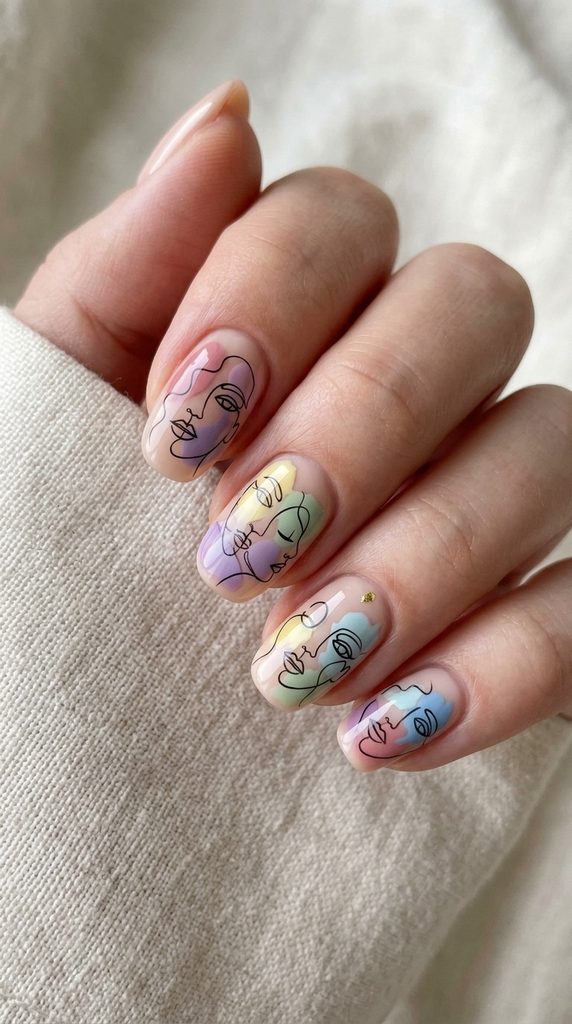
17. Abstract Line-Art Face Accents
Abstract line art pairs wonderfully with subtle splashes of rainbow color blocks tucked behind minimalist black contour sketches of faces and organic flora.
How to Make It:
- Apply a nude or milky base coat and cure.
- Paint soft, organic watercolor or pastel color blobs randomly across two feature nails. Cure.
- Using an ultra-fine liner brush dipped in black gel paint, draw continuous, elegant line-art silhouettes of abstract faces or flower stems overlapping the colorful blocks.
- Cure the line work and seal with a smooth top coat.
Tips:
- Practice your continuous line-art sketches on a paper practice sheet before applying them directly to your nails to build muscle memory.
- Wipe your fine liner brush constantly to prevent black gel clumping during delicate facial features.
Variations:
- Use fine white line art over dark, moody rainbow watercolor patches for a striking nighttime celestial portrait effect.
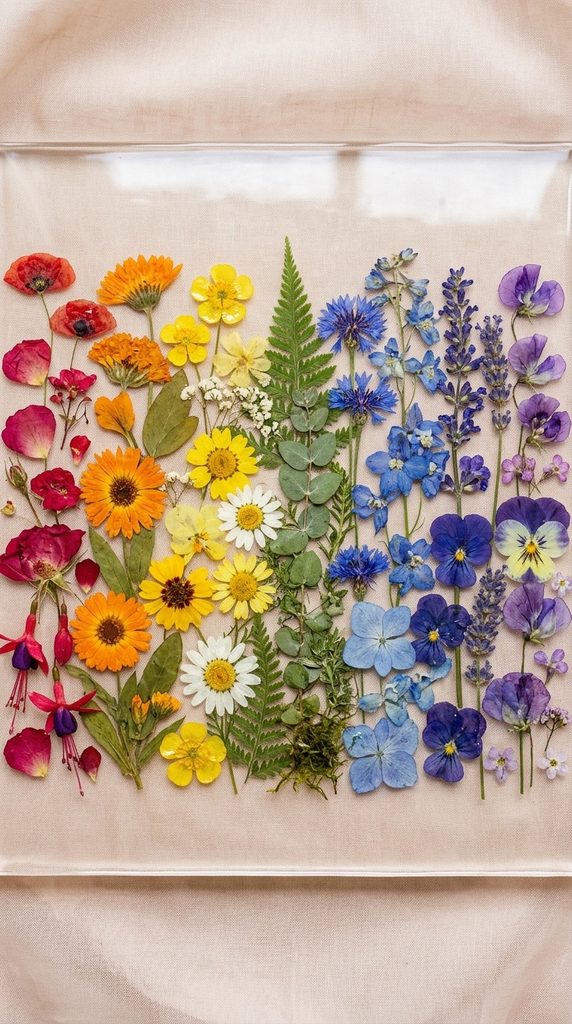
18. Encapsulated Dried Pressed Flowers
Embedding tiny, real dried botanical flowers in a rainbow spectrum across a sheer nude base brings organic garden beauty directly to your fingertips.
How to Make It:
- Apply a sheer pink base coat and cure.
- Using fine tweezers, place miniature pressed flowers (red, yellow, blue, purple, white) onto a wet layer of builder gel in a scattered meadow arrangement.
- Gently press the petals flat so they adhere securely without lifting. Flash-cure.
- Apply a thick layer of clear builder gel over the flowers to completely encapsulate and smooth them out.
- File the surface smooth if necessary, then finish with an ultra-glossy top coat.
Tips:
- Soak dried pressed flowers in a drop of base coat or water for a few seconds before application so they soften and mold flexibly to the curved shape of the nail.
- Trim bulky stems completely before placing flowers on the nail to prevent bumps in your encapsulation layer.
Variations:
- Add tiny flecks of gold leaf flakes around the bases of the pressed flowers to add a touch of gilded elegance.
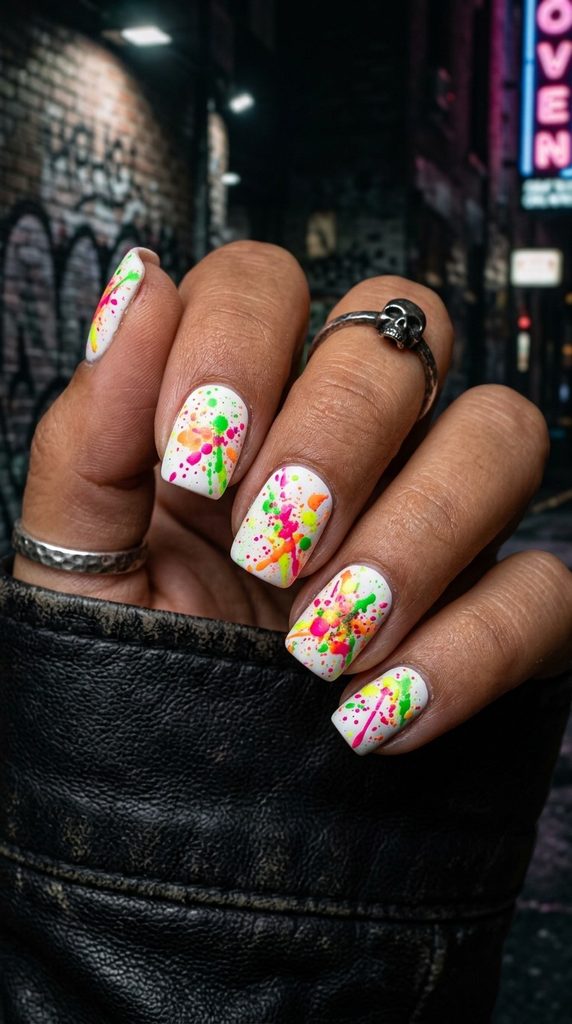
19. Neon Splash Graffiti Splatter
Channeling urban street art, neon rainbow paint splatters dropped over a stark white or matte black base create an energetic, edgy, and youthful statement manicure.
How to Make It:
- Apply a crisp white or matte black base coat and cure.
- Thin out neon rainbow gel polishes (pink, green, yellow, orange, blue) with a touch of alcohol or mixing liquid.
- Load the mixture onto a stiff bristle brush or a toothbrush, hold it over your nail, and flick your thumb across the bristles to create a fine, chaotic paint splatter effect.
- Flash-cure the splatters immediately so they don’t run or pool together.
- Seal the chaotic design with a protective top coat and cure.
Tips:
- Protect the skin around your fingers with liquid latex peel-off tape before splattering to make cleanup effortless.
- Test your flicking motion on a paper towel first to gauge the splatter distance and droplet size before aiming at your nails.
Variations:
- Use glow-in-the-dark top coat over the neon splatters so your nails light up vibrantly when you walk into a dark room or club.
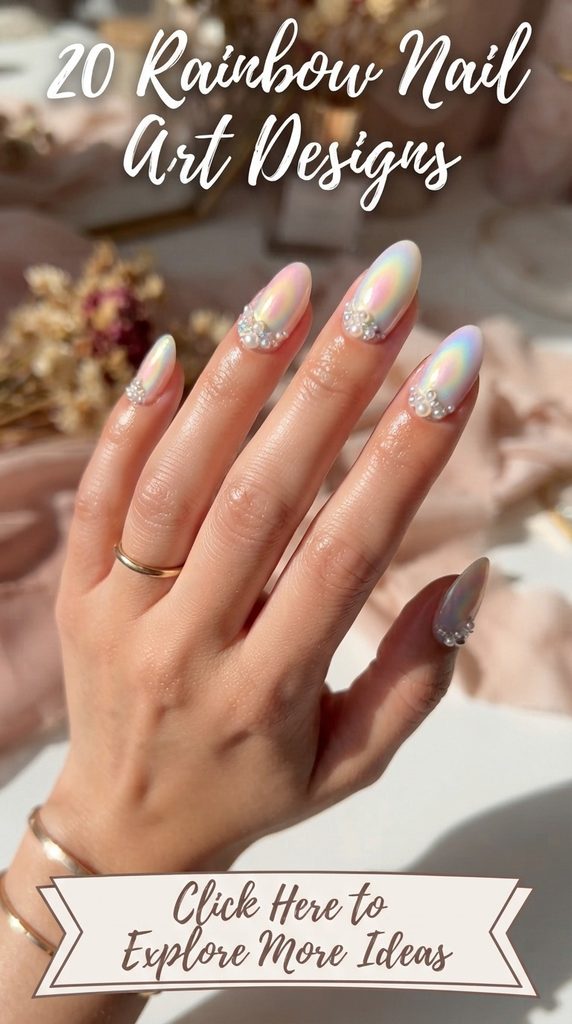
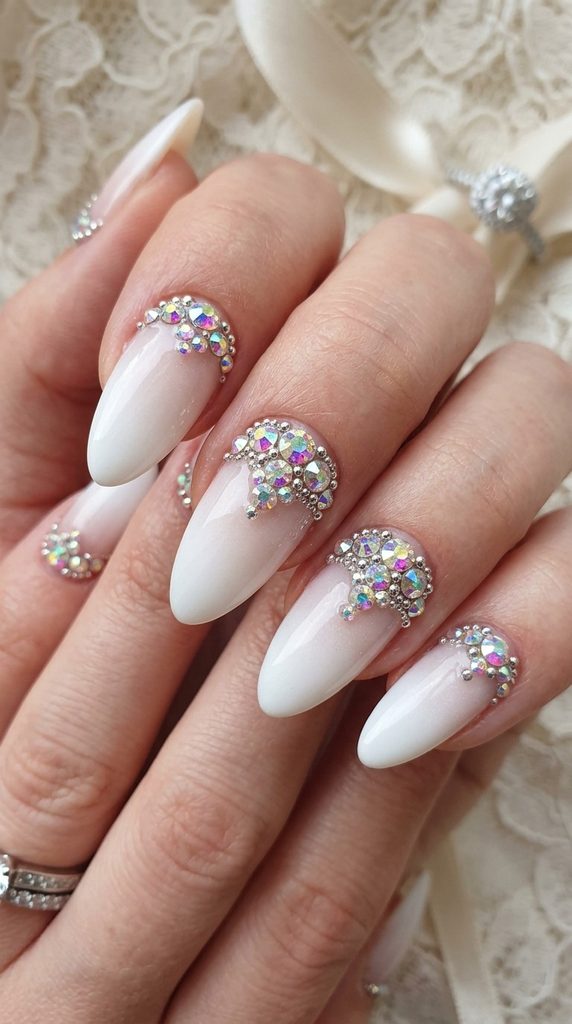
20. Milky Ombré Prism Crystal Accents
Combining a soft milky white ombré base with delicate, faceted rainbow crystals placed near the cuticles creates a bridal-worthy, luxurious jewel-encrusted finish.
How to Make It:
- Create a smooth, seamless milky white baby boomer ombré gradient using a sponge or airbrush technique, and cure.
- Apply a small bead of strong gem-gel adhesive near the cuticle area of your accent nails.
- Press a collection of tiny, faceted rainbow crystal rhinestones and micro-beads into the adhesive gel, arranging them in a crown or cluster shape.
- Cure the gem-gel securely under your lamp.
- Seal around the base of the crystals with a fine liner brush dipped in top coat (avoiding the top facets of the stones to keep them sparkling) and final-cure.
Tips:
- Never cover the top facets of rhinestones with top coat, as the polish coating will dull their crystal sparkle and prismatic light reflection.
- Use a wax-tipped rhinestone picker pencil to easily pick up and position tiny micro-gems with precision.
Variations:
- Swap traditional clear rhinestones for iridescent AB (Aurora Borealis) crystals that naturally flash every color of the rainbow when moving in the light.
Essential Expert Tips for Long-Lasting Rainbow Nails
- Proper Nail Prep: Always dehydrate the nail plate with isopropyl alcohol and apply an acid-free primer to prevent lifting, especially when layering multiple gel coats or encapsulating foils and flowers.
- Cap the Free Edge: Seal every single layer—base, color, art, and top coat—by swiping your brush lightly across the very edge of the tip to prevent chipping and water seepage.
- Thin Layers are Key: Because rainbow art often involves multiple colors, gradients, and overlapping elements, always work in ultra-thin layers to prevent wrinkling and ensure complete UV/LED light penetration during curing.