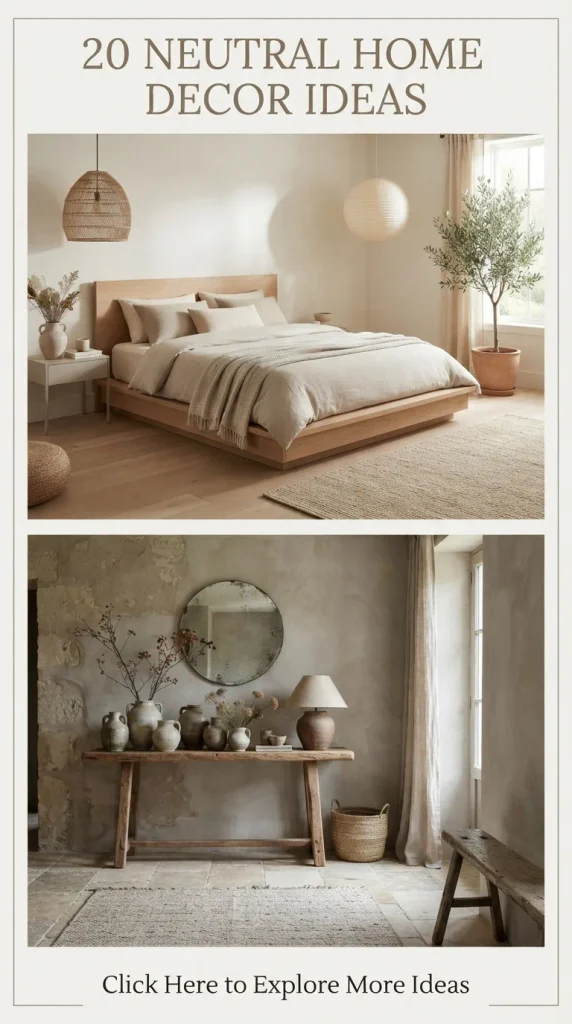
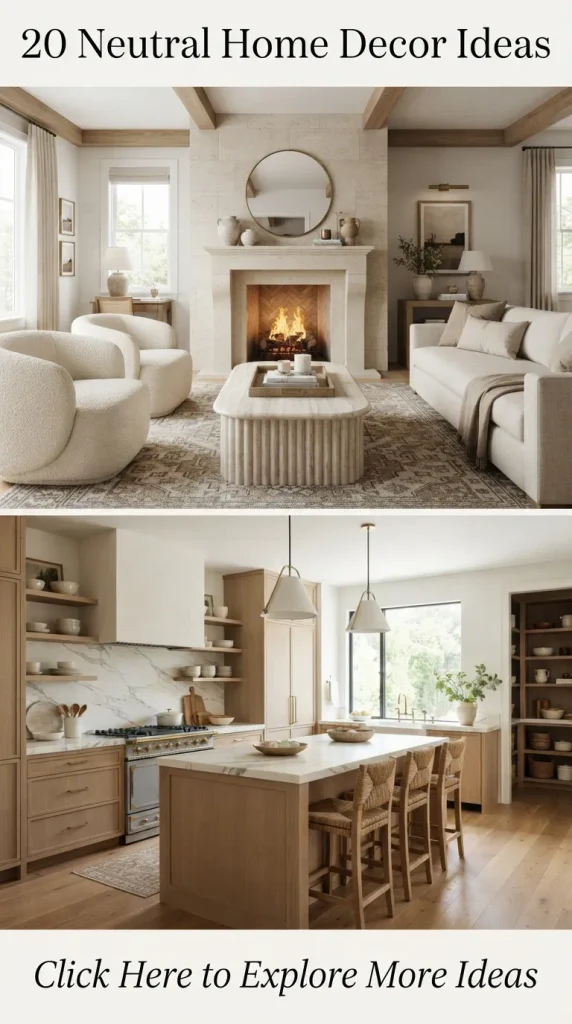
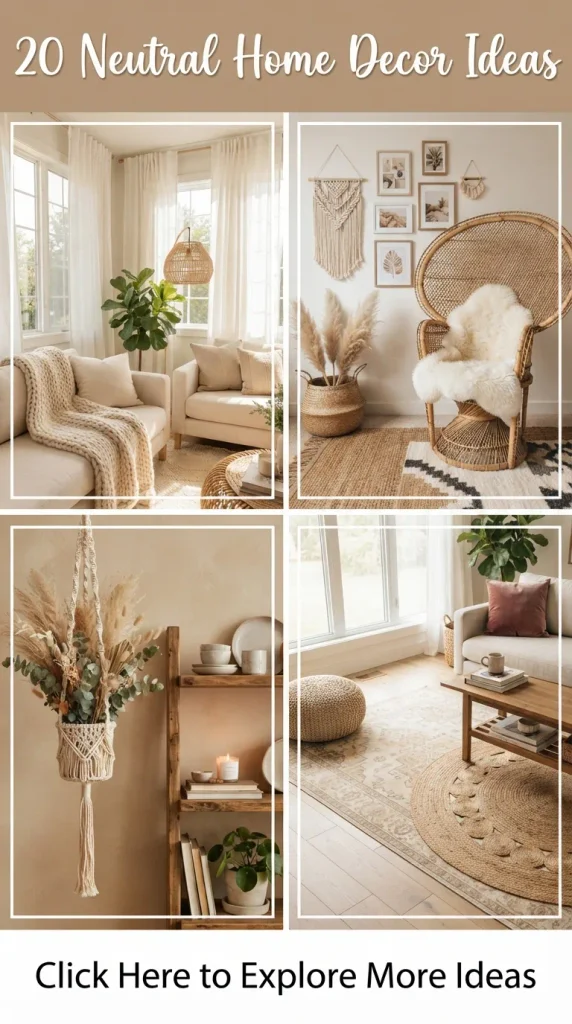
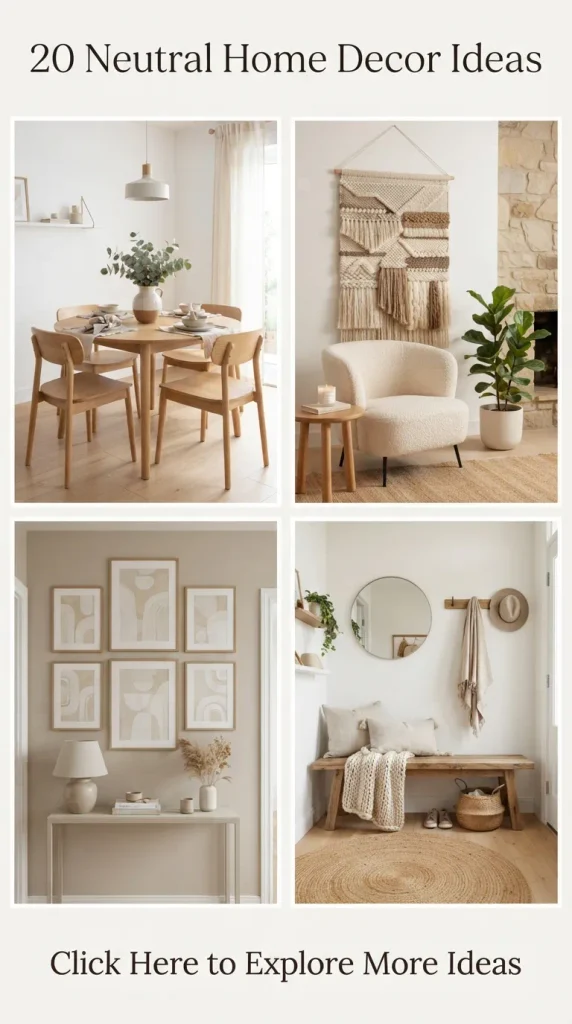
The modern home is no longer just a physical shelter; it is a sanctuary, a psychological reset, and a canvas for personal expression. In a world saturated with digital noise, fast-paced trends, and overwhelming sensory inputs, neutral interior design has emerged as the ultimate antidote. Neutral decor is often misunderstood as boring, stark, or clinical. In reality, a well-curated neutral palette is rich, textured, deeply emotional, and endlessly versatile. It relies on the interplay of light, shadow, organic materials, and tactile surfaces to create rooms that feel both grounded and ethereal.
This comprehensive guide explores 20 aesthetic, amazing, and gorgeous neutral home decor ideas designed to transform your living space into a serene haven. Each concept includes a detailed philosophical breakdown, actionable styling steps, necessary materials, creative variations, and insider tips to help you master the art of elevated neutral living.
1. The Monochromatic Plaster Statement Wall
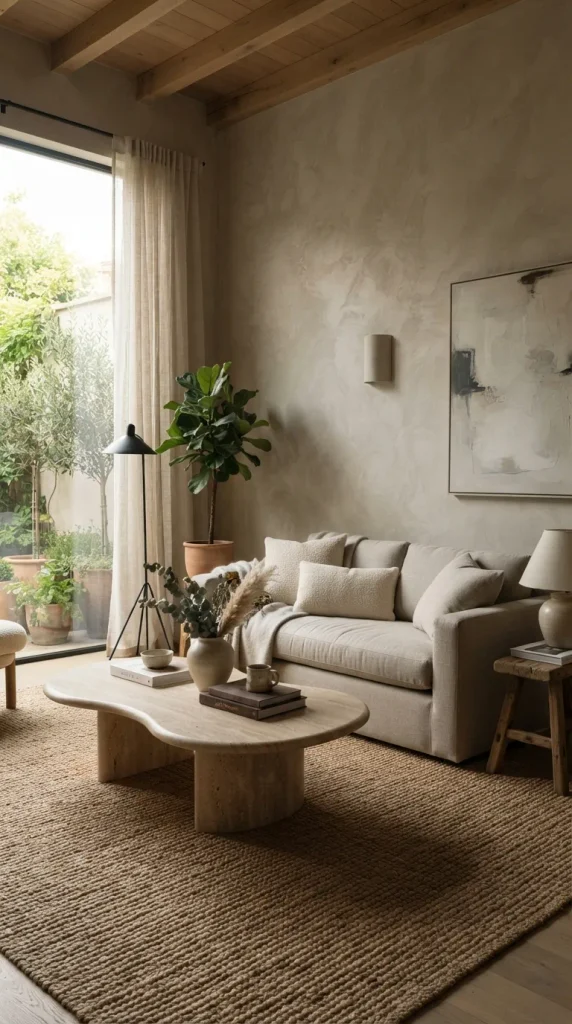
The Concept Flat painted walls can sometimes feel sterile. Introducing a textured lime wash, tadelakt, or Venetian plaster wall in a soft warm greige or chalky ivory brings instant architectural depth. It mimics the earthy walls of Mediterranean villas and creates a subtle, light-reflecting backdrop that changes character as the sun moves across the sky throughout the day.
How to Make It
- Surface Preparation: Clean and prime your drywall with a specialized primer designed for specialty mineral finishes to ensure proper absorption.
- Application: Using a stainless steel hawk and trowel, apply the lime wash or plaster in random, overlapping crisscross strokes.
- Burnishing: Once the first coat is semi-dry, use the edge of the trowel to gently compress and smooth the surface, creating that signature velvety sheen.
- Sealing: Apply a matte, breathable sealer to protect high-touch areas from moisture and everyday wear.
Variations & Customization
- Micro-Cement: Opt for a cooler industrial gray micro-cement for a more contemporary, minimalist urban loft feel.
- Limewash Paint: If plastering feels too intimidating, use a two-coat limewash paint applied with a large block brush in sweeping X-motions for a similar organic, cloud-like effect.
Pro Tips Keep adjacent decor minimal. Let the wall be the hero of the room by pairing it with a simple low-profile linen sofa and a sculptural floor lamp.
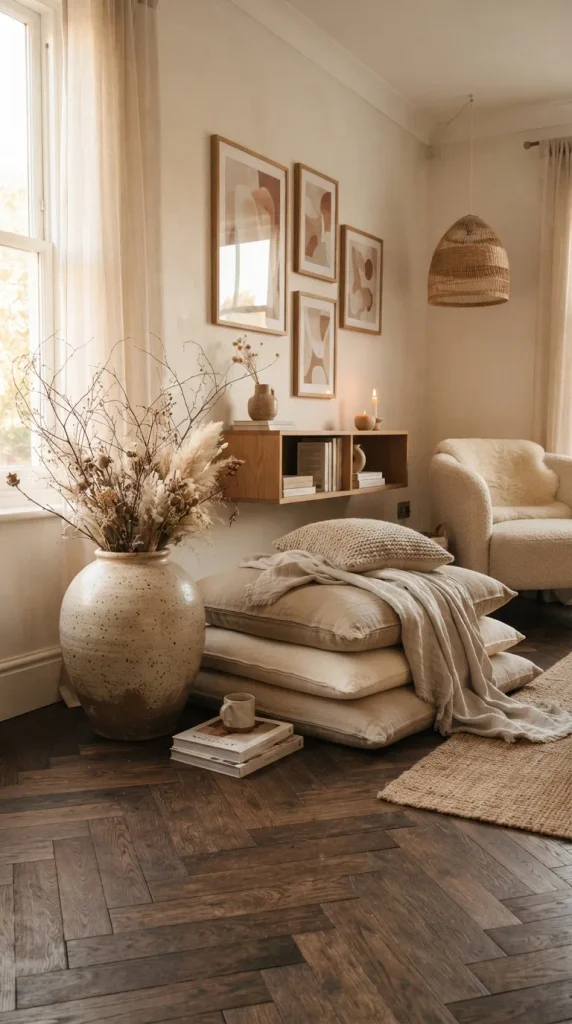
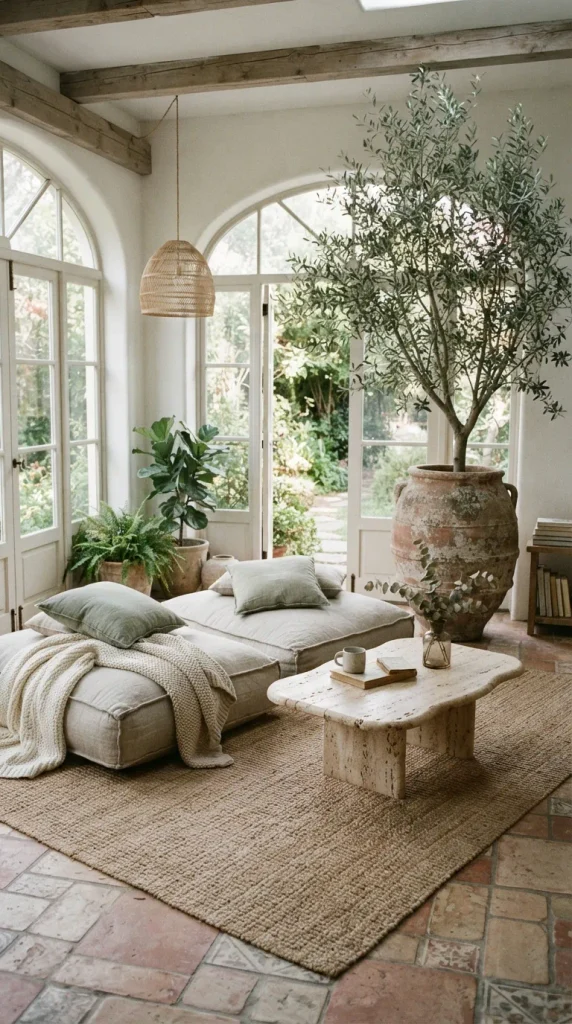
2. Oversized Organic Linen Floor Cushions
The Concept Moving away from rigid, formal seating arrangements, oversized floor cushions invite a slower, more grounded way of living. Inspired by Japanese floor seating (zabuton) and bohemian lounging, these oversized pieces soften hard architectural lines and add an effortless, lived-in luxury to living rooms and bedrooms.
How to Make It
- Sourcing Fabric: Choose heavy-weight, raw Belgian or French linen in oatmeal, flax, or raw stone shades.
- Construction: Sew a durable inner canvas casing stuffed densely with hypoallergenic poly-fill and shredded memory foam for structural support, topped with an outer removable linen slipcover featuring a hidden zipper.
- Detailing: Add oversized perimeter box-stitching or corner tufting to keep the filling evenly distributed and add a tailored finish.
Variations & Customization
- Leather Accents: Use buttery cognac leather pull-tabs on the corners for easy dragging and a subtle two-tone neutral contrast.
- Bouclé Textures: Substitute linen with heavy, tactile cream bouclé fabric for winter months to maximize physical warmth and texture.
Pro Tips Stack two or three cushions of varying neutral shades (such as oatmeal, sand, and cream) in a sunlit corner alongside a fiddle-leaf fig plant to create an inviting reading nook.
3. Travertine and Alabaster Sculptural Coffee Table Centerpiece
The Concept A coffee table can easily become a clutter magnet. Elevating it with a singular, substantial sculptural object carved from natural stone introduces organic geological beauty. Travertine brings porous, honey-toned warmth, while alabaster introduces translucent elegance when catches the morning light.
How to Make It
- Material Sourcing: Visit a local stone yard or tile supplier to source a heavy remnant piece of vein-cut travertine or an architectural salvaged block.
- Shaping & Finishing: Use a wet saw and diamond sanding pads (progressing from 50 grit up to 3000 grit) to smooth and round the edges into a soft, pebble-like organic bowl or pedestal tray.
- Protection: Apply a stone impregnating sealer to prevent oil rings from candles or coffee cups.
Variations & Customization
- Pedestal Risers: Create three staggered disk risers of different diameters to display dried botanical stems or pillar candles at varying heights.
- Honed Marble: Use Calacatta or Carrara marble with subtle gray veining if your room leans toward cooler Scandinavian neutrals.
Pro Tips Never crowd this centerpiece. Let it stand alone or accompanied by only one slim brass match striker to maintain a clean, uncluttered aesthetic.
4. Hand-Thrown Ceramic Wall Sconces
The Concept Lighting is the jewelry of interior design. Standard metal or glass fixtures can feel mass-produced; hand-thrown ceramic wall sconces offer artisanal warmth. The raw clay absorbs and diffuses light, casting a soft, painterly halo across neutral walls that feels deeply intimate.
How to Make It
- Pottery Base: Throw a wide, shallow bowl shape on a potter’s wheel using speckled stoneware clay, leaving an opening in the back for electrical wiring and mounting brackets.
- Bisque Firing: Fire the clay to cone 04, then apply a matte white or raw bone glaze, leaving portions of the speckled grog clay exposed.
- Electrical Integration: Wire a low-voltage LED puck light or hardwired socket behind the ceramic shade to ensure a warm 2700K ambient glow.
Variations & Customization
- Perforated Clay: Pierce tiny constellation holes into the ceramic rim so that pinpricks of light dance across your bedroom walls at night.
- Terracotta Warmth: Use raw terracotta clay left unglazed for a sun-baked Mediterranean aesthetic.
Pro Tips Install these in pairs flanking a bathroom mirror or a bedroom headboard on dimmer switches to instantly control the evening ambiance.
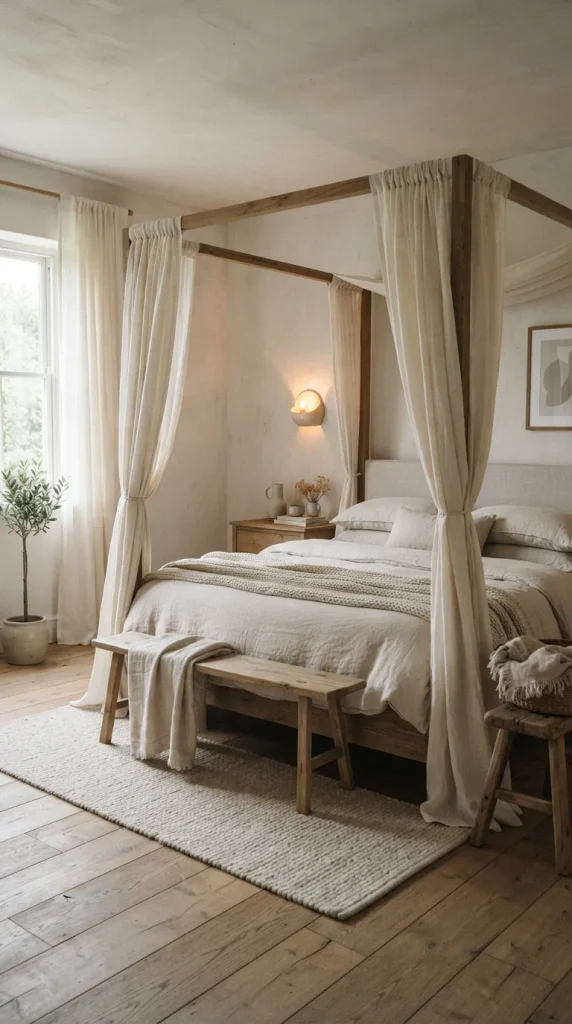
5. Vintage-Washed Belgian Flax Canopy Bed
The Concept The bedroom should be an absolute sanctuary of calm. A minimalist wooden or iron frame draped in voluminous, garment-washed Belgian flax linen creates an ethereal, cloud-like canopy that softens the entire room and muffles ambient sound.
How to Make It
- Frame Assembly: Build or source a clean-lined white oak or matte black metal bed frame with integrated canopy posts.
- Fabric Yardage: Calculate approximately three times the span length for each side to ensure deep pooling on the floor.
- Hanging: Drape lightweight, translucent ivory linen panels over the top rails, securing them loosely with casual fabric ties rather than stiff curtain rings.
Variations & Customization
- Draped Headboard: Upholster the headboard in matching neutral boucle or textured canvas for an extra layer of tactile comfort.
- Minimalist Drapes: Use only a single continuous panel draped over the head-end of the bed for a modern, asymmetrical architectural look.
Pro Tips Layer your bed with a waffle-weave duvet, euro shams in raw silk, and a heavy wool throw in a deeper oatmeal tone to create tonal contrast without introducing color.
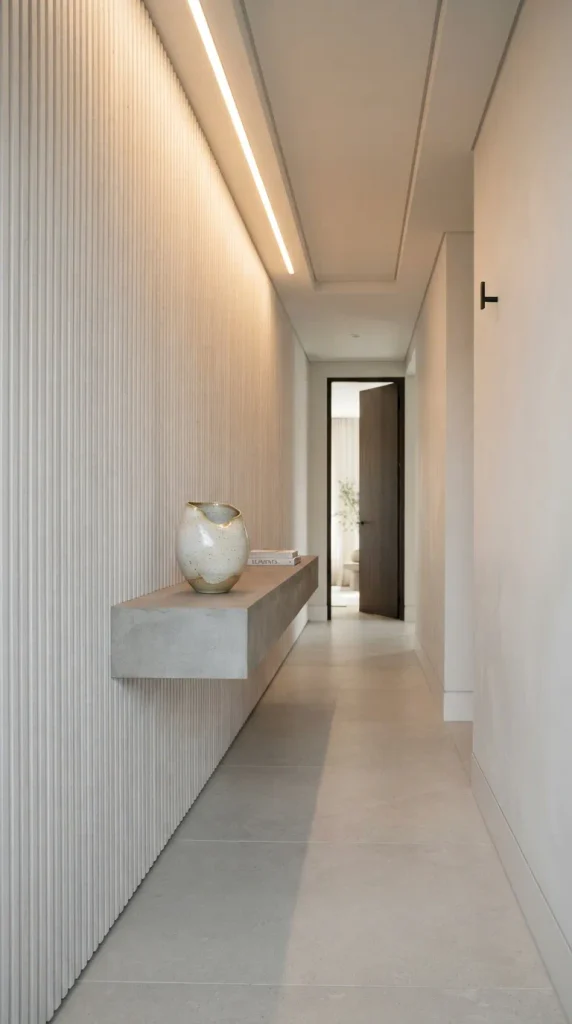
6. Micro-Cement Floating Shelves with Hidden Brackets
The Concept Bulky wooden shelving brackets can disrupt the clean lines of a minimalist space. Micro-cement floating shelves appear to seamlessly emerge from the walls, providing a sleek stage for displaying curated ceramics, art books, and sculptural objects.
How to Make It
- Internal Structure: Construct a heavy-duty internal steel rod and plywood bracket system anchored directly into wall studs.
- Wrapping: Encase the plywood core in exterior-grade cement board.
- Finishing: Apply a two-coat skim of micro-cement over the entire shelf, feathering the edges where it meets the wall so it looks monolithic.
- Sealing: Sand smooth with fine-grit sandpaper and seal with a matte polyurethane.
Variations & Customization
- Rounded Corners: Shape the front corners of the wooden core into soft radiuses before cementing for a softer, organic silhouette.
- Integrated LED Strips: Route a small channel underneath the shelf for an ultra-slim warm LED strip to cast light downward onto the surface below.
Pro Tips Style these shelves using the rule of three: group objects by height, pairing a tall ceramic vase with a stack of horizontal clothbound books and a small stone trinket dish.
7. Textured Lime-Washed Ceiling Beam Treatments
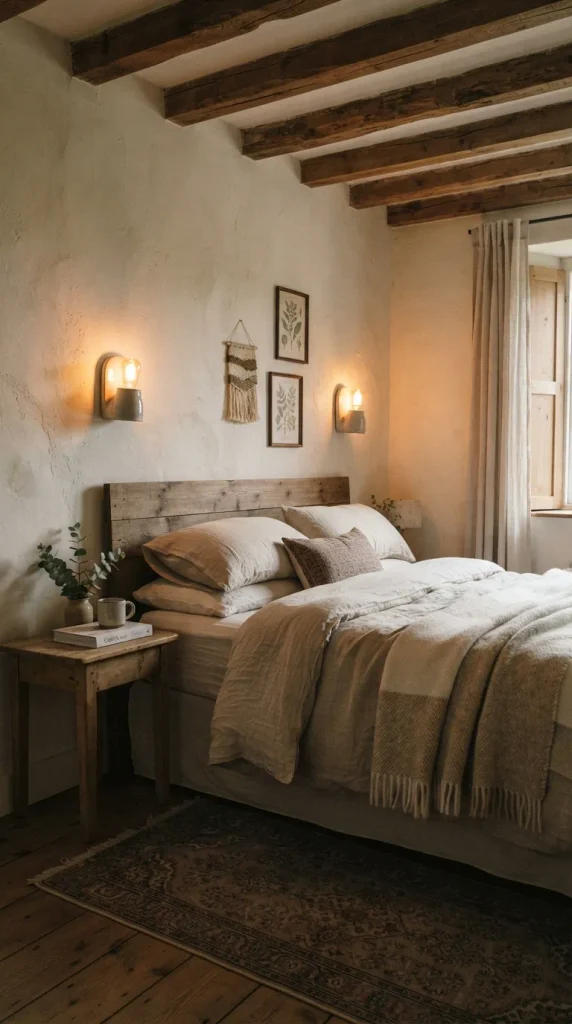
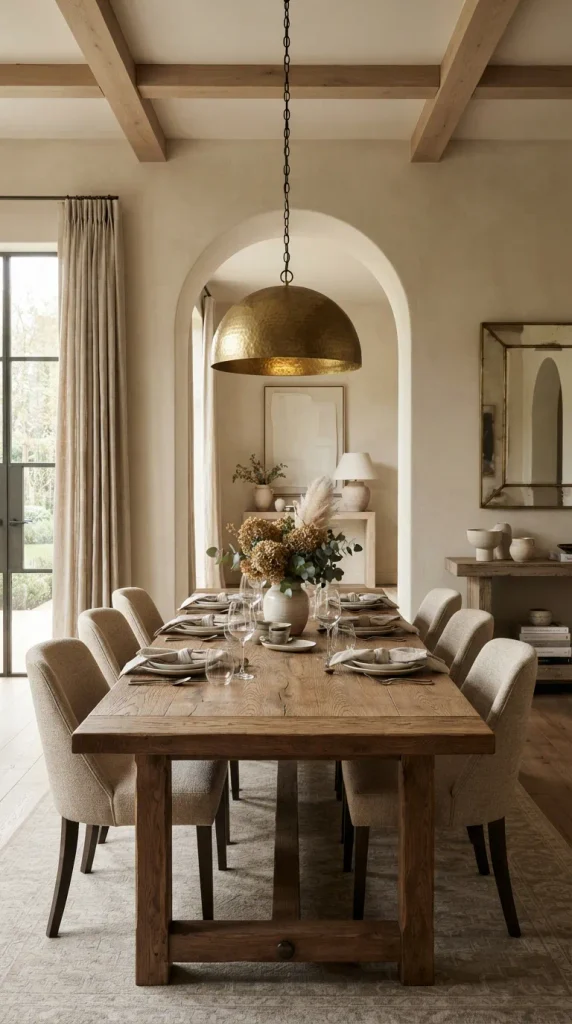
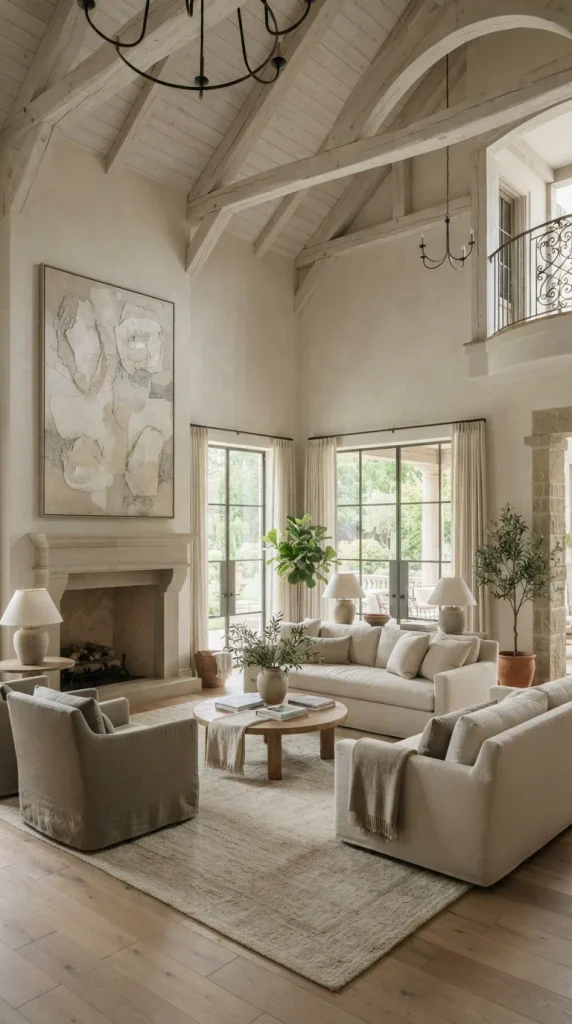
The Concept Often called the “fifth wall,” the ceiling is frequently neglected in interior design. Adding faux or structural wooden beams treated with a white-washed or limed finish draws the eye upward, adds rustic architectural character, and warms up high-ceilinged spaces.
How to Make It
- Beam Sourcing: Source lightweight hollow box beams made from reclaimed pine or lightweight polyurethane foam finished to look like aged timber.
- Finishing: Apply a diluted whitewash stain using white acrylic paint mixed with water, wiping it back with a rag to let the natural wood grain peek through.
- Installation: Secure structural mounting cleats into ceiling joists and slide the box beams securely into place.
Variations & Customization
- Planked Ceiling: Combine beams with tongue-and-groove white oak ceiling planks painted in ultra-matte chalk white.
- Dark Contrast: Use charred Shou Sugi Ban wood beams against soft cream plaster for a dramatic, high-contrast neutral palette.
Pro Tips Ensure your ceiling beams run parallel to the longest wall in the room to visually expand the perception of space.
8. Oversized Abstract Neutral Textured Canvas Art
The Concept Mass-produced commercial art can lack soul. Creating your own oversized abstract canvas using heavy molding paste and a monochromatic palette results in a bespoke gallery-worthy statement piece that adds tactile dimension to expansive empty walls.
How to Make It
- Stretcher Bars: Build a custom wooden canvas frame and stretch raw unprimed heavy cotton duck canvas tightly across it.
- Texturizing: Mix acrylic gesso with heavy modeling paste and marble dust. Apply it thickly using drywall knives, putty knives, and notched trowels to create ridges, swirls, and architectural lines.
- Monochrome Glazing: Once dry, wash over the texture with subtle washes of warm ivory, raw umber, and soft ecru acrylic paint.
Variations & Customization
- Linear Minimalism: Use a plastic scraper to drag clean, minimalist horizontal or vertical grooves through wet plaster for a Japanese Wabi-Sabi aesthetic.
- Float Framing: Surround the finished canvas with a custom natural oak floating frame to give it a polished, architectural finish.
Pro Tips Hang the art without glass so that natural side-lighting can cast dramatic shadows across the raised plaster textures throughout the day.
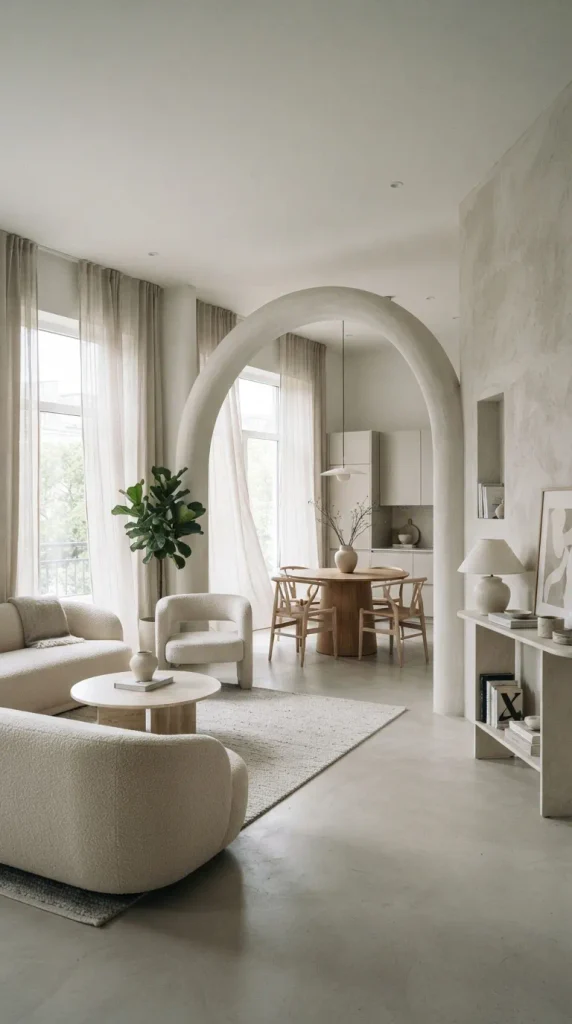
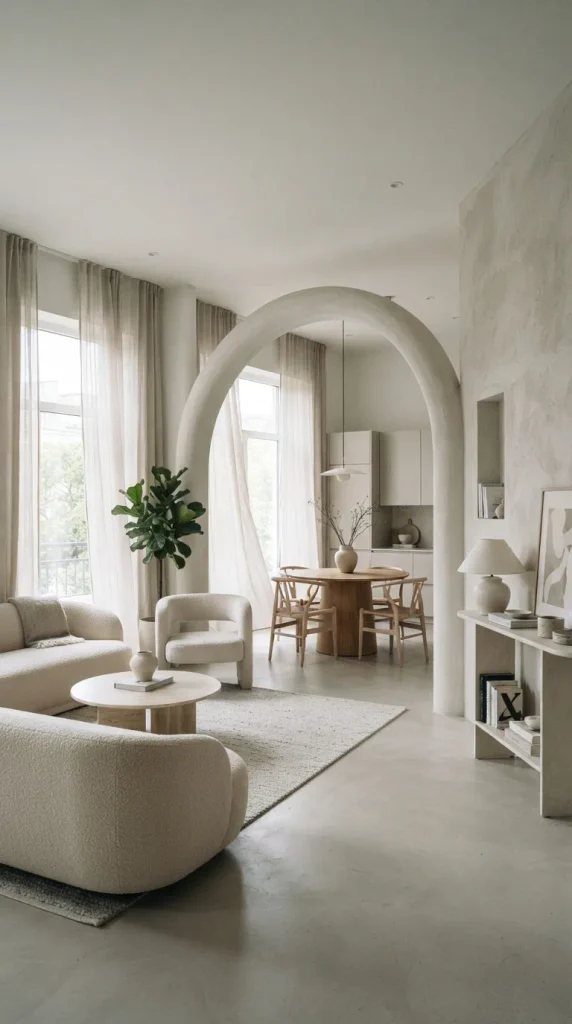
9. Sculptural Plaster Archway Room Dividers
The Concept Open-concept floor plans can sometimes feel cavernous and lack definition. Replacing standard rectangular doorways with soft, sweeping arches finished in seamless white plaster creates a fluid transition between spaces while maintaining an airy, uninterrupted sightline.
How to Make It
- Framing: Build the curved arch header using flexible MDF or kerf-cut drywall attached to reinforced wood framing studs.
- Joint Compound: Apply multiple layers of mesh tape and joint compound, sanding meticulously between coats to achieve a flawless curve.
- Plaster Coat: Finish with a thin layer of decorative lime plaster or Venetian plaster to give it an old-world, hand-carved stone appearance.
Variations & Customization
- Fluted Archway: Wrap the interior jamb of the arch in half-round wood fluting painted the exact same shade of warm plaster for added textural rhythm.
- Asymmetrical Arch: Design a gentle, sloping asymmetric archway for a modern, avant-garde architectural statement.
Pro Tips Leave the opening doorless to maximize light flow between rooms while enjoying the sculptural frame from both sides.
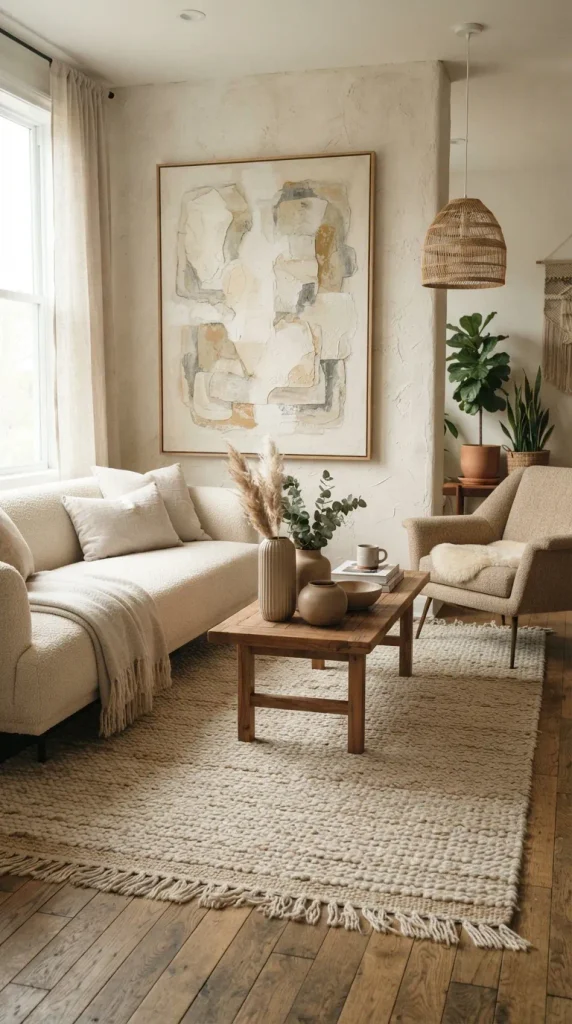
10. Artisanal Hand-Woven Jute and Wool Area Rug
The Concept Neutral flooring needs textural variance to feel rich rather than stark. Combining rough, earthy natural jute with plush, undyed New Zealand wool in a flat-weave or looped pile creates a sensory foundation that feels incredible underfoot and anchors organic furniture layouts.
How to Make It
- Material Selection: Source undyed wool yarns spun straight from sheep fleeces and thick, golden-tan natural jute fibers.
- Weaving: Work on a large floor loom using a Soumak or flat-weave technique, alternating thick bands of nubby wool with tight braids of jute.
- Backing: Add a breathable cotton canvas backing with organic non-slip corner tabs to keep the rug stable on hardwood floors.
Variations & Customization
- High-Low Pile: Carve geometric tribal or minimalist grid patterns into the rug by contrasting high-pile tufted wool against low-pile jute fields.
- Oatmeal Herringbone: Weave the wool and jute in a classic herringbone pattern for subtle, tailored sophistication.
Pro Tips Layer this large neutral rug under a smaller vintage Oushak or faded antique rug in muted beige tones to create an effortless, collected-over-time look.
11. Hand-Crafted Terracotta and Ramekin Vessel Clusters
The Concept Instead of cluttering surfaces with lots of small trinkets, group artisanal terracotta and unglazed earthenware vessels in odd numbers. Their varied heights, organic imperfections, and warm earthy tones bring instant grounding to sideboards, consoles, and mantels.
How to Make It
- Sourcing Clay: Collect raw terra cotta clay or purchase unglazed flower pots and simple craft store vases.
- Custom Treatment: Apply baking soda mixed with flat acrylic paint in bone white or taupe directly onto the pots, dabbing with a sponge to create a convincing aged, antique pottery texture.
- Styling: Display them in clusters of three or five, leaving some empty and filling others with dried pampas grass, olive branches, or bunny tails.
Variations & Customization
- Kintsugi Accent: Intentionally crack an old clay vessel and repair the seams using gold epoxy resin to highlight wabi-sabi principles.
- White Wash Dipping: Dip the bottom half of each terracotta pot into a bucket of matte white milk paint for a two-tone dipped effect.
Pro Tips Vary the scale drastically. Pair one very tall, slender vessel with two short, wide bowls to create dynamic visual weight.
12. Integrated Architectural Limestone Fireplace Surround
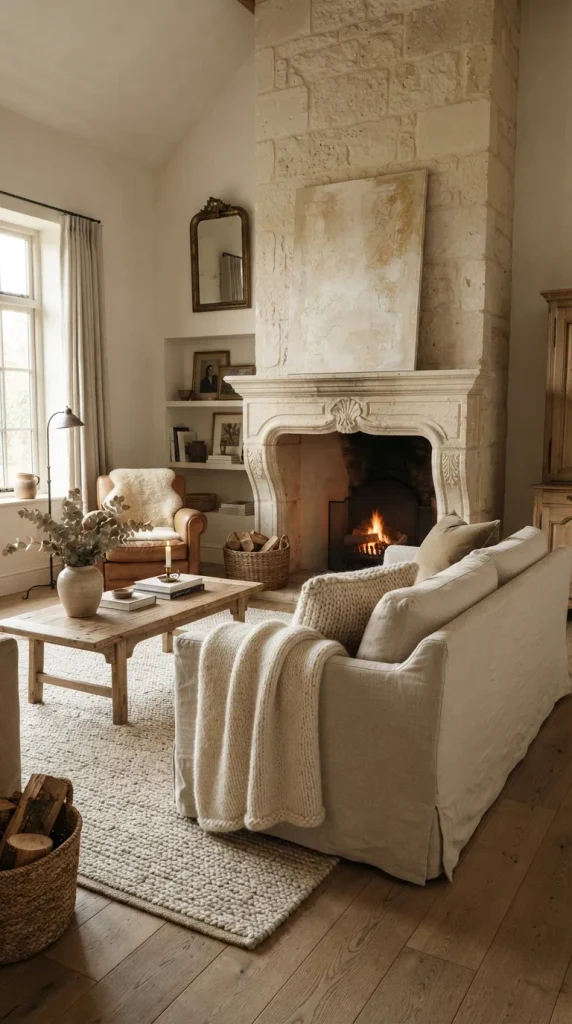
The Concept The fireplace is the natural focal point of a living room. Stripping away ornate traditional mantels and replacing them with a monolithic, clean-lined surround carved from French limestone or cast stone creates a striking focal point rooted in quiet luxury.
How to Make It
- Template Design: Measure your firebox opening and draft a simple, geometric surround consisting of two vertical jambs and a thick horizontal lintel slab.
- Stone Fabrication: Have a local stone mason cut honed, unfilled beige limestone slabs with precise mitered 45-degree corner joints.
- Installation: Secure the stone pieces to the brick firebox using heavy-duty structural stone epoxy and concealed mechanical anchors.
Variations & Customization
- Micro-Cement Overhaul: If replacing the stone is outside your budget, skim coat your existing red brick fireplace directly with heat-resistant micro-cement for an instant modern upgrade.
- Recessed Hearth Box: Build a flush limestone hearth that sits level with your hardwood flooring for a seamless, trip-free transition.
Pro Tips Keep the mantel completely bare except for a single large, leaning piece of neutral abstract art to maintain modern minimalist elegance.
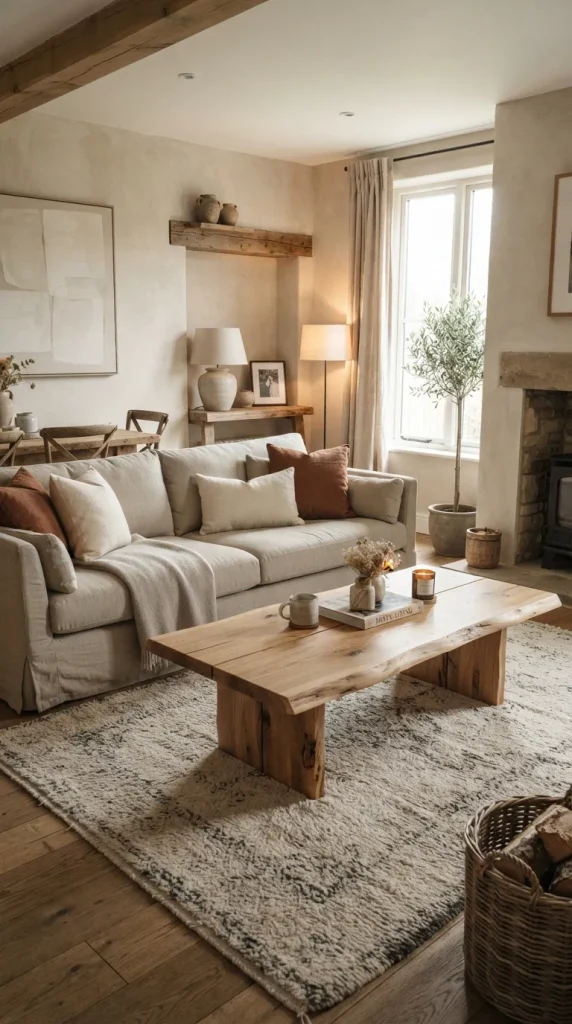
13. Raw Edge Solid White Oak Floating Coffee Table
The Concept Mass-produced furniture often features overly processed, uniform lumber. A custom coffee table crafted from a single slab of character-grade white oak with its natural live edge intact brings organic warmth, knots, and grain patterns into the center of the room.
How to Make It
- Slab Selection: Acquire a kiln-dried white oak tree slab featuring natural live edges and visible growth rings.
- Planing & Sanding: Flatten the slab using a router sled, then sand progressively from 80 grit to 220 grit until silky smooth.
- Finishing: Apply a dead-flat, water-based natural hard-wax oil that seals the wood without altering its raw, freshly-cut blonde appearance or adding an artificial amber sheen.
- Base Integration: Mount matte black powder-coated steel hairpin legs or chunky geometric wooden block legs underneath.
Variations & Customization
- Bleached Oak Wash: Apply a light lye or white-tinted oil wash to further tone down yellow golden undertones for a Scandinavian white-washed finish.
- Waterfall Edge: Miter the ends of the slab so the wood grain cascades down to the floor on both sides for a sleek waterfall silhouette.
Pro Tips Condition your white oak furniture twice a year with natural beeswax to maintain its moisture balance and rich matte luster.
14. Oversized Linen Slipcovered Lounge Sofa
The Concept The ultimate neutral living room anchor is a deep, sink-in sofa upholstered in casual, removable Belgian linen slipcovers. It offers relaxed comfort that feels welcoming rather than formal, encouraging long conversations and lazy Sunday afternoons.
How: To Make It
- Frame & Fill: Choose a kiln-dried hardwood frame stuffed with down-blend cushions wrapped around high-resilience foam cores for maximum cloud-like sinkability.
- Slipcover Construction: Tailor a loose-fitting slipcover out of pre-washed stonewashed heavy linen with relaxed waterfall skirts that gently pool onto the floor.
- Maintenance: Ensure the entire cover is machine washable or easily dry-cleanable for effortless upkeep.
Variations & Customization
- French Seam Detailing: Add exposed raw-edge French seams along the sofa arms and cushion borders for an artisanal, bespoke finish.
- Modular Configuration: Opt for an L-shaped sectional layout configured in modular blocks covered in matching oatmeal linen.
Pro Tips Toss a mixture of oversized feather-filled lumbar pillows in contrasting neutral textures like boucle, raw silk, and houndstooth linen against the back cushions.
15. Reeded Wood Tambour Accent Wall Panels
The Concept Flat walls can sometimes lack dimension. Installing vertical reeded wood tambour panels painted or stained in a soft, monochromatic chalky neutral introduces rhythm, linear shadow play, and subtle architectural sophistication to entryways or media walls.
How to Make It
- Material Sourcing: Purchase flexible oak or MDF tambour sheets featuring narrow half-round slats backed by durable canvas fabric.
- Preparation & Cutting: Measure your wall height and use a fine-tooth saw to cut the flexible sheets to size.
- Adhesive Mounting: Apply heavy-duty construction adhesive directly to the drywall and press the tambour sheets firmly into place using a heavy wallpaper roller.
- Coating: Spray or brush two coats of matte ivory or warm greige lacquer over the slats to unify the wall into a single sculptural surface.
Variations & Customization
- Fluted Bedroom Headboard: Use tambour panels behind your bed extending all the way up to the ceiling to create an impressive custom hotel-style headboard feature.
- Concealed Doors: Wrap hidden storage cabinet doors in matching tambour panels so they blend invisibly into the feature wall.
Pro Tips Pair reeded walls with concealed LED strip lighting tucked into the baseboard or crown molding to cast dramatic vertical shadows upward.
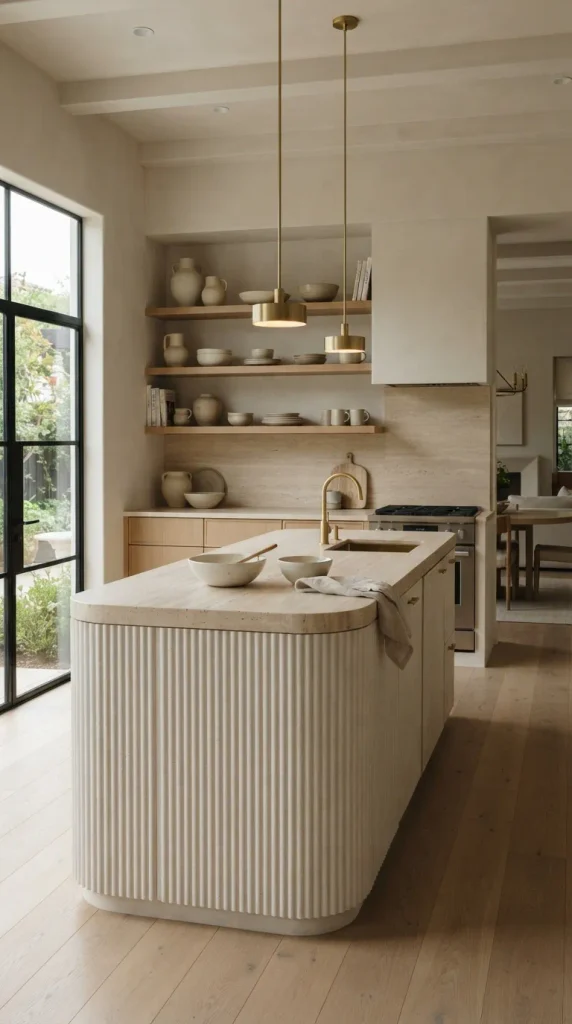
16. Hand-Beaten Matte Brass and Alabaster Pendant Light
The Concept Shiny polished brass can feel harsh and dated. Hand-beaten, brushed antique brass combined with glowing natural alabaster stone creates a warm, understated lighting fixture that serves as a piece of functional jewelry suspended over a dining table or kitchen island.
How to Make It
- Metal Shaping: Spin raw sheet brass on a lathe and use a ball-peen hammer to hand-beat a dimpled, organic texture across the outer shade surface.
- Stone Carving: Turn a block of natural alabaster into a cylindrical diffuser sleeve that fits snugly inside the metal shade.
- Patina Treatment: Apply a liver of sulfur solution to age the brass quickly, then rub it back with fine steel wool to achieve a soft, living antique finish.
Variations & Customization
- Multi-Tiered Cluster: Hang three pendants of varying heights in a staggered cluster configuration over a round dining table.
- Raw Iron Contrast: Substitute the brass with blackened raw iron for a more industrial neutral look.
Pro Tips Always install these pendant lights on a trailing-edge dimmer switch to adjust the color temperature and mood from bright task lighting to a candlelit glow.
17. Minimalist Dry Branch and Ceramic Floor Urn
The Concept Instead of purchasing fresh cut flowers every week that quickly wither, embrace wabi-sabi minimalism by displaying large, sculptural, gnarly dried branches—such as manzanita, contorted willow, or olive branches—inside a massive ceramic floor urn.
How to Make It
- Urn Sourcing: Find a heavy terracotta or ceramic amphora-style jar standing at least three feet tall in a chalky, unglazed bone finish.
- Branch Preparation: Forage fallen branches, strip loose bark, clean them thoroughly, and trim them to dramatic heights that reach toward the ceiling.
- Anchoring: Fill the bottom of the heavy urn with clean river rocks or dry sand to securely anchor the heavy branches upright.
Variations & Customization
- Bleached Birch Branches: Strip and whitewash birch branches for a clean, Scandinavian winter forest aesthetic.
- Dried Eucalyptus: Use bundles of silver-dollar eucalyptus dried naturally upside down for subtle, muted green undertones.
Pro Tips Place this large floral installation in an empty hallway corner or beside a fireplace hearth to instantly fill dead architectural space with organic art.
18. Custom Fluted Plaster Bathroom Vanity
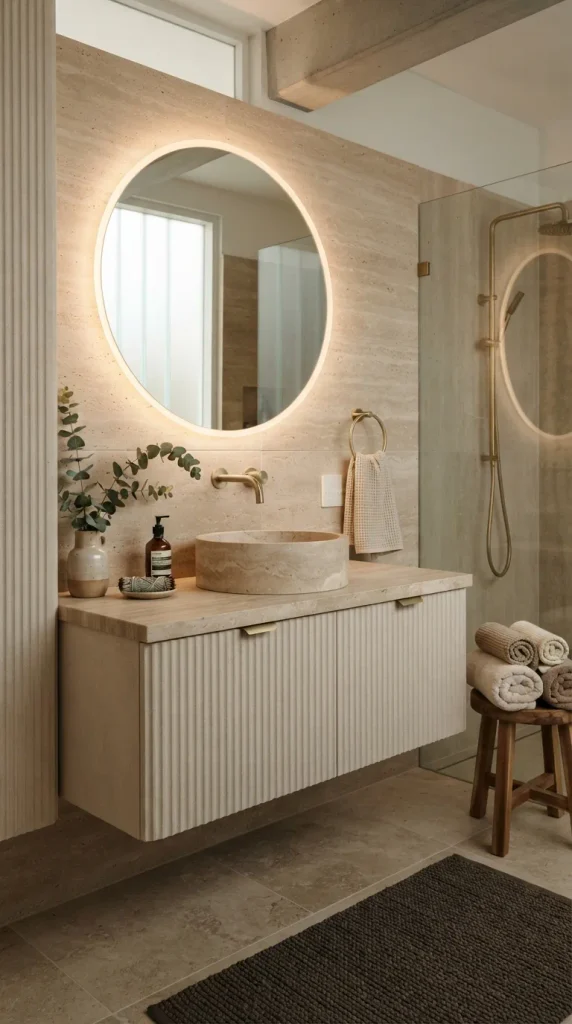
The Concept Bathrooms are often dominated by cold tiles, chrome, and shiny porcelain. Elevate a powder room or primary bath by building a custom vanity base wrapped in vertical plaster fluting and topped with a solid slab of honed travertine or cream limestone.
How to Make It
- Vanity Frame: Build a sturdy cabinet carcass out of moisture-resistant marine-grade plywood.
- Fluting Application: Attach half-round wooden molding strips vertically across the cabinet doors and drawer fronts.
- Plaster Skim: Apply a waterproof micro-cement or lime plaster coating over the entire vanity structure, pressing it into the flutes to create a seamless, stone-like monolithic piece.
- Countertop Integration: Drop an undermount stone sink into a matching custom-cut travertine vanity top with a wall-mounted brushed nickel or unlacquered brass faucet.
Variations & Customization
- Floating Wall Mount: Mount the fluted plaster vanity off the floor with heavy internal steel brackets to create a light, floating effect.
- Open Slatted Shelf: Leave the bottom tier open with a slatted wooden shelf for storing folded organic cotton bath sheets.
Pro Tips Pair this vanity with a large, round frameless mirror backlit with warm LED tape to enhance the organic, spa-like atmosphere.
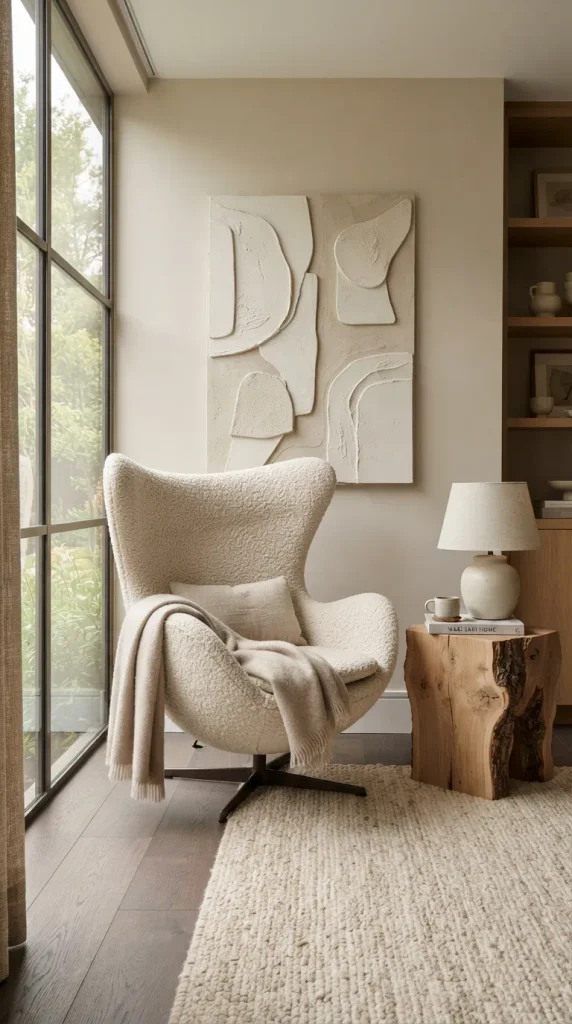
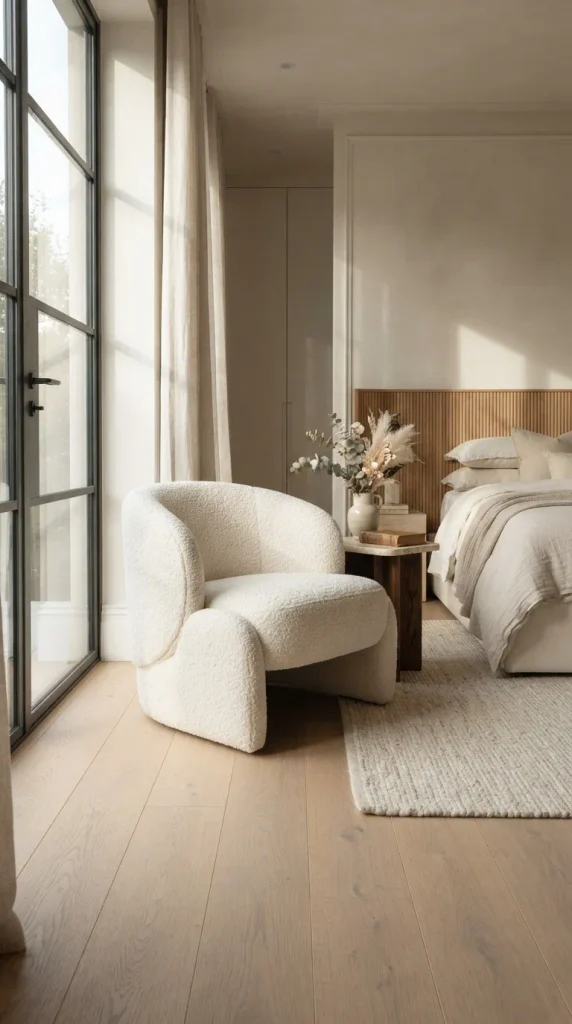
19. Heavy Wool Bouclé Upholstered Accent Chair
The Concept Chairs should offer both sculptural beauty and physical comfort. A low-slung, organic-shaped lounge chair upholstered in thick, nubby cream wool bouclé adds inviting tactile softness and modern mid-century elegance to any seating corner.
How to Make It
- Frame Construction: Craft a curvaceous, ergonomic wooden frame with sloping armrests and an integrated reclined backrest.
- Webbing and Foam: Install high-density elastic webbing and multi-density foam layers to ensure ergonomic lumbar support.
- Upholstery: Upholster the chair tightly in heavy-weight, high-pile wool bouclé fabric, ensuring all curves are smoothly wrapped without visible seams.
Variations & Customization
- Swivel Base: Mount the bouclé chair on a concealed 360-degree swivel mechanism for effortless conversational movement in open-plan rooms.
- Dark Walnut Legs: Expose solid walnut wooden legs protruding from underneath the bouclé upholstery for a classic two-tone neutral contrast.
Pro Tips Pair this accent chair with a minimalist brass floor reading lamp and a small walnut side table to create the ultimate secluded corner for journaling or reading.
20. Lime-Washed Gallery Hallway with Minimalist Sconces
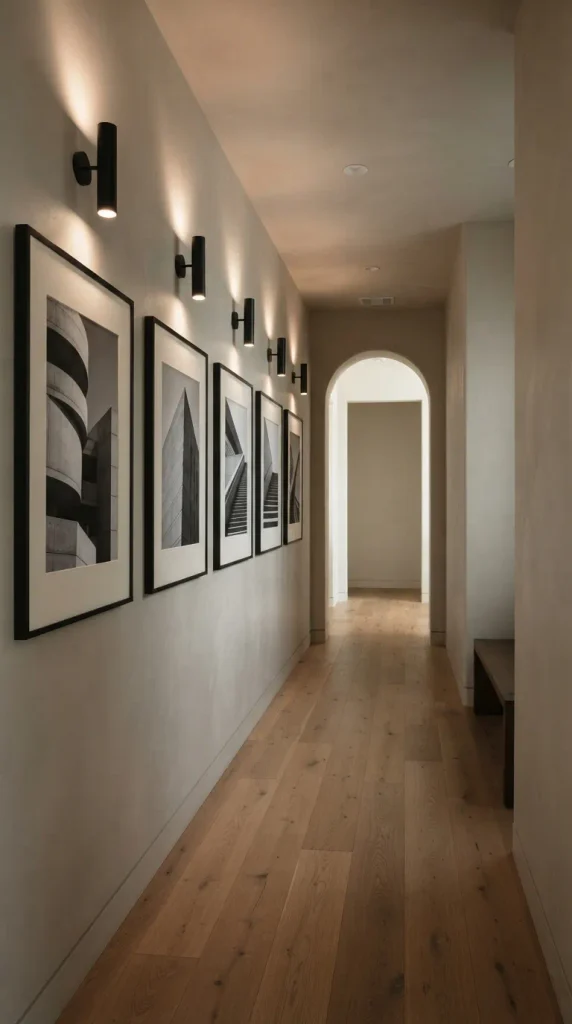
The Concept Hallways are transitional spaces that often feel dark and neglected. Transform a boring corridor into an art gallery experience by coating the walls in luminous warm lime-wash paint and lining them with minimalist black-framed monochromatic photography illuminated by sleek wall sconces.
How to Make It
- Wall Preparation: Smooth out imperfections and apply a mineral primer.
- Limewash Finish: Apply a creamy greige limewash paint using crisscross brush techniques to create an atmospheric, antique fresco effect.
- Art Hanging: Hang a series of large-scale architectural photography prints framed in slim, natural blonde oak frames with generous white matting.
- Lighting: Space low-profile architectural cylinder wall sconces evenly down the hallway to cast dramatic up-and-down light cones.
Variations & Customization
- Plaster Wainscoting: Build a low wall wainscoting ledge finished in micro-cement where small sculptural objects and art pieces can lean freely without nails.
- Hidden Doors: Paint flush interior doors the exact same limewash color so they disappear seamlessly into the hallway corridor walls.
Pro Tips Keep hallway flooring simple with wide-plank white oak laid in a classic straight-run pattern to elongate the perspective of the corridor.