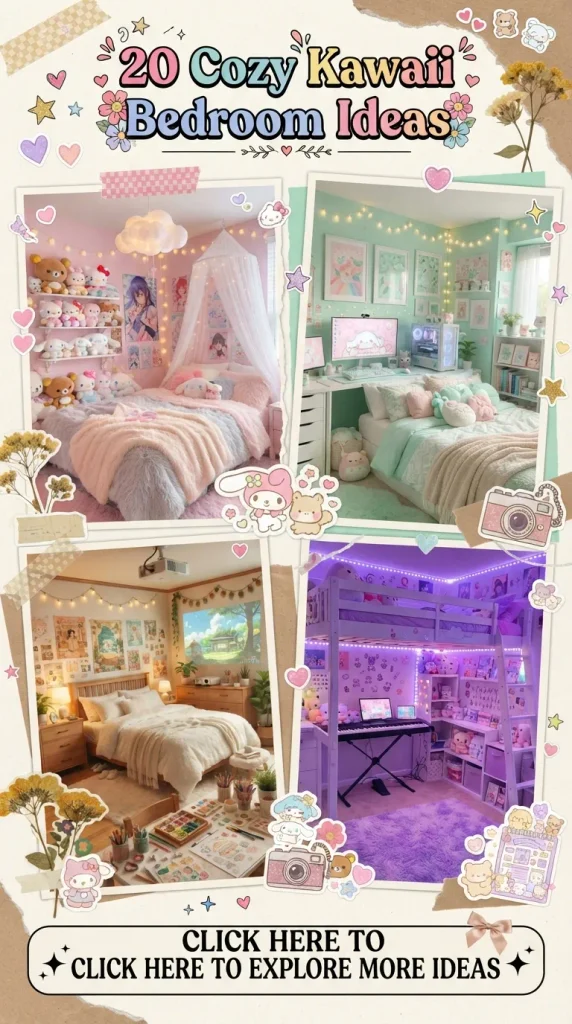
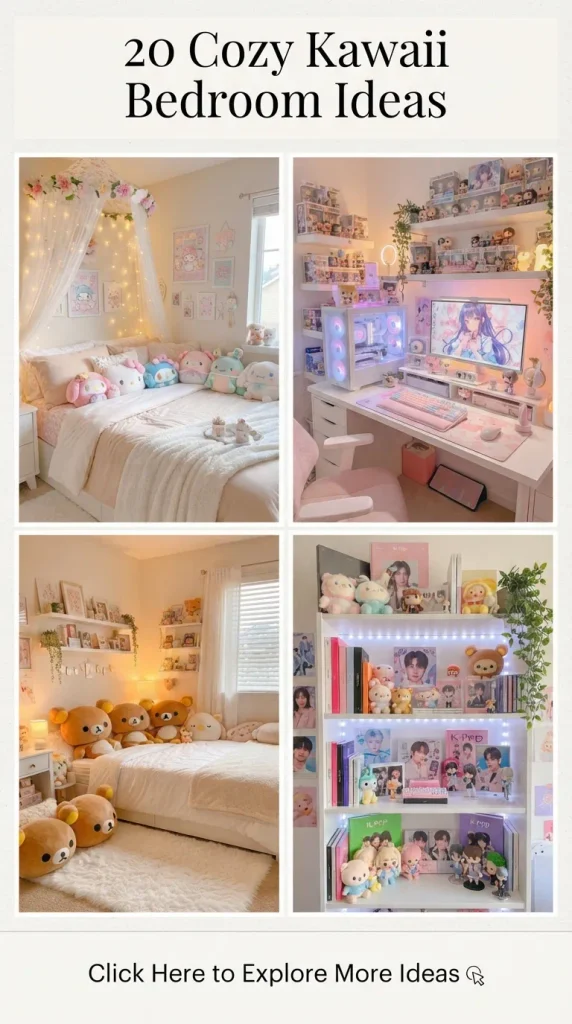
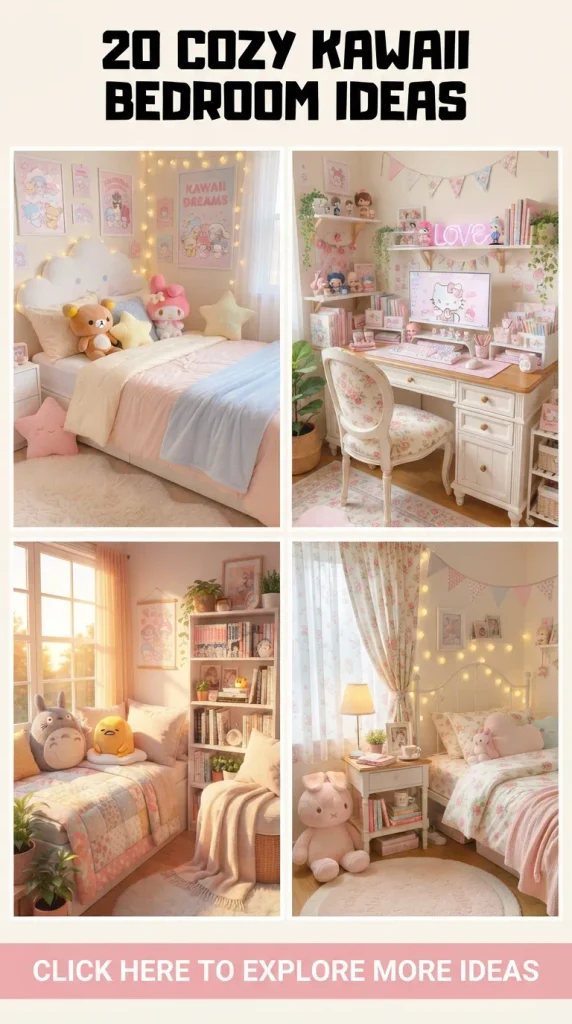
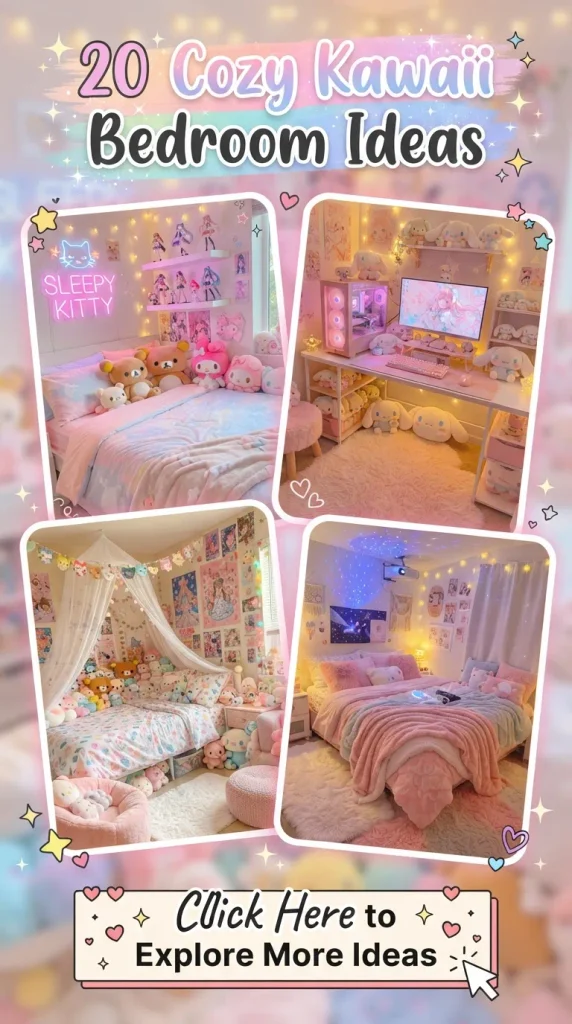
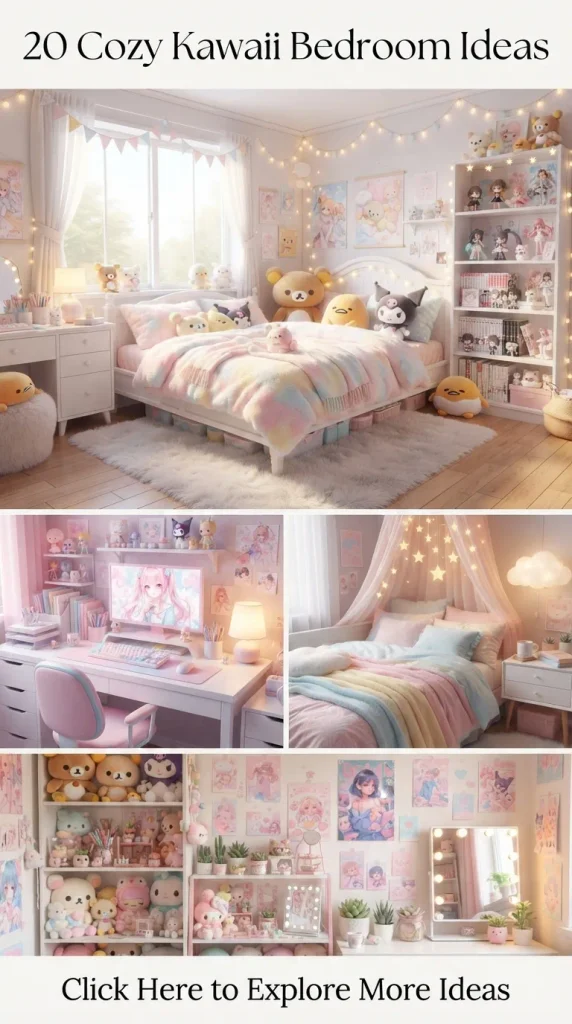
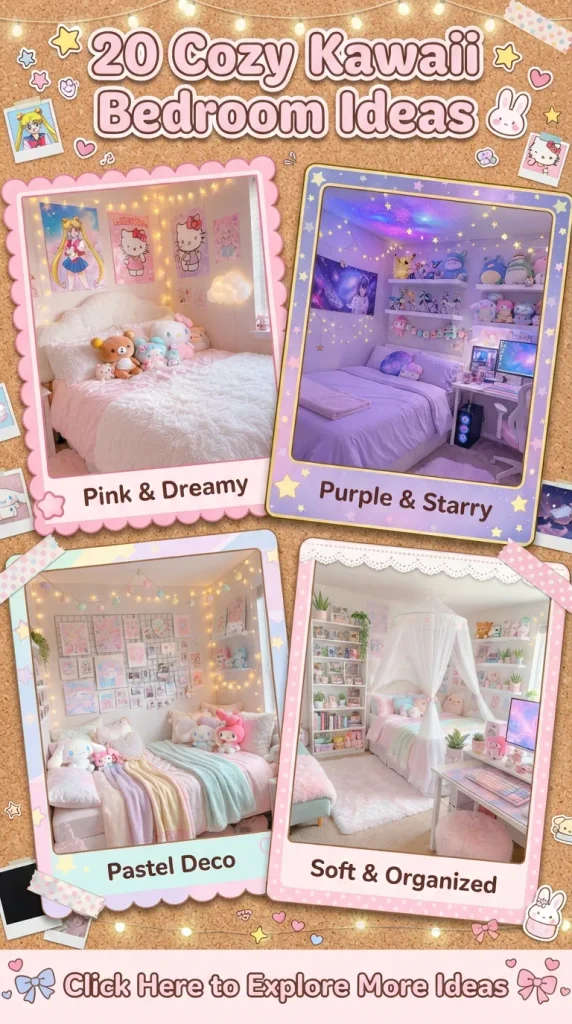
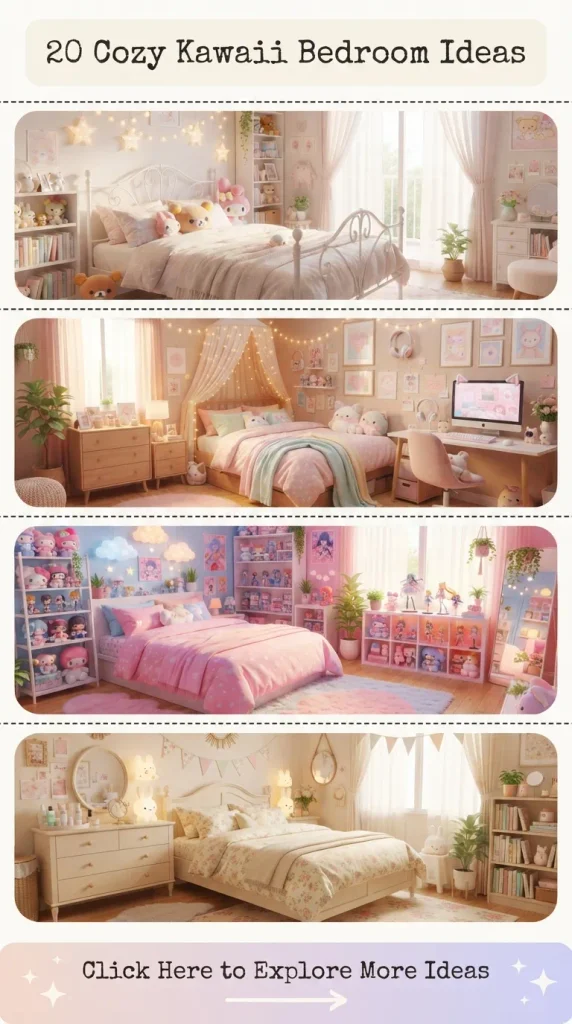
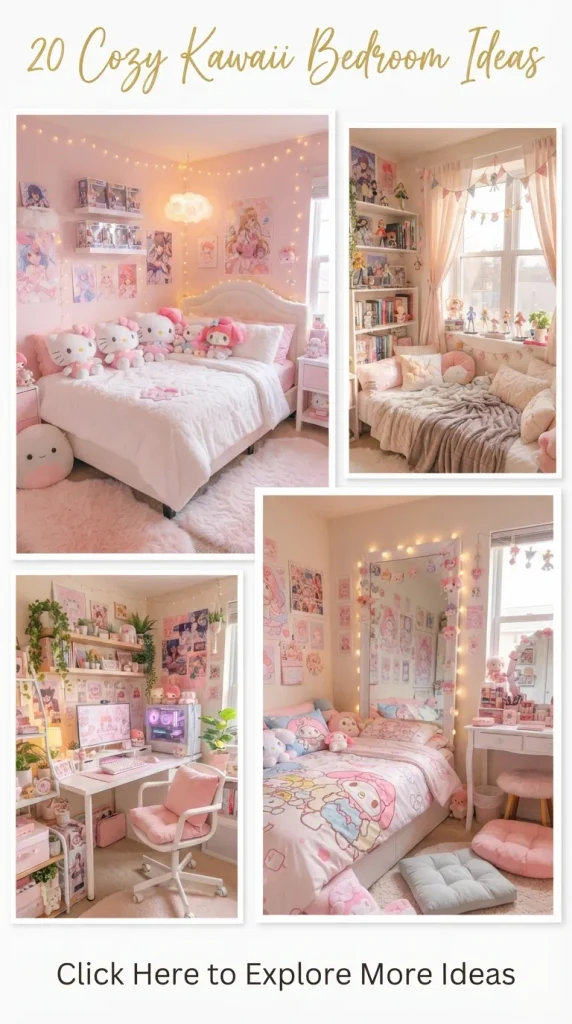
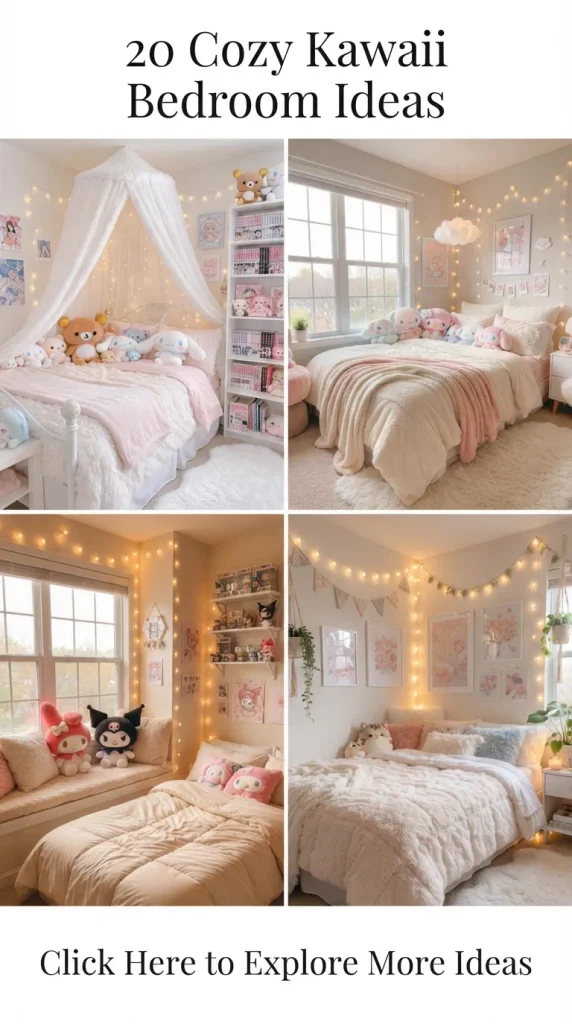
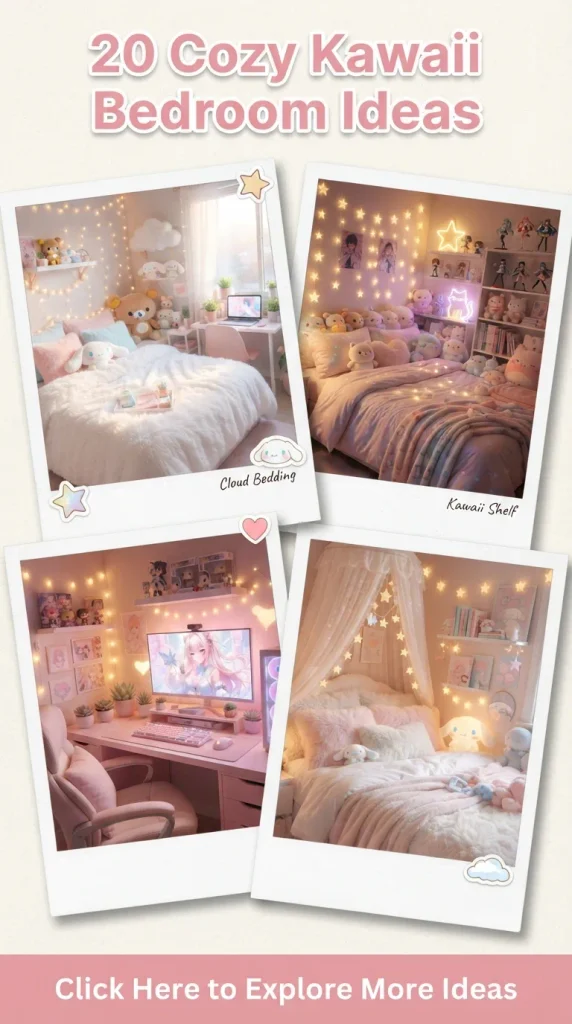
Transforming your living space into a dreamy, comforting sanctuary doesn’t require a complete structural overhaul. The Kawaii aesthetic—rooted in Japanese pop culture—celebrates cuteness, softness, pastel palettes, and deeply personal, comforting details. Whether you want to turn a compact dorm room into a cozy haven or refresh your bedroom into a pastel paradise, embracing this style brings unmatched joy and daily inspiration.
This comprehensive guide explores 20 aesthetic, amazing, gorgeous, and simple Kawaii room ideas. Each concept includes a detailed introduction, a breakdown of what the idea means, a step-by-step DIY guide on how to make it, essential tips and variations, and the specific materials you need.
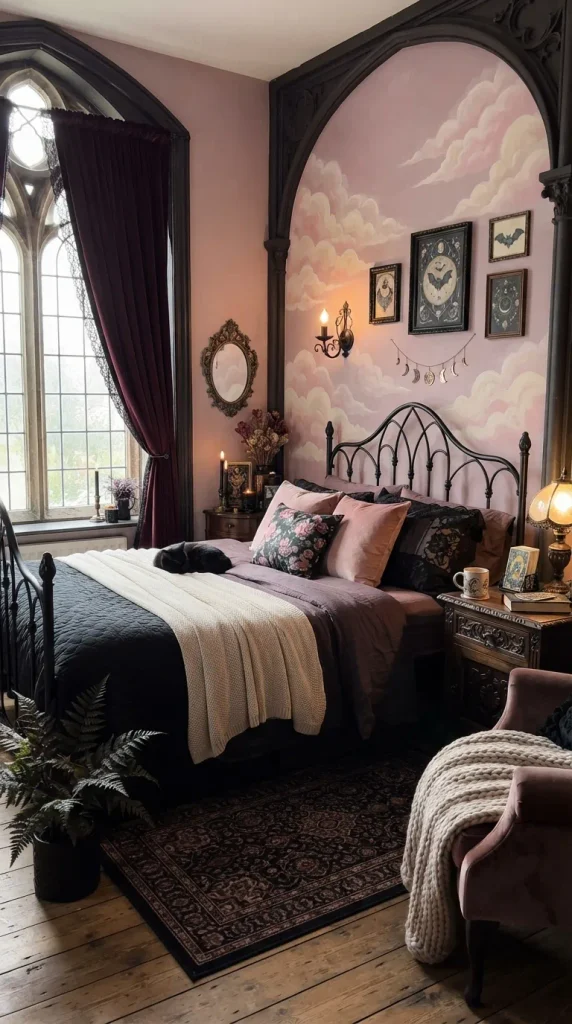
1. Pastel Cloud Accent Wall
Introduction
Bring the dreamy serenity of an open sky right into your bedroom with a soft pastel cloud accent wall. This design serves as a serene backdrop that instantly makes any standard room feel light, airy, and magical.
What This Idea Means
A cloud accent wall uses soft-edge, organic shapes painted or stenciled in muted pastel tones (like lavender, baby blue, or pale mint) against a warm white or cream background. It represents a tranquil escape, mimicking a peaceful sky floating just past your bedframe.
How to Make It
- Prep the Wall: Clean your accent wall thoroughly and apply a base coat of matte white or cream wall paint. Let it dry completely.
- Sketch the Clouds: Lightly sketch organic, puffy cloud shapes using a pencil. Vary the sizes to keep the composition looking natural and asymmetrical.
- Mix Your Pastels: Mix white wall paint with small amounts of soft pastel acrylic or latex craft paints until you achieve your desired hue.
- Paint and Blend: Fill in the cloud outlines using a small foam roller or brush. Soften the outer edges while the paint is slightly tacky to create a dreamy, blurred watercolor effect.
Tips and Variations
- Try a “sunset sky” variation by blending pastel pink, soft peach, and lavender clouds.
- Use peel-and-stick vinyl cloud decals for a temporary, renter-friendly alternative.
Materials Needed
- Base wall paint (matte white or cream)
- Pastel acrylic or latex paints (pink, blue, lavender)
- Small foam rollers and artist paintbrushes
- Painter’s tape and pencil
2. LED Sunset Projection Glow Corner
Introduction
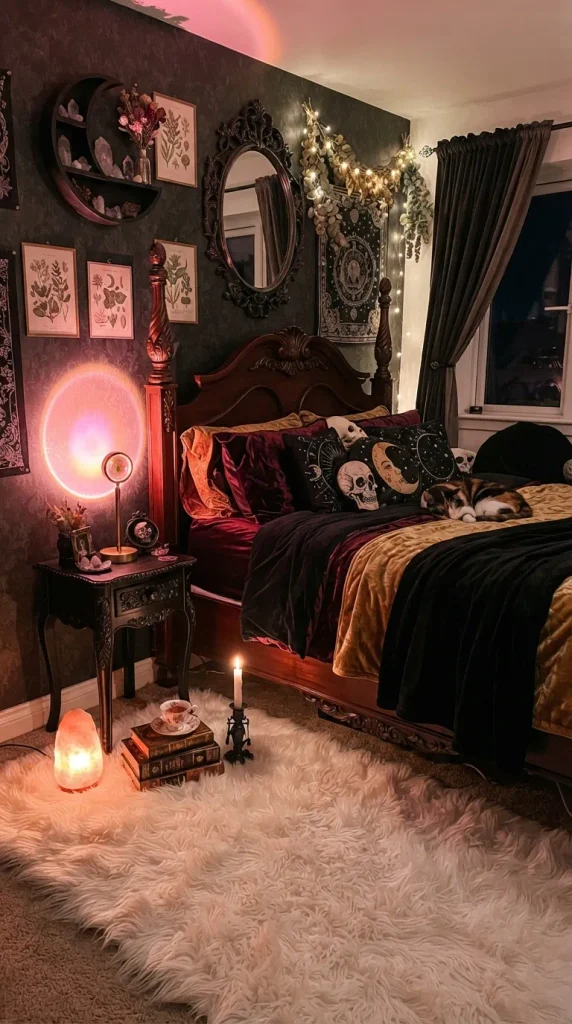
Capture the magical, golden hour glow at any time of the day or night. A sunset projection corner creates an intimate, warm atmosphere that instantly elevates your room’s nighttime aesthetic.
What This Idea Means
This concept focuses on utilizing directional projection lighting to cast a large, vibrant halo of warm light—reminiscent of a sunset or golden hour—across a blank corner of your room, creating an immersive, cozy photo backdrop.
How to Make It
- Choose Your Spot: Select an empty corner featuring minimal clutter and a light-colored wall.
- Position the Projector: Set up a sunset projection lamp on a low stool or bookshelf, angling it toward the corner wall at a 45-degree angle.
- Style the Base: Place a fluffy faux-fur rug directly beneath the projection circle and add a comfy floor cushion or bean bag.
- Layer Accessories: Surround the glowing circle with small fairy light strands or a potted houseplant to create depth and shadows.
Tips and Variations
- Opt for a multi-color RGB sunset lamp so you can switch between pink galaxy hues and golden hour warmth depending on your mood.
Materials Needed
- Sunset projection lamp with remote
- Fluffy faux-fur round rug
- Floor cushion or knitted pouf
- Extension cord
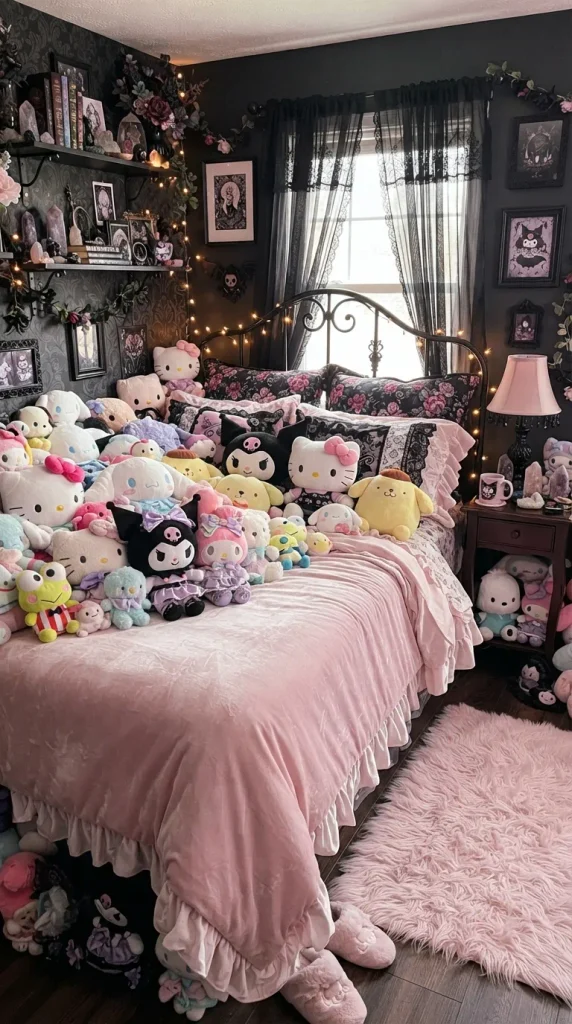
3. Plushie Mountain Bed Display
Introduction
Turn your bed into a plush, ultra-inviting cloud of cuteness. A curated plushie mountain display combines comfort with your favorite character collectibles.
What This Idea Means
Rather than simply tossing stuffed animals onto the bed, this styling technique arranges plushies by size and color gradient—placing larger ones in the back and smaller, rounder Kawaii characters in the front—creating a soft, friendly “mountain” of comfort.
How to Make It
- Layer Your Bedding: Start with a neutral or pastel duvet cover (such as pale pink or sage green) paired with ruffled pillowcases.
- Arrange the Base: Lean your largest plushies or character pillows flat against the headboard to form a supportive backrest.
- Build the Slopes: Stack medium-sized plushies on either side, creating symmetrical “shoulders” for your arrangement.
- Crown the Peak: Place your absolute favorite, roundest Kawaii plushies right at the very top center.
Tips and Variations
- Stick to a cohesive color family (such as all pinks and whites) to prevent the bed from looking visually cluttered.
Materials Needed
- Neutral or pastel duvet set
- Assorted Kawaii plushies (Sanrio, squishmallows, or anime characters)
- Euro-style accent pillows
4. Aesthetic Fairy Light Canopy
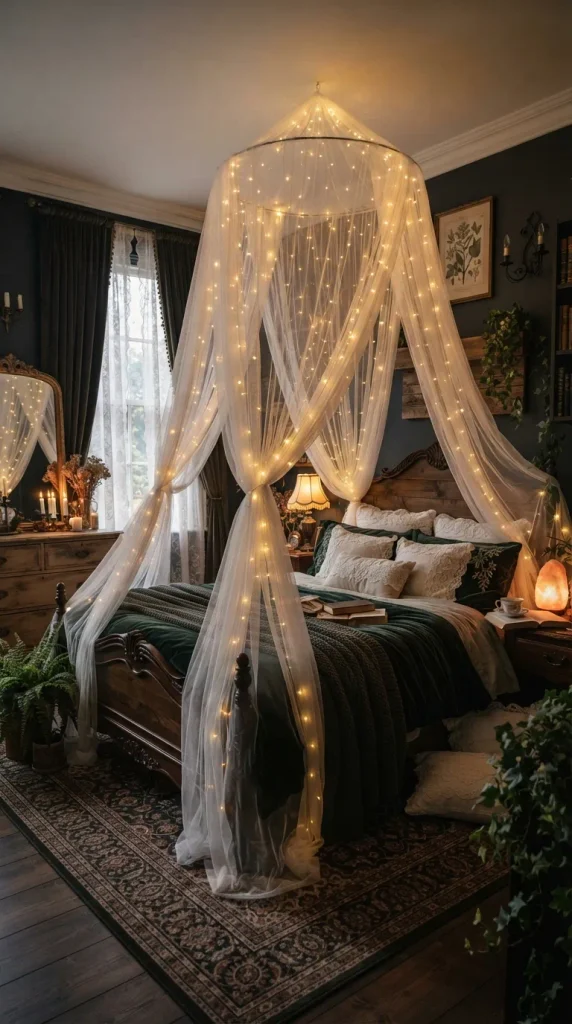
Introduction
Drape your sleeping space in celestial warmth with an ethereal fairy light canopy. This simple addition transforms an ordinary bed into a royal Kawaii castle or a cozy magical tent.
What This Idea Means
A light canopy uses sheer netting or tulle suspended from the ceiling, interwoven with warm white or pastel string lights, framing the bed in a glowing cocoon of security and peace.
How to Make It
- Install Ceiling Hooks: Secure two or four heavy-duty adhesive ceiling hooks above your bed corners or centered directly above your headboard.
- Hang the Tulle: Suspend lightweight sheer white or pastel pink curtain panels or a circular bed canopy net from the hooks.
- Weave the Lights: Carefully weave copper-wire fairy lights through the top folds of the tulle, letting the strings cascade downward.
- Secure and Test: Plug in the lights, adjust the drape of the fabric so it pools softly around the mattress edges, and secure any loose wires safely.
Tips and Variations
- Choose battery-operated remote-controlled fairy lights so you can turn them off easily from under your covers.
Materials Needed
- Sheer tulle canopy net or curtain panels
- Command adhesive ceiling hooks
- Copper wire warm-white fairy lights (plug-in or battery operated)
- Zip ties (optional for securing lights)
5. Kawaii Desk Stationery Grid
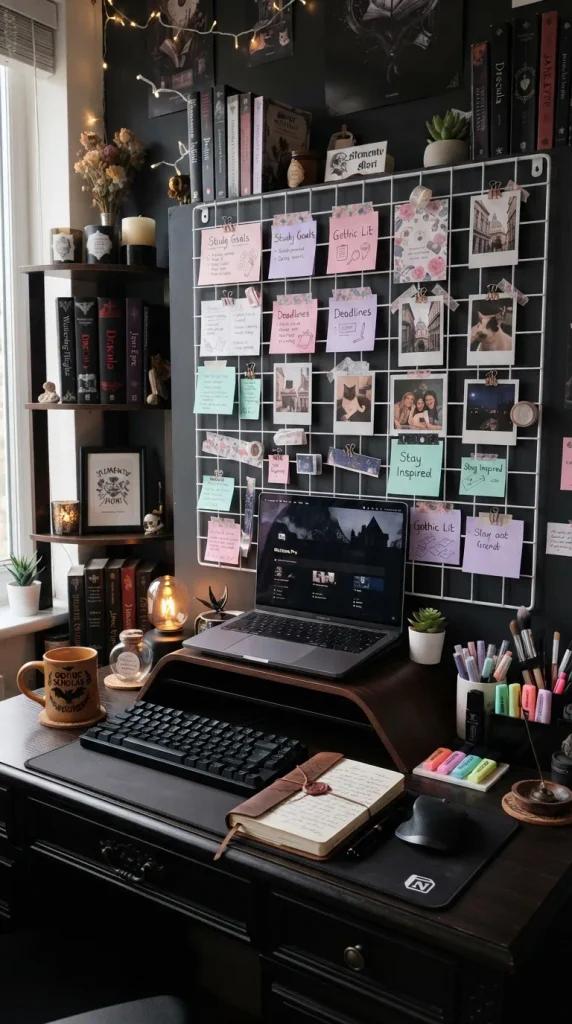
Introduction
Keep your creative workspace inspiring, organized, and utterly adorable. A wire grid panel filled with stationery and cute art prints sparks joy every time you sit down to study or create.
What This Idea Means
This concept turns an ordinary metal wall grid into a functional mood board, displaying pastel sticky notes, polaroids, washi tape rolls, aesthetic pens, and cute character stickers in an organized, artistic arrangement.
How to Make It
- Mount the Grid: Secure a matte white or pink metal wire grid panel to the wall directly above your study desk using wall anchors.
- Add Storage Baskets: Hang small matching wire baskets onto the grid to hold pens, scissors, and highlighters.
- Clip Your Inspiration: Use decorative wooden clips or colorful clips to attach art prints, calendar pages, and inspirational quotes.
- Accessorize: Hang loops of washi tape from the bottom wires for easy access and visual charm.
Tips and Variations
- Coordinate your stationery colors (like pastel pinks and mint greens) to match your room’s overall color scheme.
Materials Needed
- Metal wire grid panel (white or pink)
- Matching mini wire baskets and shelves
- Decorative wooden clips or pastel binder clips
- Aesthetic art prints, sticky notes, and washi tape
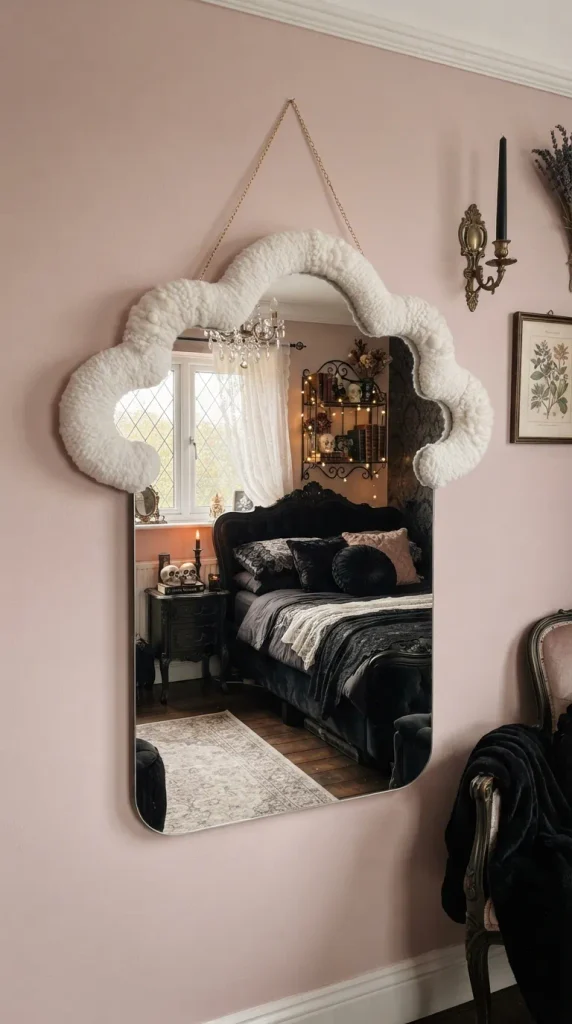
6. DIY Cloud Mirror
Introduction
Add a touch of whimsical wonder to your vanity or dressing area with a fluffy cloud mirror. It is inexpensive to make and instantly elevates your morning routine.
What This Idea Means
A cloud mirror takes a basic frameless mirror and wraps its perimeter in lightweight, sculptural cloud formations made from safe, non-toxic materials, making your reflection look like it’s floating in the sky.
How to Make It
- Select Your Mirror: Purchase an inexpensive frameless round or irregular-shaped wall mirror.
- Fluff Your Material: Pull apart polyester stuffing or cotton batting to give it an airy, voluminous cloud texture.
- Hot Glue in Layers: Working in small sections around the outer edge of the mirror glass, apply hot glue and press the fluff down, building organic, overlapping puffs.
- Trim and Shape: Once dry, gently pull and shape the fibers so they extend slightly over the outer edge of the glass without blocking your reflection.
Tips and Variations
- Attach a string of tiny fairy lights underneath the cotton before gluing for a glowing illuminated cloud effect.
Materials Needed
- Frameless round or wave mirror
- Large bag of polyester toy stuffing or cotton batting
- Hot glue gun and extra glue sticks
- Scissors
7. Pastel Washi Tape Wall Accent
Introduction
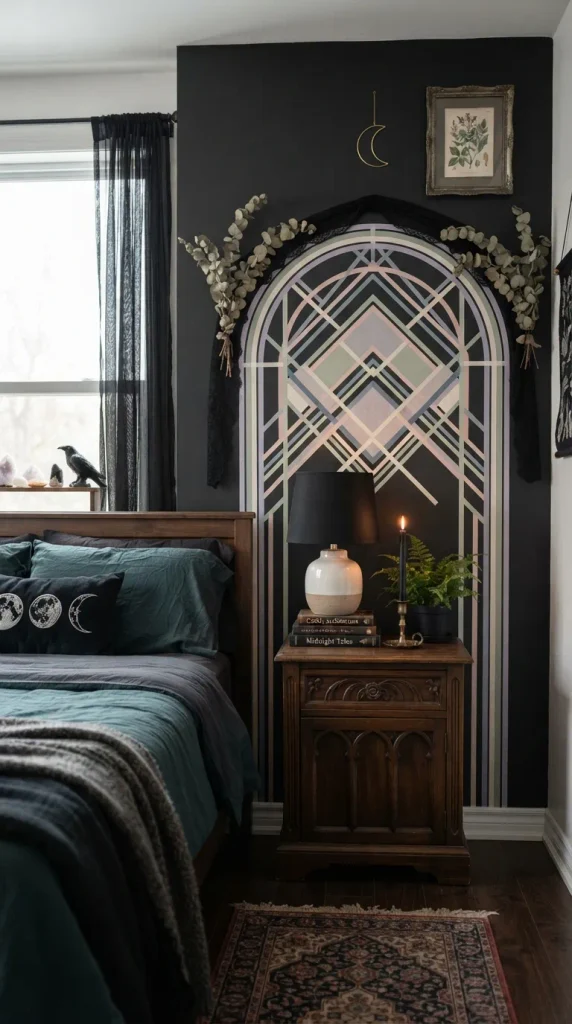
Rental-friendly and wonderfully creative, geometric washi tape wall art lets you add custom patterns and pastel borders to your walls without damaging the paint.
What This Idea Means
Washi tape—a decorative Japanese masking tape—is used to create clean-lined geometric frames, faux headboards, or wall murals that celebrate minimalist Kawaii geometry and soft color blocking.
How to Make It
- Plan Your Design: Sketch a simple mountain peak, arch, or frame pattern on a piece of paper first.
- Clean the Surface: Wipe down the wall section with a dry cloth to ensure the tape adheres securely.
- Apply the Tape: Press down pastel washi tape strips firmly along your planned lines, using a level or ruler for straight edges.
- Seal the Edges: Run your thumb firmly over the tape strips to ensure there are no air bubbles or loose corners.
Tips and Variations
- Create an arch shape behind your desk or nightstand using metallic gold or pastel pink washi tape.
Materials Needed
- Assorted pastel and metallic washi tape rolls
- Measuring tape and level
- Scissors
- Pencil (for light guidelines)
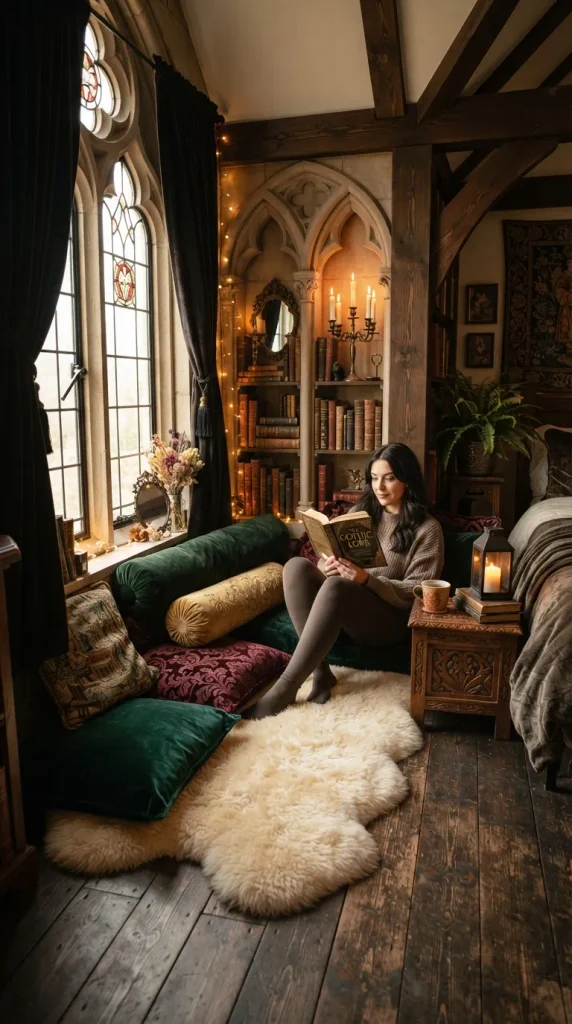
8. Cozy Reading Nook with Floor Cushions
Introduction
Designate a serene corner of your bedroom as a cozy escape dedicated to reading, journaling, or daydreaming with an ultra-soft floor cushion arrangement.
What This Idea Means
This idea prioritizes low-to-the-ground, flexible seating. By combining large floor cushions, oversized floor pillows, and a soft rug, you create an informal lounging space that feels intimate and grounding.
How to Make It
- Lay the Foundation: Place a plush faux-sheepskin or textured woven rug in an underutilized corner of the room.
- Stack the Cushions: Layer two large square floor cushions or a tufted mattress pad directly on the rug.
- Add Back Support: Lean oversized bolster pillows or character cushions against the corner walls.
- Set the Lighting: Place a small floor lamp or string lights nearby to cast a warm, inviting glow over your nook.
Tips and Variations
- Keep a knitted basket nearby filled with cozy pastel blankets for chilly evenings.
Materials Needed
- Large square floor cushions or Japanese tatami mat
- Faux-sheepskin or shaggy area rug
- Bolster pillows or backrest cushions
- Small woven storage basket
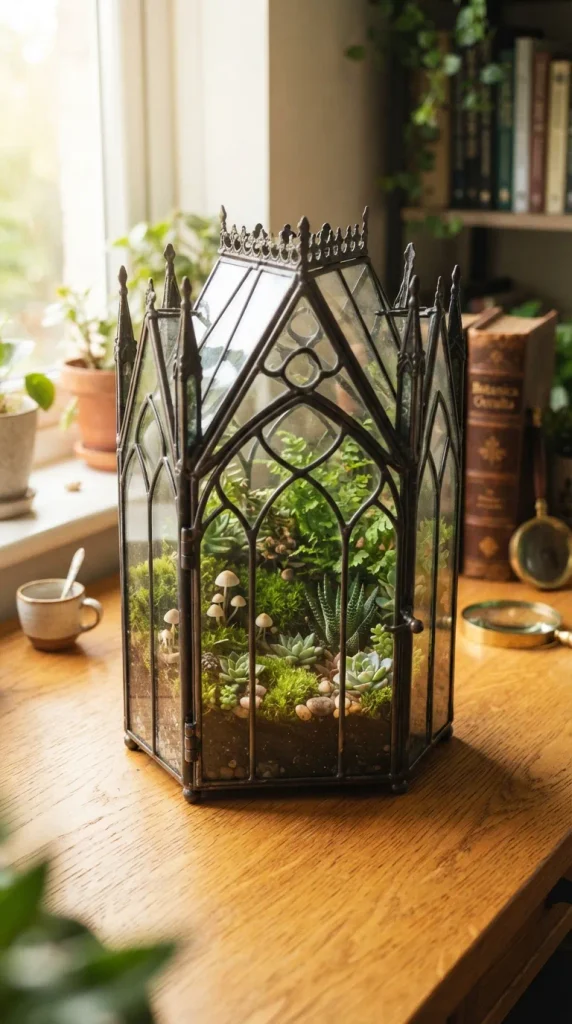
9. Mini Indoor Greenhouse with Succulents
Introduction
Bring nature indoors with a charming, miniature glass greenhouse filled with cute succulents and decorative miniature figures.
What This Idea Means
A mini house-shaped terrarium or glass greenhouse acts as a living art piece. Placing tiny potted succulents and whimsical miniature figurines inside adds a touch of enchanted forest aesthetics to your room.
How to Make It
- Prep the Greenhouse: Clean the glass panels of a small house-shaped terrarium box.
- Add Drainage: Line the bottom with a thin layer of small pebbles or activated charcoal to keep plant roots healthy.
- Plant Succulents: Add a nutrient-rich cactus soil mix and plant 2 to 3 miniature succulents inside.
- Decorate: Place tiny resin mushrooms, miniature animal figurines, or sparkling crystals among the plants to create a magical miniature landscape.
Tips and Variations
- Use artificial faux succulents if your room lacks direct natural sunlight.
Materials Needed
- Glass house-shaped terrarium container
- Small indoor succulents or air plants
- Decorative pebbles and cactus soil mix
- Miniature resin animal or mushroom figures
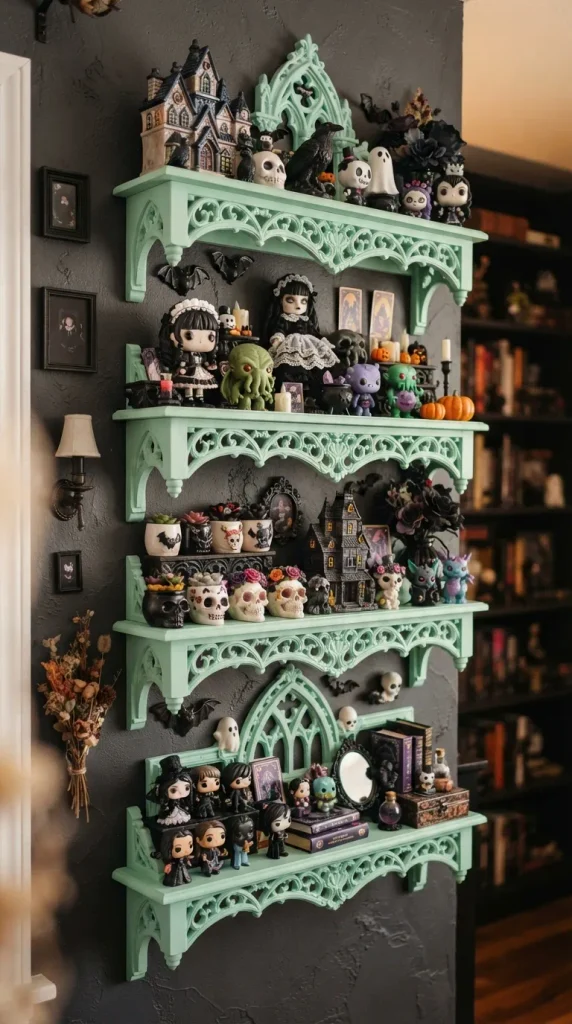
10. Kawaii Corner Floating Shelves
Introduction
Maximize your vertical wall space while displaying your cutest collectibles on pastel floating shelves shaped like clouds, houses, or simple clean lines.
What This Idea Means
Floating shelves elevate clutter off your desk and turn your favorite items—like blind-box figures, pastel mugs, and miniature books—into curated gallery displays.
How to Make It
- Select Your Shelves: Choose 2 to 3 wooden floating shelves painted in pastel mint, soft pink, or cream.
- Locate Studs: Use a stud finder to locate wall studs or insert heavy drywall anchors for stability.
- Mount Securely: Attach the shelf brackets to the wall, ensuring they are perfectly level.
- Style Your Display: Arrange items using the “rule of thirds”—placing taller items in the back, medium items on the side, and small figurines in the front.
Tips and Variations
- Paint standard plain pine shelves with pastel chalk paint for an easy, customized look.
Materials Needed
- Pastel wooden floating shelves
- Screwdriver, drill, and wall anchors
- Spirit level
- Collectibles, figures, and small potted plants
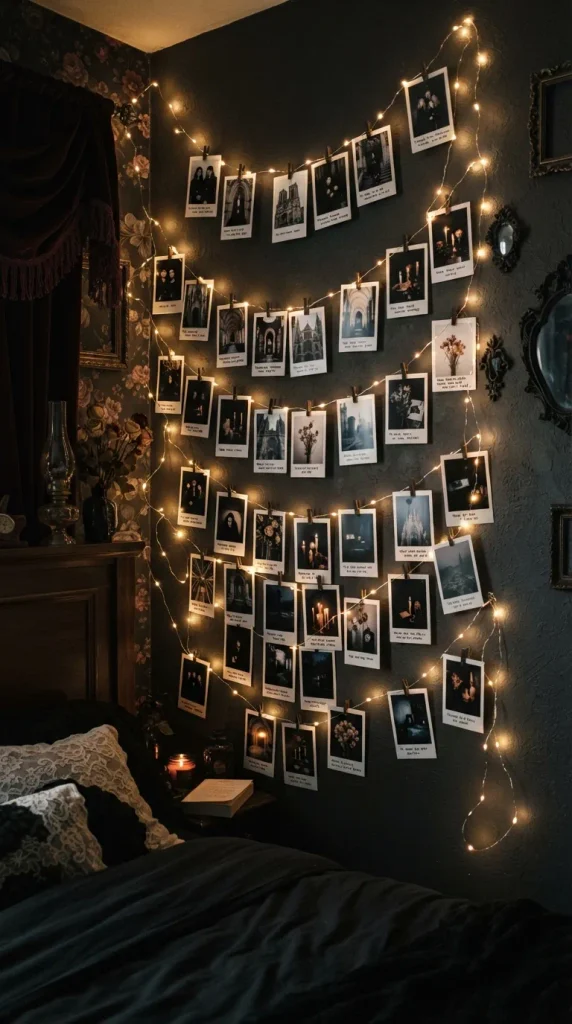
11. Custom Photo String Light Wall
Introduction
Surround yourself with your happiest memories and favorite aesthetic inspirations by creating a glowing photo string light display.
What This Idea Means
This idea combines polaroids, instant prints, and inspirational aesthetic cards clipped onto horizontal or vertical fairy light strands, creating a personal visual timeline of joy.
How to Make It
- Print Your Photos: Print out your favorite memories, aesthetic sceneries, and character art in polaroid style.
- String the Lights: Hang horizontal or zigzag strands of copper-wire photo clip lights across a prominent wall using clear adhesive clips.
- Clip Your Memories: Attach each photo to the built-in mini clips on the light string, spacing them evenly.
- Turn On: Illuminate the display at night to cast a warm, nostalgic glow across your room.
Tips and Variations
- Alternate photos with blank pastel cards or pressed flowers for added texture and variety.
Materials Needed
- Photo clip string lights (warm white)
- Polaroid-style photo prints
- Clear wall clips or adhesive hooks
- Mini wooden clothespins (if lights don’t have built-in clips)
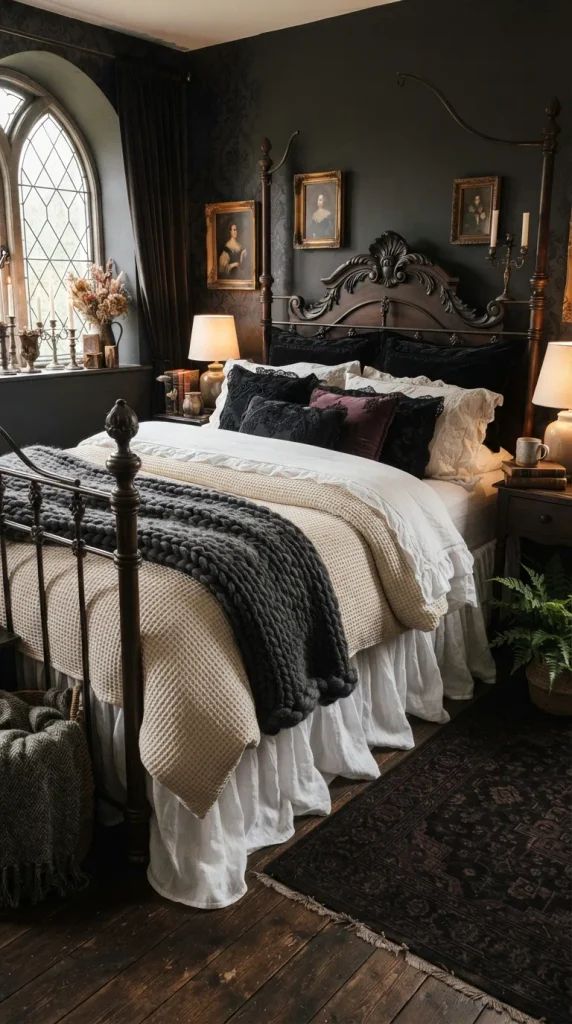
12. Soft Ruffled Bed Skirt and Layered Linens
Introduction
Achieve that signature hotel-luxury meets cozy cottagecore Kawaii look by incorporating soft ruffled bedding and thoughtfully layered textures.
What This Idea Means
Layering linens involves mixing textures (like cotton, waffle knit, and faux fur) and adding delicate details like ruffles or pom-pom trims to create depth and an inviting tactile experience.
How to Make It
- Install the Bed Skirt: Fit a crisp white or pastel pink ruffled bed skirt over your box spring to hide the bed frame legs.
- Lay Down Base Sheets: Use breathable cotton sheets in a soft neutral or gingham check pattern.
- Add the Duvet: Top with a textured waffle-knit duvet cover in cream or blush pink.
- Layer Throws: Fold a chunky knit throw blanket neatly across the foot of the bed.
Tips and Variations
- Mix pastel gingham patterns with solid-colored pillowcases for a charming picnic-chic aesthetic.
Materials Needed
- Ruffled cotton bed skirt
- Waffle-knit duvet cover set
- Chunky knit throw blanket
- Breathable cotton sheet set
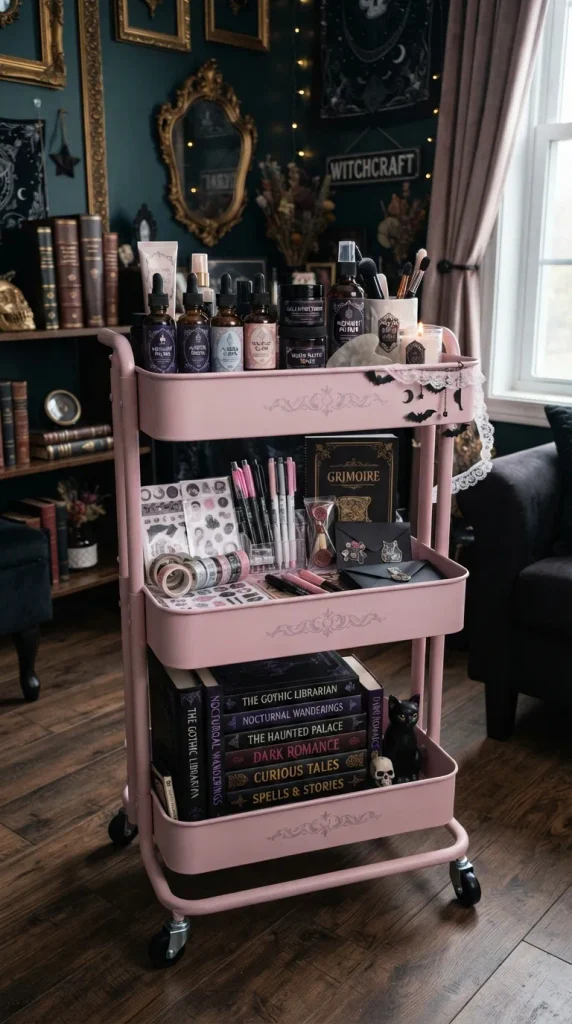
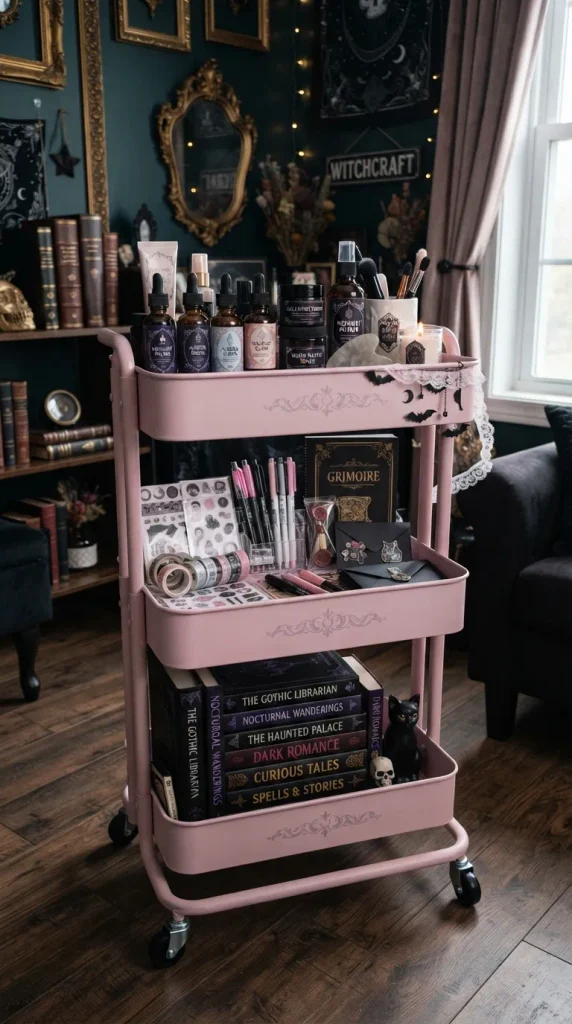
13. Pastel Storage Carts and Bins
Introduction
Keep your room effortlessly tidy while maintaining your color palette with rolling utility carts and stackable pastel storage bins.
What This Idea Means
Organization is key to maintaining a clean Kawaii aesthetic. Using pastel-colored utility carts and open bins ensures that everyday clutter has an adorable, accessible home.
How to Make It
- Assemble the Cart: Build a metal three-tier rolling utility cart in pastel pink, mint, or soft yellow.
- Categorize Your Items: Dedicate the top tier to daily essentials (skincare, pens, journals), the middle tier to craft supplies, and the bottom tier to books or extra blankets.
- Add Labels: Label smaller pastel storage boxes with cute printed labels or washi tape tags.
- Position Conveniently: Roll the cart next to your desk, bed, or vanity for easy access.
Tips and Variations
- Hang small magnetic cups on the side of a metal utility cart to hold loose pens and scissors.
Materials Needed
- 3-tier rolling metal utility cart (pastel color)
- Stackable plastic or fabric pastel storage bins
- Label maker or cute stickers
- Drawer dividers
14. Dreamy Cloud Mobile Hanging Decor
Introduction
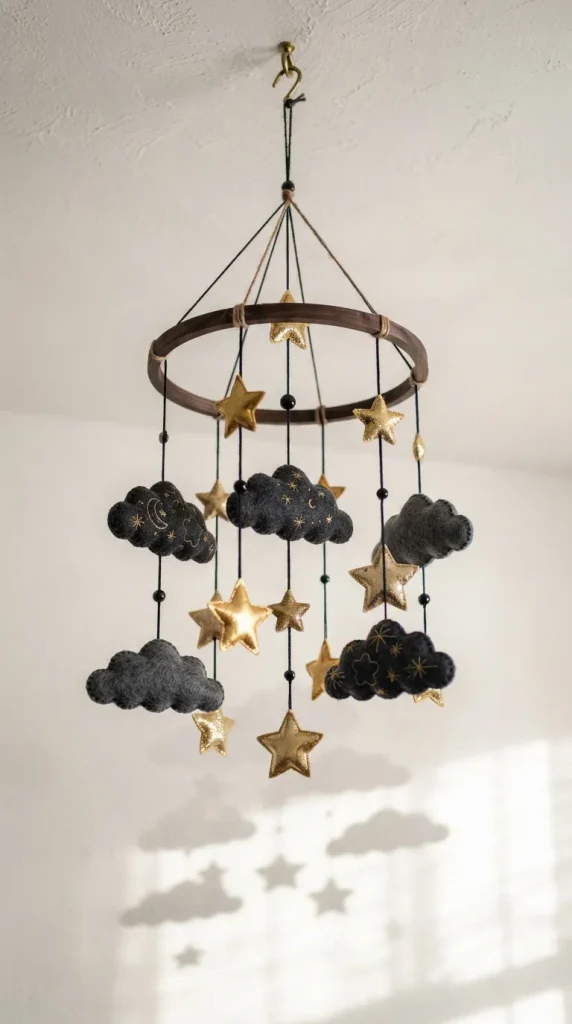
Add gentle movement and dreamy charm to your ceiling space with a handmade cloud and star mobile that sways softly with the breeze.
What This Idea Means
A hanging mobile introduces vertical interest and kinetic art to your room. Suspended from a wooden hoop or branch, handmade felt clouds and golden stars catch the light and create a soothing focal point.
How to Make It
- Cut Felt Shapes: Cut out cloud shapes from white felt and star shapes from metallic gold felt.
- Stuff the Clouds: Sew around the edges of the cloud pairs, leaving a small opening to stuff lightly with polyester fiberfill before stitching closed.
- Attach to Hoop: Tie clear fishing line or white embroidery floss to your shapes and secure them at varying lengths to a painted wooden embroidery hoop.
- Hang from Ceiling: Suspend the hoop from a ceiling hook above your bed or reading nook.
Tips and Variations
- Incorporate small sparkling crystal beads along the strings to catch sunlight during the day.
Materials Needed
- White and gold felt sheets
- Polyester stuffing
- Wooden embroidery hoop
- Clear fishing line or embroidery floss
- Needle and thread
15. Kawaii Vanity Makeup & Skincare Station
Introduction
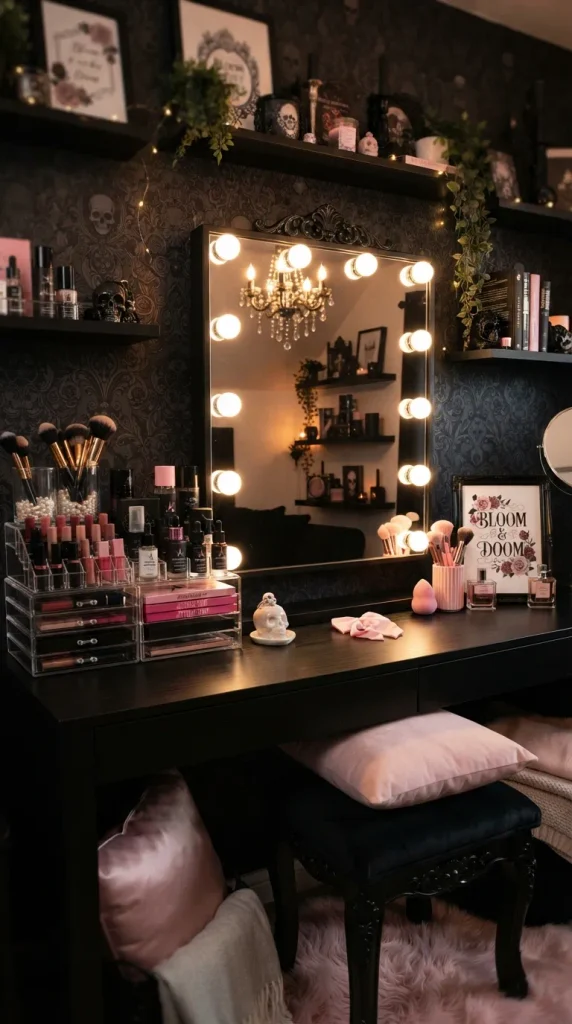
Turn your daily beauty routine into a luxurious self-care ritual with an organized, aesthetic vanity station designed for comfort and cuteness.
What This Idea Means
A Kawaii vanity station features clean white or pastel organizers, lighted mirrors, and cute character trays that display your favorite skincare bottles and perfumes like works of art.
How to Make It
- Set Up the Surface: Clear your vanity desk and place an LED Hollywood-style makeup mirror in the center.
- Organize Products: Use clear acrylic or pastel pink drawer organizers to sort lipsticks, brushes, and palettes.
- Add Cute Trays: Place daily skincare items on a ceramic cat-shaped or heart-shaped tray.
- Style the Chair: Drape a faux-fur chair cover over your vanity stool for ultimate comfort.
Tips and Variations
- Keep a small facial mist and hand cream in cute animal packaging front and center on your tray.
Materials Needed
- LED vanity mirror with adjustable lighting
- Clear acrylic makeup organizer drawers
- Ceramic trinket trays
- Faux-fur stool cover
16. Aesthetic Dried Flower Bud Vases
Introduction
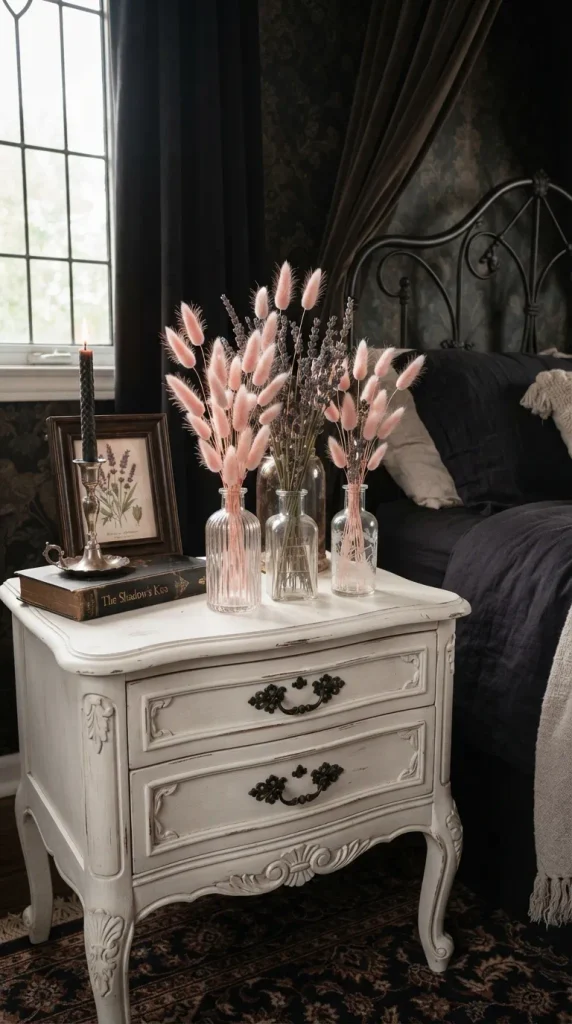
Introduce natural textures and everlasting beauty with minimalist glass bud vases filled with pastel-dyed bunny tails and dried lavender.
What This Idea Means
Dried botanicals require zero maintenance while adding organic warmth and rustic elegance to your shelves and nightstands, fitting seamlessly into a soft pastel color scheme.
How to Make It
- Select Vases: Gather 3 small, uniquely shaped glass bud vases or apothecary bottles.
- Choose Botanicals: Select pastel-dyed bunny tails (Lagurus ovatus), dried baby’s breath, and sprigs of eucalyptus.
- Trim Stems: Cut the stems to varying heights using floral shears so they sit perfectly in each vase.
- Arrange: Place 3 to 5 stems per vase and arrange them on your nightstand or bookshelf.
Tips and Variations
- Spray the dried flowers lightly with hairspray to prevent shedding over time.
Materials Needed
- Assorted small glass bud vases
- Dried bunny tails (pastel pink, white, lavender)
- Preserved eucalyptus sprigs
- Floral shears
17. Pastel Pegboard Craft & Accessory Board
Introduction
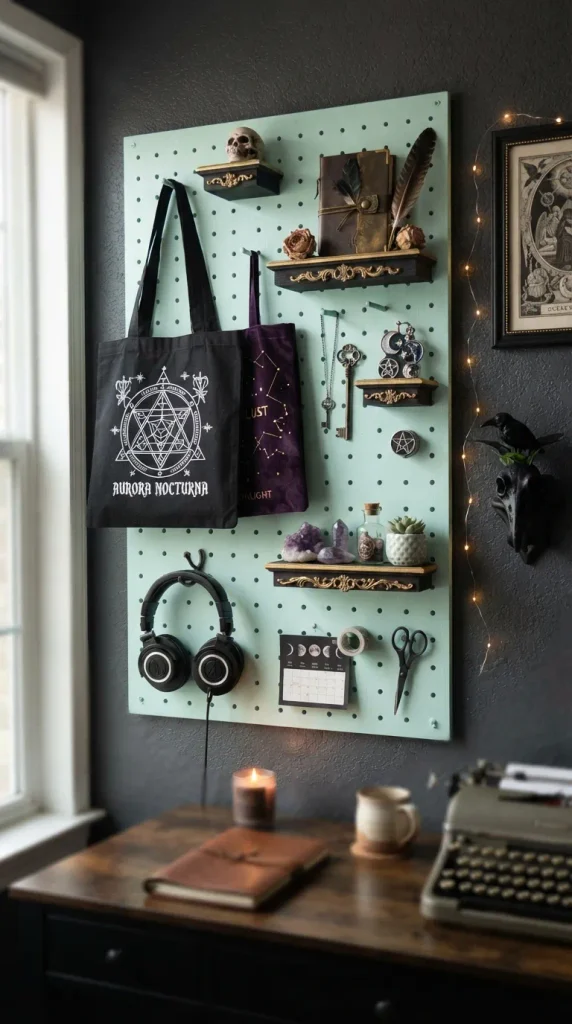
Combine functionality with personalized wall art by installing a customizable pastel pegboard to hold your bags, headphones, and accessories.
What This Idea Means
A pegboard is the ultimate modular organization tool. Painted in a soft pastel hue, it allows you to move shelves, pegs, and hooks around whenever your storage needs change.
How to Make It
- Paint the Board: Apply two coats of pastel mint or pink chalk paint to a wooden pegboard panel. Let it dry completely.
- Mount to Wall: Install heavy-duty mounting brackets and secure the pegboard firmly to your wall.
- Insert Pegs and Shelves: Insert wooden pegs and small matching shelves into the board holes.
- Hang Accessories: Hang your favorite aesthetic tote bags, headphones, hats, and necklaces from the pegs.
Tips and Variations
- Add a small hanging wire basket to the pegboard to hold sunglasses and keys.
Materials Needed
- Wooden pegboard panel
- Pastel chalk paint and paintbrush
- Pegboard wall mounting kit
- Matching wooden pegs and mini shelves
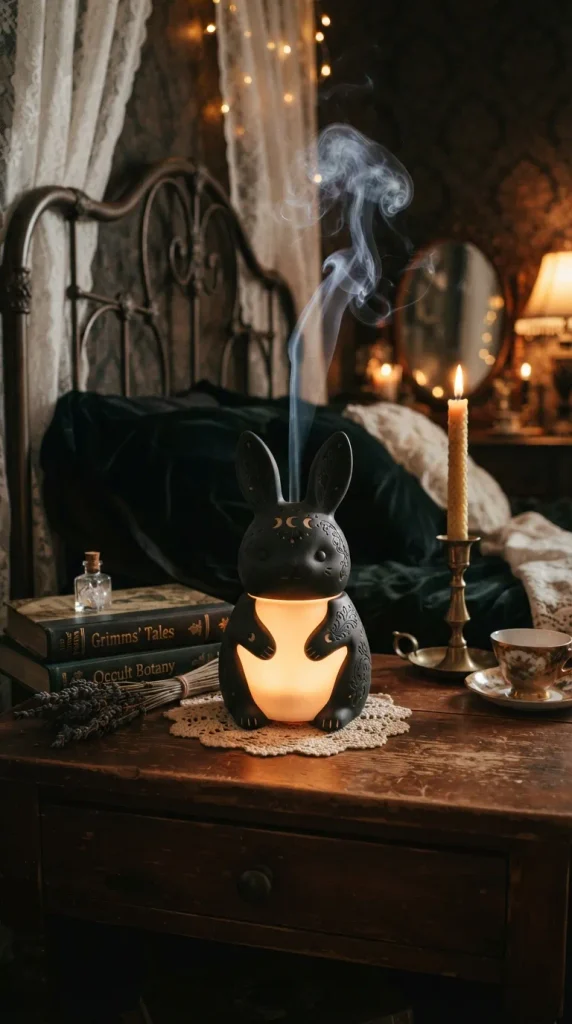
18. Cute Character Nightlight and Diffuser
Introduction
Ensure your room smells like heaven while glowing with a soft, comforting light at bedtime using an adorable character aroma diffuser.
What This Idea Means
Combining aromatherapy with ambient lighting, a cute animal-shaped humidifier or diffuser (like a sleeping bunny or bear) purifies the air and creates a soothing sensory bedtime experience.
How to Make It
- Choose Your Spot: Place your diffusers safely on a sturdy nightstand or shelf near an electrical outlet.
- Fill with Water: Add clean water to the fill line and add 3 to 5 drops of your favorite essential oil (like lavender or vanilla).
- Turn on the Glow: Switch on the gentle LED nightlight feature.
- Enjoy: Let the soothing mist and soft ambient glow relax you before sleep.
Tips and Variations
- Use calming lavender oil for deep sleep or sweet orange oil for a refreshing morning wake-up.
Materials Needed
- Animal-shaped ultrasonic essential oil diffuser / humidifier
- Pure essential oil bottles (lavender, vanilla, chamomile)
- Microfiber cloth for cleaning
19. Aesthetic Aesthetic Tapestry Wall Hanging
Introduction
Fill a large empty wall space quickly and affordably with a gorgeous, high-resolution aesthetic textile tapestry featuring anime landscapes or dreamy skies.
What This Idea Means
A tapestry acts as an oversized focal point that completely shifts the mood of a room, covering plain white rental walls with vibrant, comforting storytelling art.
How to Make It
- Iron the Tapestry: Gently iron or steam the back of your fabric tapestry on a low setting to remove any shipping creases.
- Choose Hanging Method: Select between heavy-duty command hanging strips, push pins, or decorative clips.
- Align and Secure: Center the tapestry on your main wall (such as above your bed or couch) and secure the top corners first.
- Smooth Down: Press the remaining edges securely against the wall.
Tips and Variations
- Frame the outer edges of your tapestry with fairy lights to make the artwork pop at night.
Materials Needed
- Aesthetic fabric wall tapestry (9:16 vertical proportion or large landscape)
- Command damage-free hanging strips or decorative push pins
- Hand steamer or iron
20. Cozy Corner Reading Hammock or Swing Chair
Introduction
Create the ultimate relaxing sanctuary with a hanging canvas hammock chair piled high with soft, pastel throw pillows.
What This Idea Means
A hanging chair introduces an element of playful relaxation, turning an ordinary bedroom corner into a cozy private retreat for reading or listening to music.
How to Make It
- Locate Ceiling Joist: Find a secure ceiling joist or install a heavy-duty ceiling suspension mount designed for hammock chairs.
- Hang the Chair: Attach your canvas hammock swing using a strong carabiner and sturdy nylon rope or chain.
- Add Comfort: Toss a plush oversized seat cushion and 2 to 3 soft pastel throw pillows inside the seat.
- Test Weight: Test the chair gently for safety and stability before sitting down.
Tips and Variations
- Wrap a string of ivy leaves or fairy lights around the hanging rope for an enchanted garden vibe.
Materials Needed
- Canvas hammock swing chair (cream or pastel pink)
- Heavy-duty ceiling mount and carabiner
- Thick nylon hanging rope
- Plush seat cushion and throw pillows