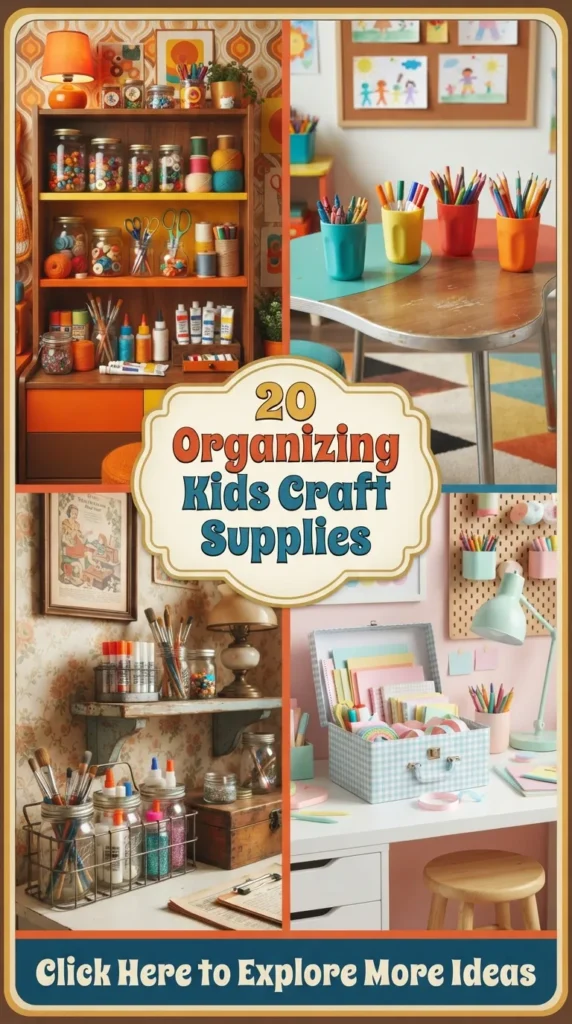
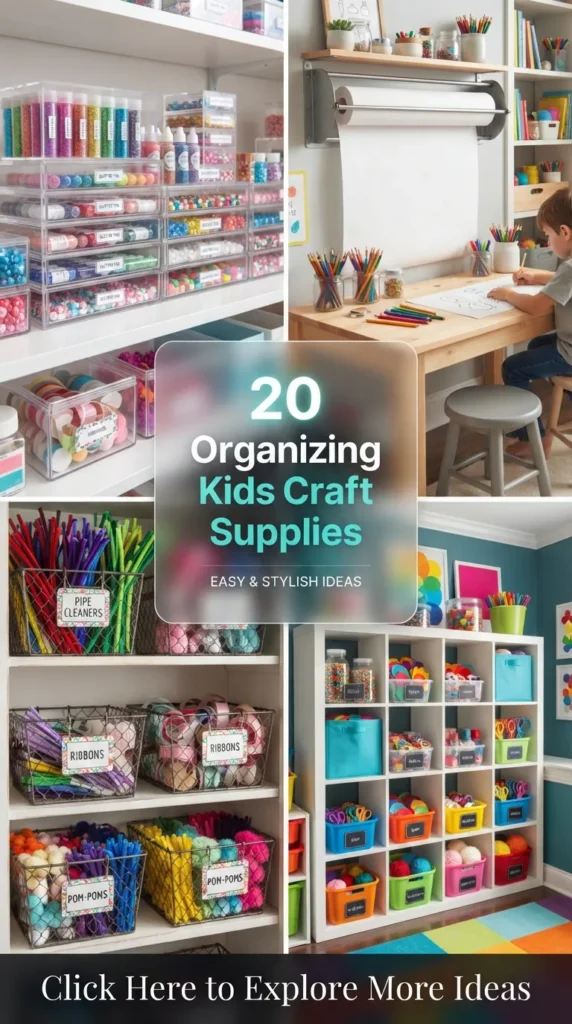
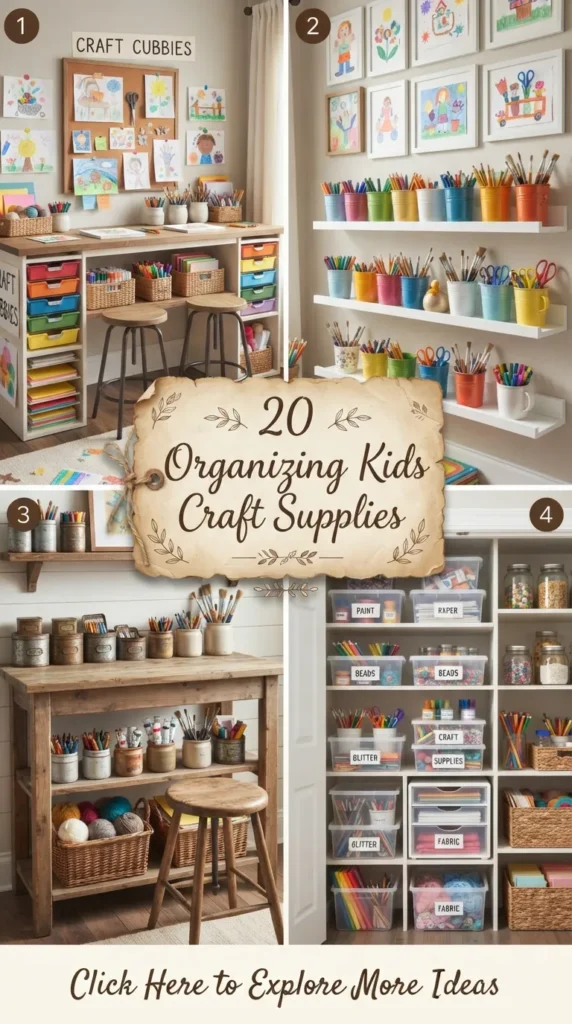
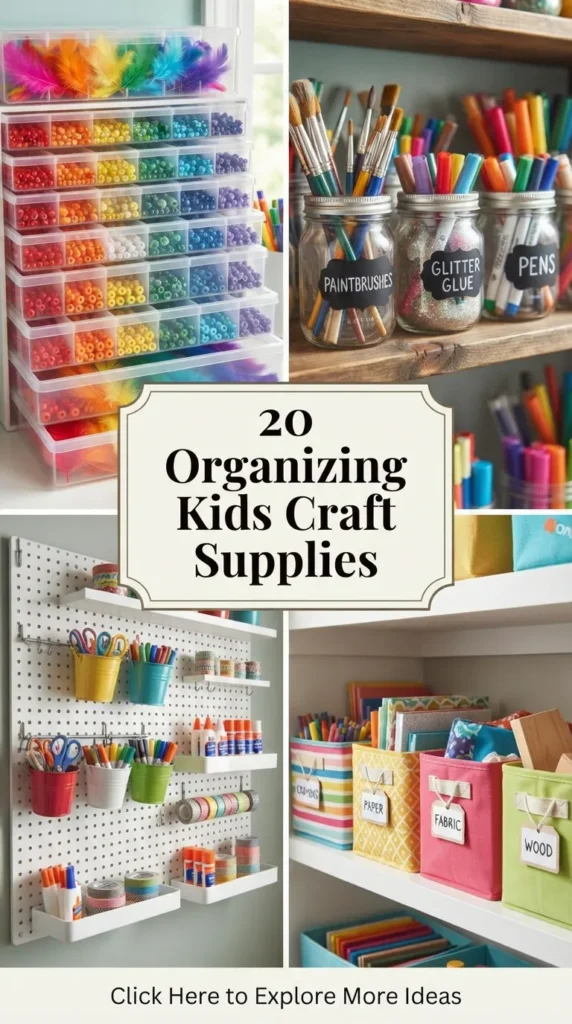
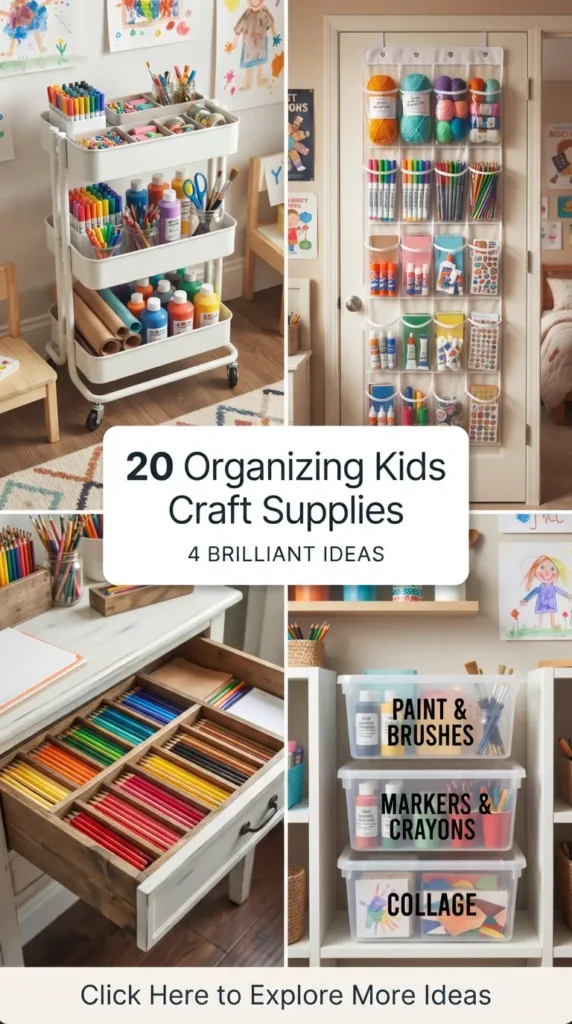
Organizing kids’ craft supplies can often feel like trying to contain chaos in a box. Between the vibrant mountains of construction paper, stray beads rolling across the floor, dried-out markers, and endless bottles of glitter, creative playtime can quickly turn into a household nightmare. However, fostering creativity in children doesn’t mean you have to sacrifice your home’s peace and neatness. With smart, functional, and aesthetically pleasing organization strategies, you can transform a chaotic art corner into an inspiring, accessible craft station.
When children can see and reach their materials easily, they are far more likely to engage in independent creative play. Moreover, clean and organized storage teaches kids responsibility, making cleanup time a seamless part of the crafting process. Here are 20 realistic, Pinterest-inspired organization ideas designed to keep your child’s craft supplies neat, functional, and visually inviting.
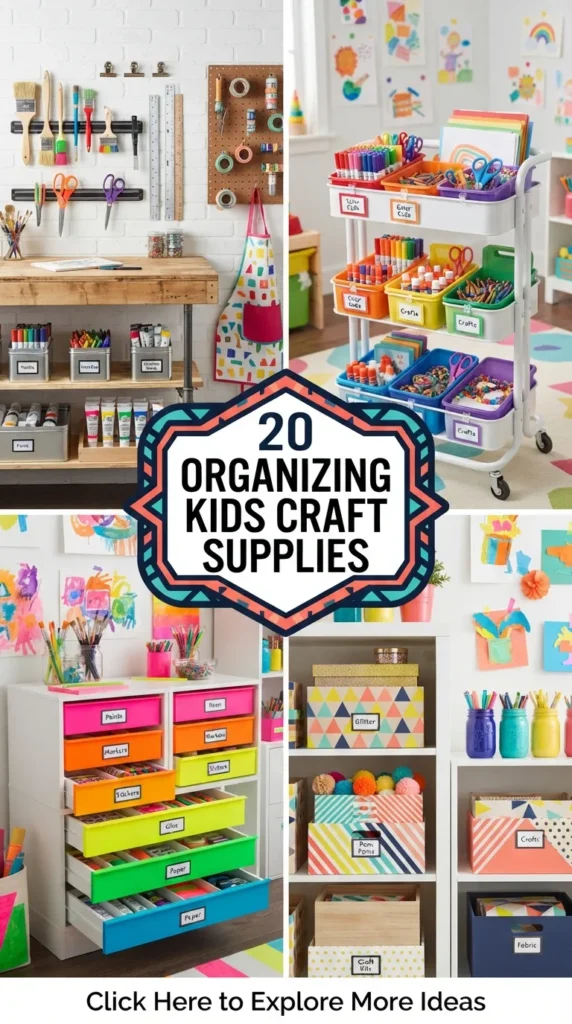
1. Rolling Multi-Tiered Utility Cart
What This Idea Means
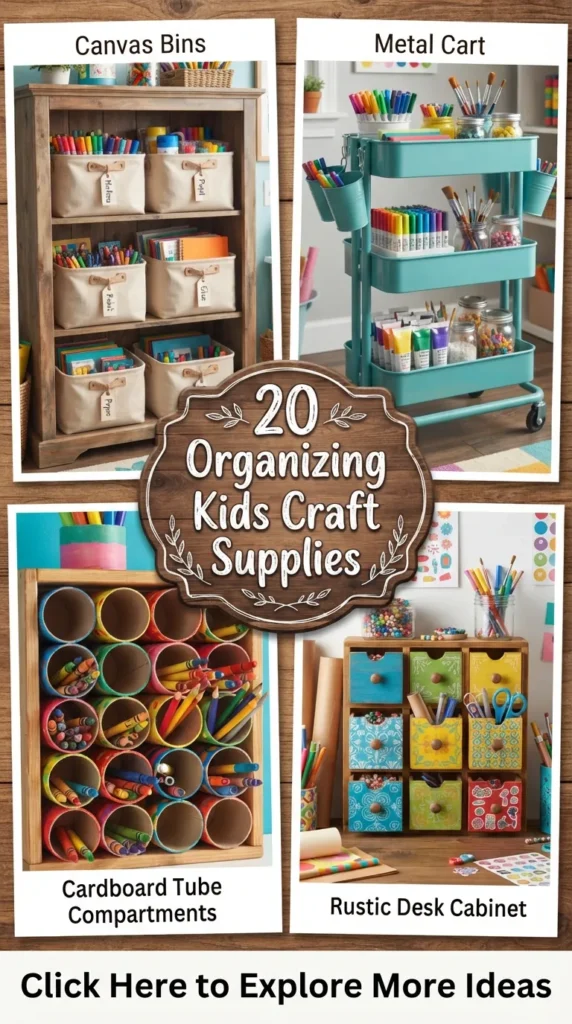
A rolling utility cart is a mobile art station that brings craft supplies wherever your child decides to create. Instead of locking art supplies away in a closet, a metal three-tier rolling cart keeps materials organized, visible, and completely portable—moving easily from the playroom to the kitchen table.
How to Make It
- Source a Cart: Obtain a sturdy three-tier metal rolling cart (frequently found in craft or home supply stores).
- Sort by Tier: Allocate the top tier for daily essentials like scissors, glue sticks, and markers placed in clear cups.
- Organize Lower Tiers: Use the middle tier for paper pads, coloring books, and paint sets. Use the bottom tier for larger bins containing play dough, slime kits, or fabric scraps.
- Attach External Hooks: Add magnetic hooks or clip-on baskets to the outer sides of the cart for extra hanging storage, such as aprons or paint towels.
Tips and Variations
- Tips: Put heavy items like paint bottles or clay on the bottom tier to lower the center of gravity and prevent tipping.
- Variations: Color-code each tier or spray paint the cart in a fun pastel shade to match your room’s decor.
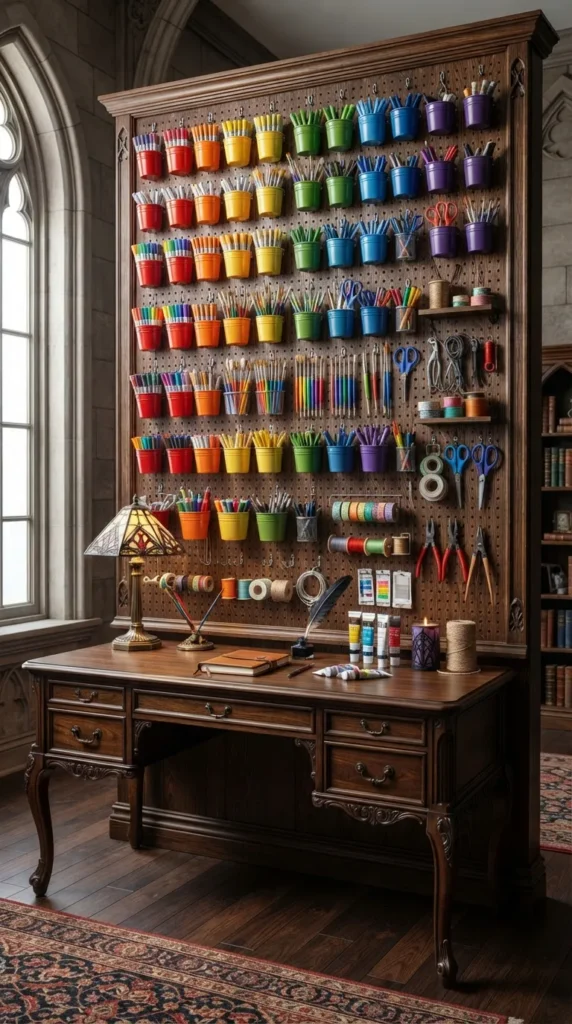
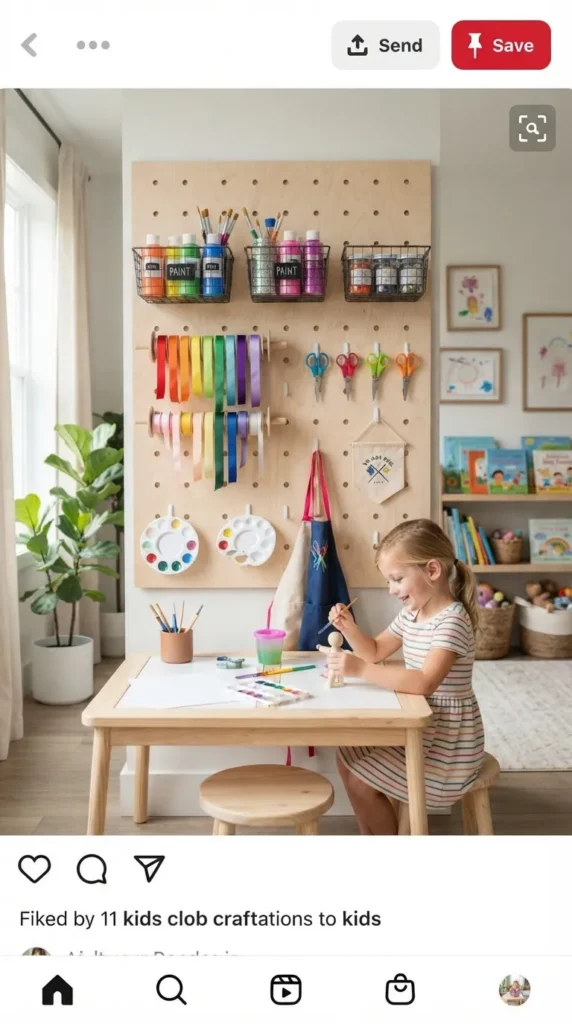
2. Pegboard Wall Craft Gallery
What This Idea Means
A pegboard wall utilizes vertical space to create a customizable, visual organizational system. It turns functional art storage into a stunning wall statement where every tool has a clear, visible home.
How to Make It
- Mount the Pegboard: Secure a wood or metal pegboard to the wall, ensuring it is properly anchored into studs.
- Add Attachments: Install a mix of pegboard hooks, small wire baskets, and wooden dowels.
- Hang Supplies: Hang scissors on single hooks, place jars of paintbrushes in wire baskets, and thread ribbon or decorative tape reels onto dowels.
- Outline Tools (Optional): Trace tool shapes on the board so young kids know exactly where each item belongs when putting things away.
Tips and Variations
- Tips: Ensure the board is mounted at your child’s eye level so they can reach everything safely without climbing.
- Variations: Frame the pegboard with decorative molding to give it a polished, built-in look.
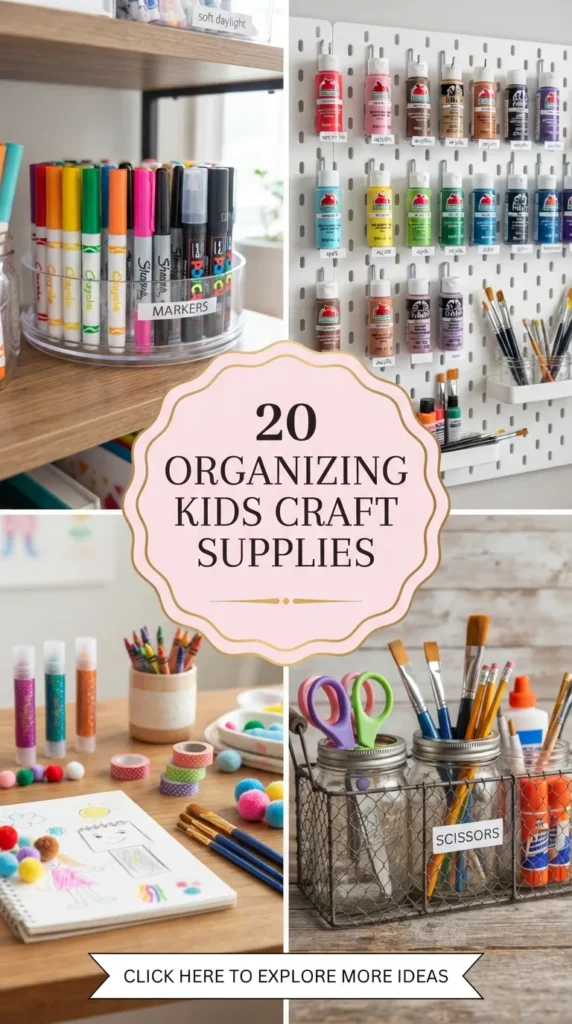
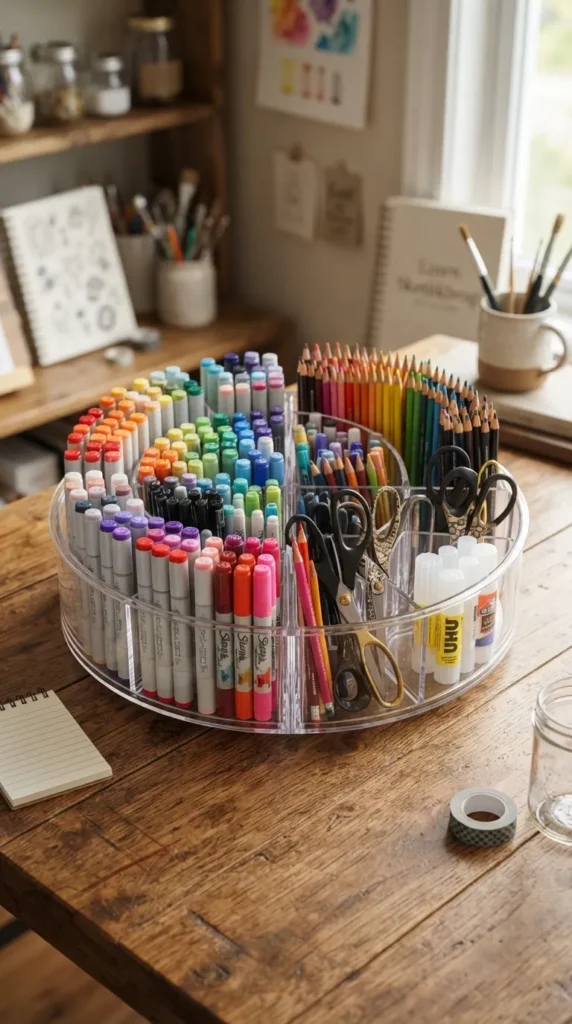
3. Clear Lazy Susan Turntable
What This Idea Means
A Lazy Susan organizer utilizes rotating compartment trays to make tabletop supplies easily reachable from any angle. It’s perfect for shared work tables where multiple kids need access to the same markers, glue, and scissors simultaneously.
How to Make It
- Choose the Base: Acquire a clear acrylic Lazy Susan with divided, removable sections.
- Group Materials: Divide supplies by category into each sector—one for colored pencils, one for washable markers, one for glue/scissors, and one for crayons.
- Centerpiece Placement: Place the turntable in the middle of your child’s craft table.
Tips and Variations
- Tips: Look for models with removable bin inserts so kids can pull out just the section they need and bring it closer to their paper.
- Variations: Use a double-decker Lazy Susan if you need to double your tabletop vertical storage space.
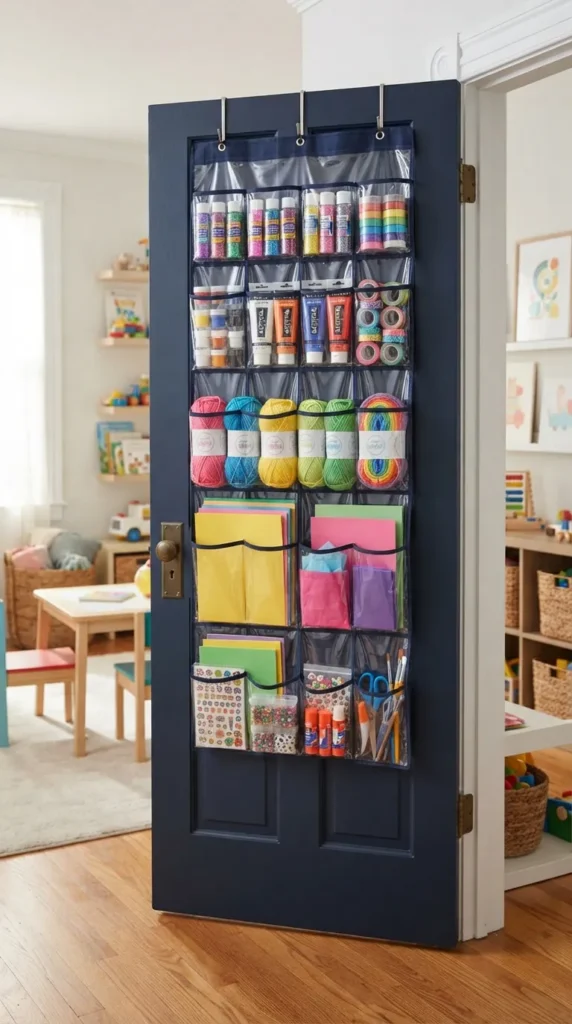
4. Hanging Shoe Organizer Pocket System
What This Idea Means
An over-the-door clear pocket shoe organizer repurposes unused door space into a multi-pocket craft storage panel. The transparent pockets make it effortless for kids to locate supplies without digging through deep drawers.
How to Make It
- Hang the Organizer: Secure a clear vinyl shoe organizer over the back of a closet or playroom door.
- Label the Pockets: Place printed picture or word labels on the front of each pocket.
- Fill with Supplies: Place specific items in designated pockets—yarn in one, glue bottles in another, stamp sets in another, and packs of paper in the lower, larger slots.
Tips and Variations
- Tips: Reserve the top rows for adult-only supplies like hot glue guns, permanent markers, or sharp fabric scissors.
- Variations: Use a fabric pocket organizer and slip photo cards into clear sleeve inserts on each pocket for a softer aesthetic.
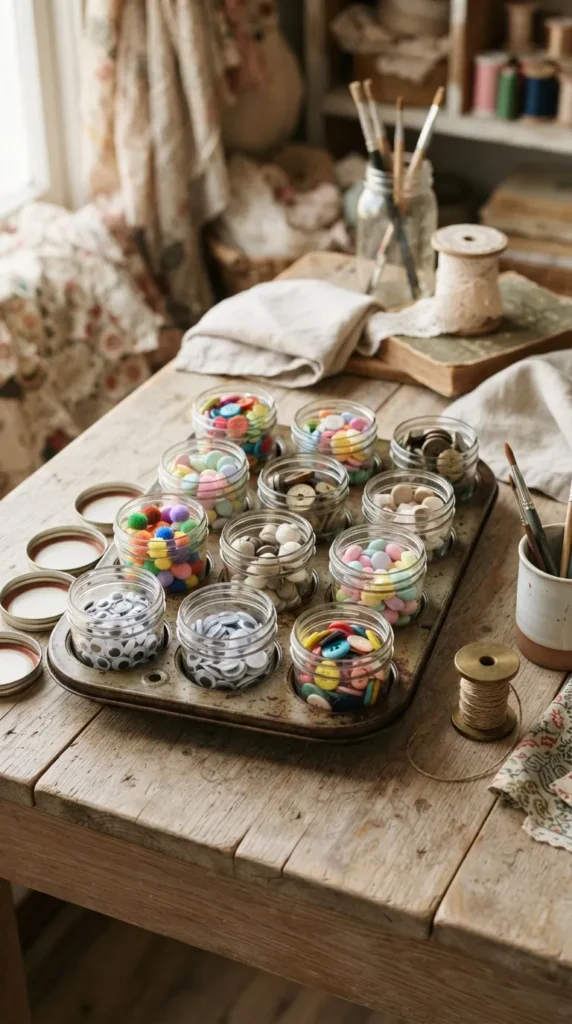
5. Repurposed Muffin Tin & Glass Jar Station
What This Idea Means
This idea upcycles everyday kitchen items into a charm-filled sorting station for small, loose craft items like beads, pom-poms, buttons, and googly eyes.
How to Make It
- Prepare the Base: Clean a standard 12-cup metal or silicone muffin tin.
- Add Containers: Place small glass wide-mouth jelly jars or clear plastic cups into each muffin cavity to keep items contained.
- Sort Small Items: Fill each cup with loose craft embellishments sorted by type or color.
Tips and Variations
- Tips: Use plastic jars instead of glass if young toddlers are using the station to prevent breakage.
- Variations: Paint the muffin tin in a chic bronze or pastel color to give it a vintage studio feel.
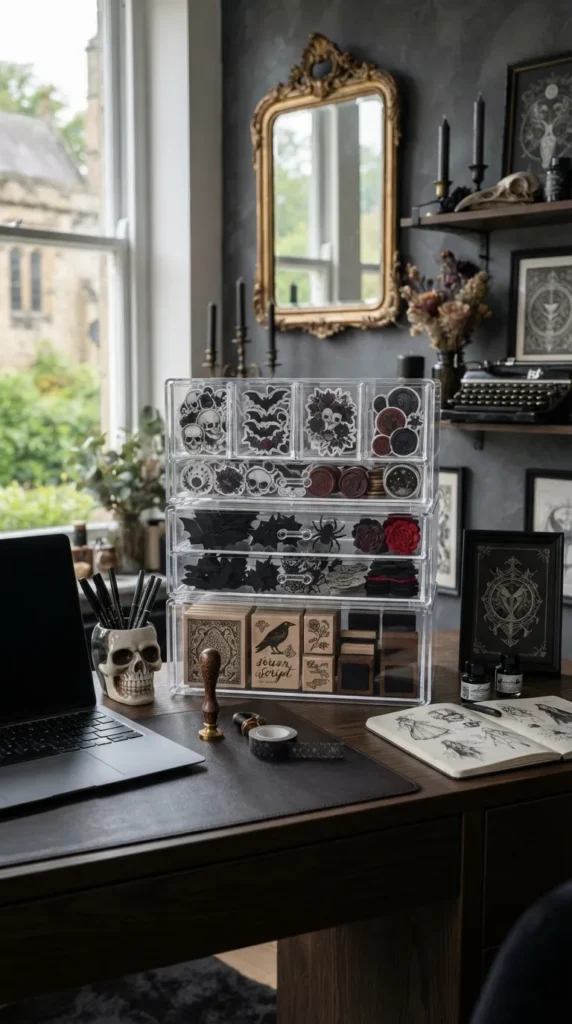
6. Clear Acrylic Drawer Stacks
What This Idea Means
Clear acrylic modular drawers offer a sleek, modern, and highly visual way to stack craft supplies neatly on shelves or desks. Transparency ensures items stay clutter-free while remaining entirely visible.
How to Make It
- Purchase Modular Drawers: Select stackable acrylic drawers of varying heights.
- Categorize Contents: Assign each drawer a clear category (e.g., sticker sheets, felt shapes, stamps, glitter pens).
- Insert Tray Dividers: Use small clear tray organizers inside deeper drawers to keep items from sliding around.
Tips and Variations
- Tips: Apply small clear rubber bumpers to the bottom of the drawers so they don’t slide across the desk when pulled open.
- Variations: Add custom vinyl lettering labels to the drawer fronts for an elevated aesthetic.
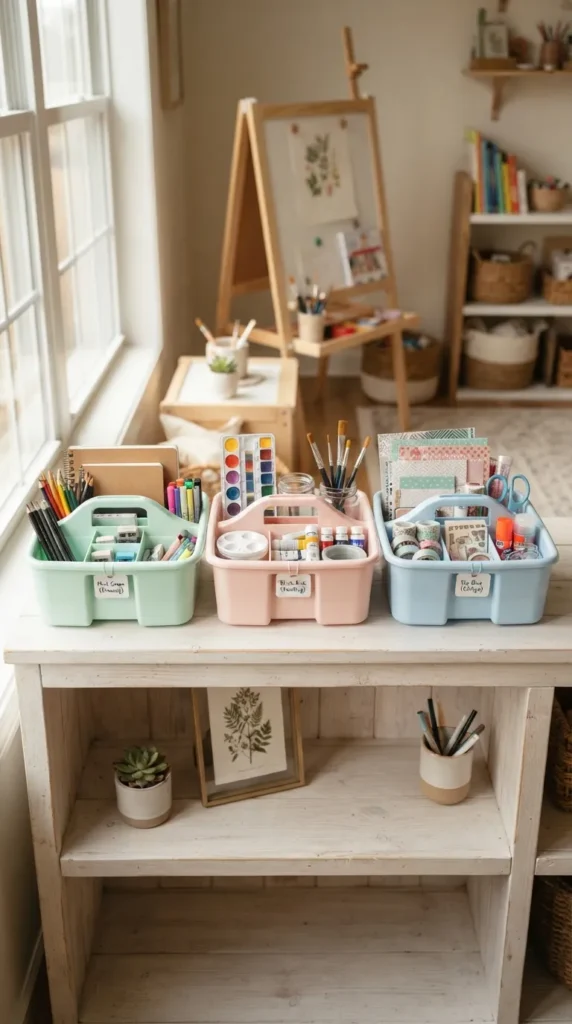
7. Color-Coded Caddy Bins
What This Idea Means
Portable plastic art caddies with handles allow kids to easily carry specific activity sets (like drawing, painting, or collage-making) from storage shelves to their workspace.
How to Make It
- Select Caddies: Gather 3-4 plastic shower or tool caddies with center handles.
- Designate Themes: Create themed kits:
- Drawing Caddy: Markers, colored pencils, sharpeners, erasers.
- Painting Caddy: Watercolor sets, brushes, water cups, aprons.
- Collage Caddy: Scissors, glue sticks, scrap paper, punchers.
- Store on Open Shelving: Place the caddies on low shelves where children can grab the specific set they need.
Tips and Variations
- Tips: Keep caddies small enough that kids can carry them independently without dropping them.
- Variations: Assign each child their own personalized color caddy if you have multiple kids sharing a space.
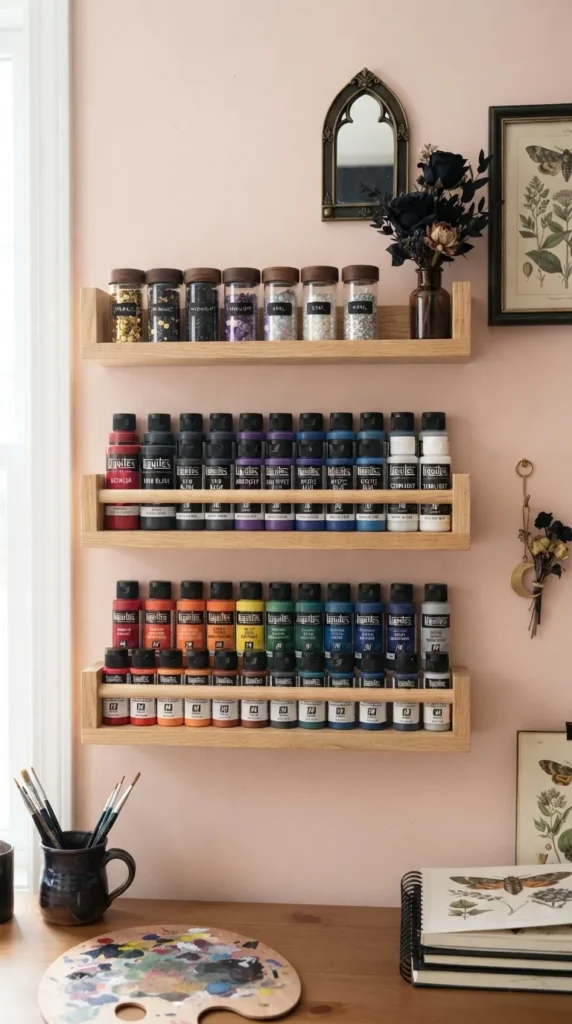
8. Wall-Mounted Spice Rack Shelves
What This Idea Means
Repurposing wooden spice racks or picture ledges on walls creates low-profile storage ideal for displaying small paint bottles, jars of glitter, and books without taking up floor space.
How to Make It
- Mount Racks: Secure lightweight wooden spice racks to the wall at a low, reachable height.
- Arrange Supplies: Set small acrylic paint bottles, jarred beads, or rolled papers neatly along the ledges.
- Secure Items: Ensure the rack’s front guard bar prevents bottles from slipping off when pulled.
Tips and Variations
- Tips: Mount 3 or 4 racks vertically spaced above each other to create a dedicated paint bar.
- Variations: Paint the wooden racks the same color as the wall to make the colorful craft supplies look like floating art.
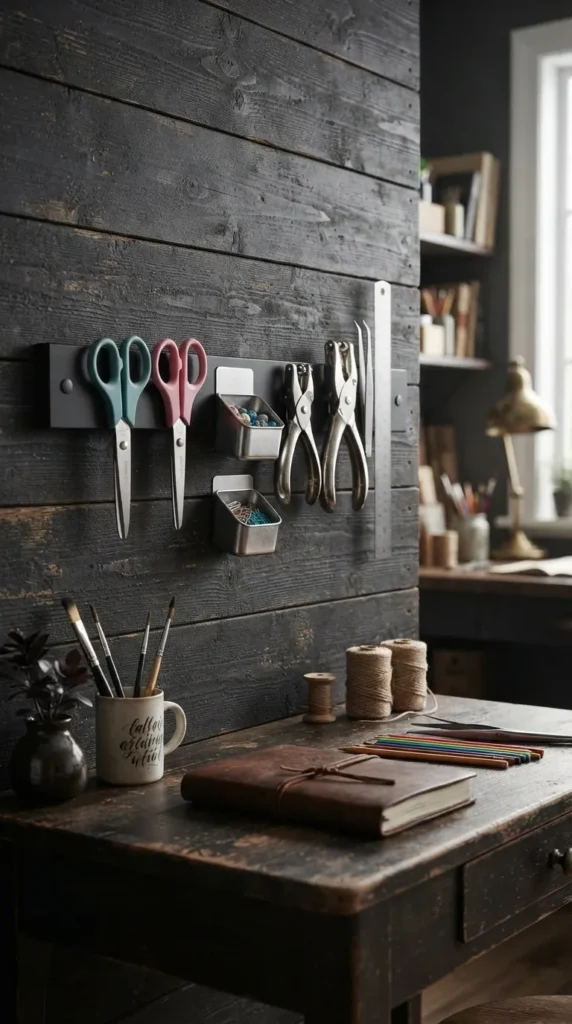
9. Magnet Strip Paintbrush & Scissors Holder
What This Idea Means
Using heavy-duty magnetic tool strips on the wall or the side of a craft table keeps metal tools like scissors, metal ruler edges, and magnetic craft tins safely secured and off working surfaces.
How to Make It
- Install Strip: Screw a magnetic tool holder strip securely onto a wooden wall plaque or directly to the side of a desk.
- Attach Supplies: Stick metal child-safe scissors, craft hole punchers, and small tins directly onto the magnet.
- Add Magnet Containers: Attach small round magnetic metal containers to hold paperclips, brads, or safety pins.
Tips and Variations
- Tips: Make sure the magnetic strip is mounted securely so it doesn’t detach under the weight of metal tools.
- Variations: Wrap the magnet bar in decorative patterned vinyl tape for a colorful finish.
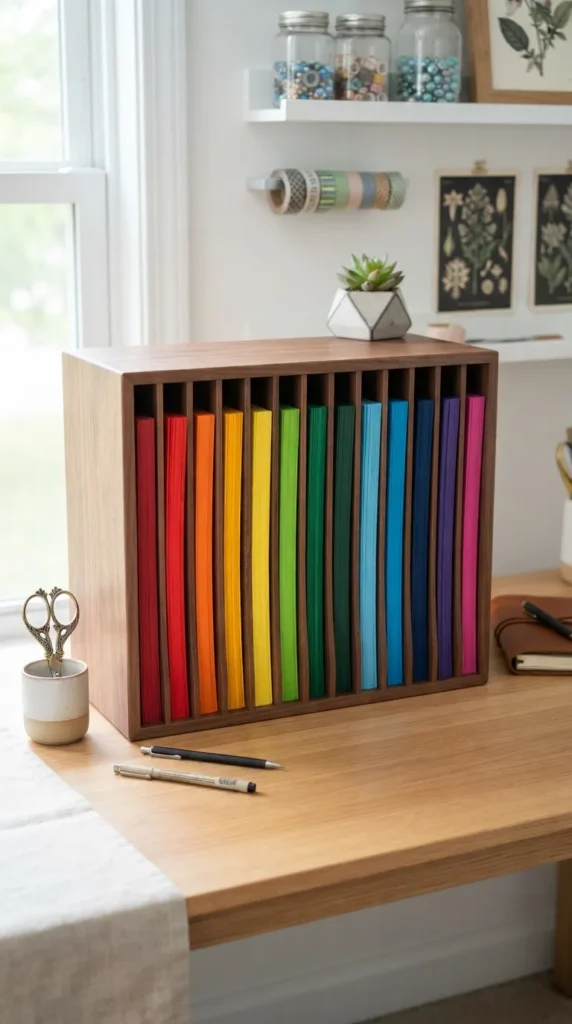
10. Desktop Wooden Paper Sorter
What This Idea Means
A vertical or horizontal wooden paper sorter sorts construction paper, cardstock, and foam sheets by color and material type, stopping paper from getting wrinkled or bent in deep bins.
How to Make It
- Set Up the Sorter: Place a mail or document paper sorter on the craft table or shelf.
- Sort by Spectrum: Organize paper by color in rainbow order across the slots (Red, Orange, Yellow, Green, Blue, Purple, Neutrals).
- Label Slots: Add color dot stickers to each shelf slot so kids know where to return unused paper.
Tips and Variations
- Tips: Keep scrap paper in a separate front tray so kids use scraps before cutting into fresh full sheets.
- Variations: Use a hanging wire wall file sorter if desk space is limited.
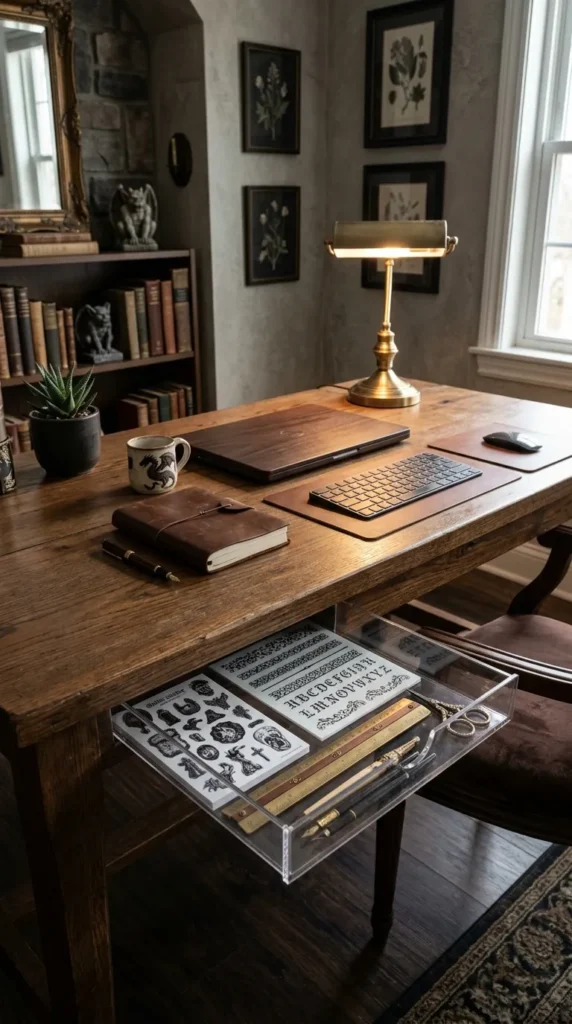
11. Under-Desk Storage Trays
What This Idea Means
Under-desk sliding drawers utilize hidden space directly beneath the desktop, keeping flat tools and paper out of sight when not in use while leaving the tabletop completely clear.
How to Make It
- Source Adhesive Drawers: Get stick-on or screw-in under-desk drawer slides.
- Attach Drawers: Mount them underneath the craft table’s underside edge.
- Fill with Flat Supplies: Use them for flat items like stencils, sticker sheets, tracing paper, and thin rulers.
Tips and Variations
- Tips: Clean the desk underside thoroughly with alcohol before sticking self-adhesive drawers to ensure a strong hold.
- Variations: Install shallow pull-out wire basket trays on runners under higher tables.
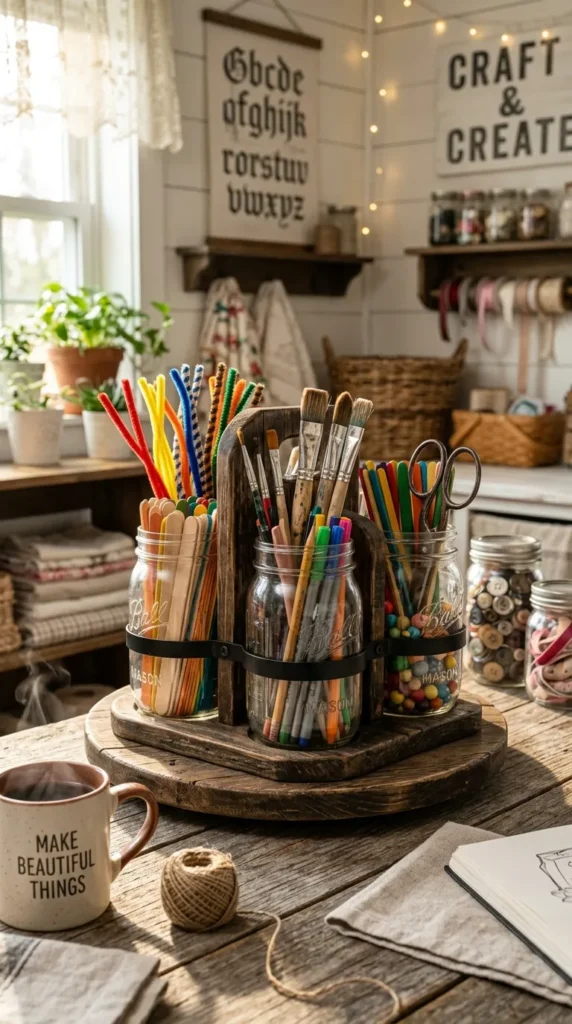
12. Repurposed Mason Jar Carousel
What This Idea Means
Glass or shatterproof plastic mason jars mounted onto a rotating lazy susan or held within a wire basket frame keep long items like markers, paintbrushes, pipe cleaners, and wooden craft sticks organized vertically.
How to Make It
- Gather Jars: Collect 6 to 8 uniform mason jars or clear plastic tumbler equivalents.
- Group Items: Place markers in one jar, paintbrushes in another, pipe cleaners in a third, and popsicle sticks in a fourth.
- Set in Holder: Arrange jars inside a round metal wire caddy or glue plastic jars onto a wooden base.
Tips and Variations
- Tips: Wrap twine or colorful ribbon around the jar necks to add a warm, decorative touch.
- Variations: Use shatterproof mason jars made of clear PET plastic for complete safety around toddlers.
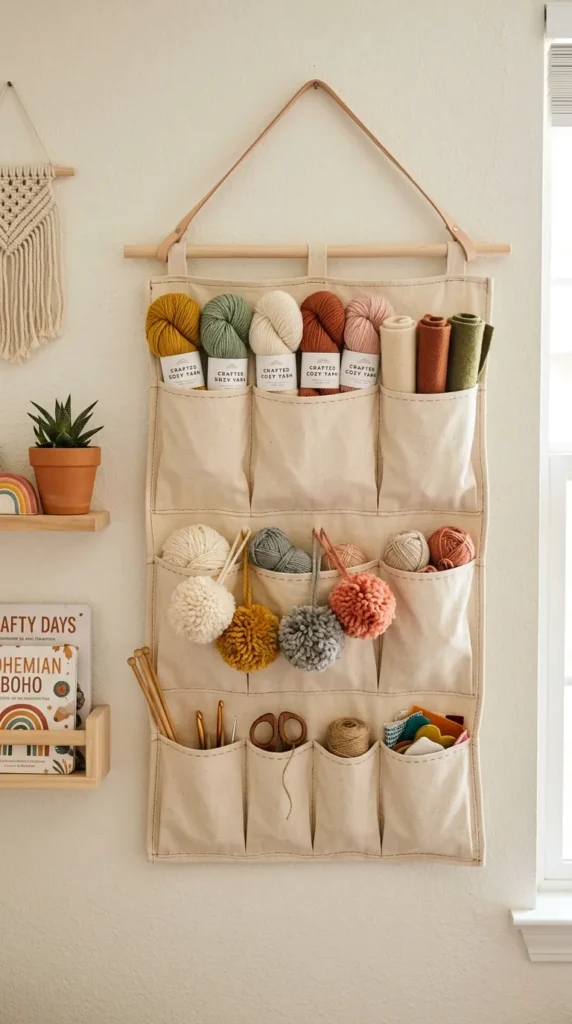
13. Fabric Hanging Wall Organizer with Bins
What This Idea Means
A soft fabric hanging wall organizer with deep canvas pockets provides lightweight, cozy wall storage for bulkier materials like yarn skeins, felt rolls, stuffed craft materials, and fabric scraps.
How to Make It
- Hang the Panel: Anchor a canvas or woven fabric hanging pocket chart onto the wall using a wooden dowel rod.
- Label Soft Bins: Use iron-on patches or cloth tag labels on each pocket.
- Store Materials: Store soft materials like yarn, felt sheets, pom-poms, fiberfill, and ribbon spools in separate canvas pockets.
Tips and Variations
- Tips: Choose washable canvas so you can spot clean or hand wash the organizer if it gets dirty.
- Variations: Use neutral linen tones to maintain a calm, minimal aesthetic in modern playrooms.
14. Transparent Vinyl Zipper Pouches
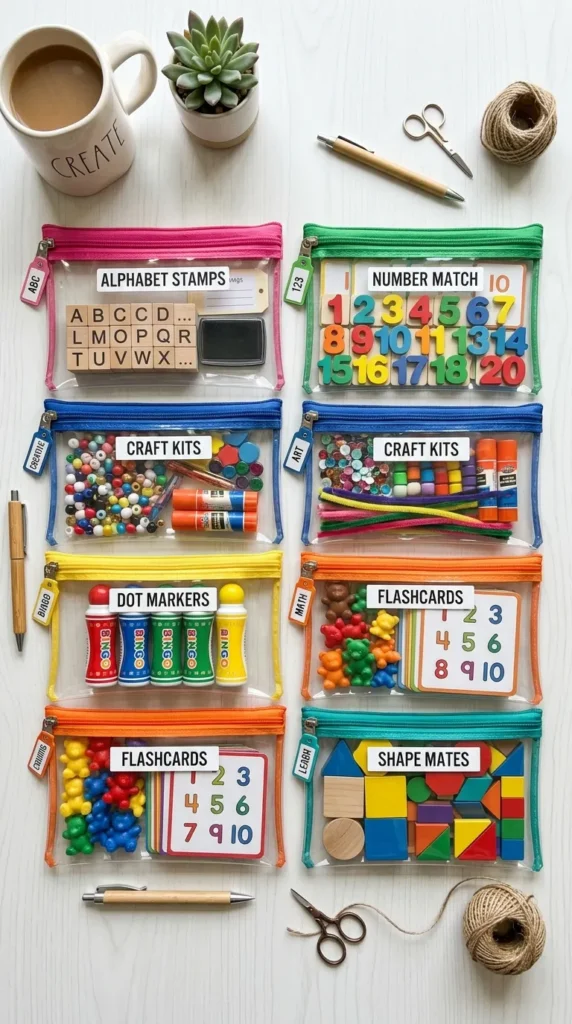
What This Idea Means
Clear vinyl zipper pouches act as self-contained project bags that keep multi-piece activity kits (like stamp sets, sewing kits, or bead sets) together without losing tiny parts.
How to Make It
- Gather Pouches: Acquire heavy-duty clear vinyl A4 or A5 size zipper bags.
- Create Project Kits: Put specific themed sets together in individual pouches (e.g., all alphabet stamps with their ink pads).
- Store Efficiently: File pouches upright in a open basket or clip them onto a ring binder.
Tips and Variations
- Tips: Use different colored zippers to help kids quickly identify project categories.
- Variations: Hang the zipper pouches on wall hooks using clip rings attached to the zipper pulls.
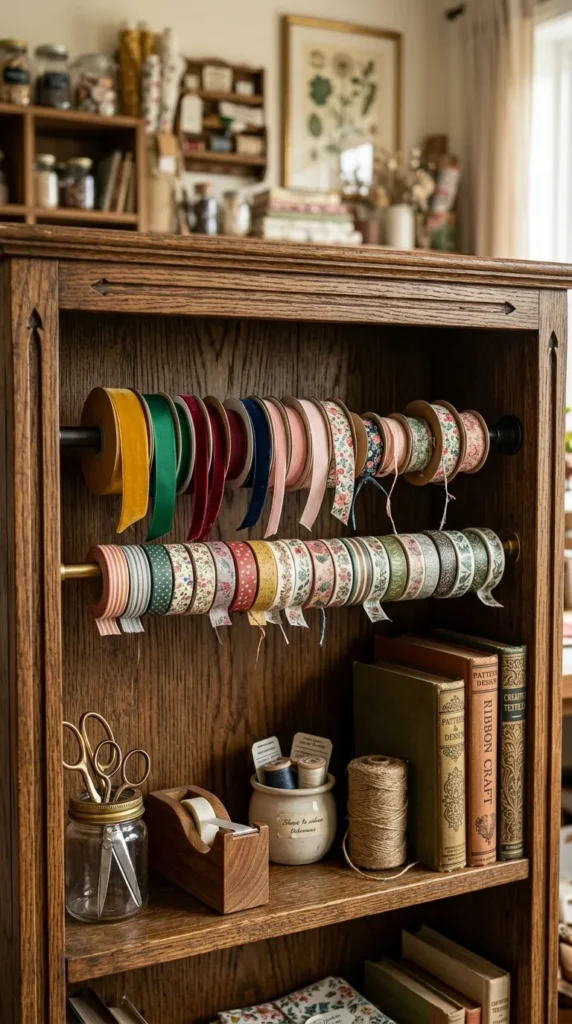
15. Tension Rod Ribbon Dispenser
What This Idea Means
Installing small tension curtain rods inside a bookshelf or cabinet cutout creates a sleek spool dispenser where kids can pull and snip ribbon, tape, or yarn without tangling the entire roll.
How to Make It
- Set Up Tension Rod: Place an adjustable tension rod between two sides of a shelf frame or inside a wooden crate.
- Thread Spools: Thread rolls of ribbon, paper tape, and baker’s twine onto the rod before securing it in place.
- Dispense Easily: Pull the desired length and cut directly from the hanging spool.
Tips and Variations
- Tips: Keep a pair of safety scissors tethered with string right next to the ribbon station.
- Variations: Mount multiple tension rods in a vertical row to create an entire ribbon dispensing wall.
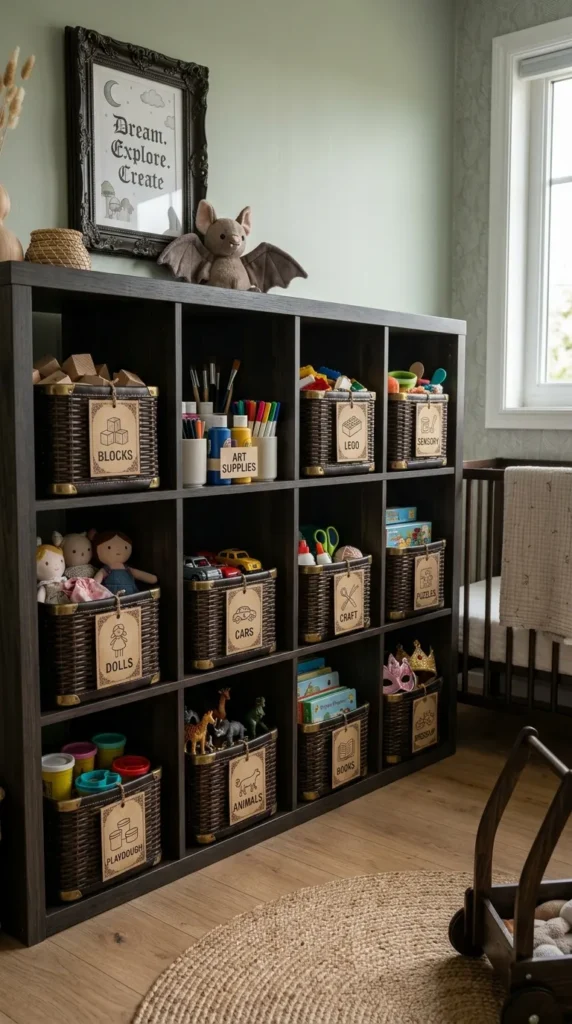
16. Labelled Basket Shelf Units
What This Idea Means
Combining an open shelving unit (like a cube storage bookshelf) with woven or plastic baskets hides bulky, visual clutter while creating simple “drop-in” bins for easy cleanup.
How to Make It
- Set Up Shelving: Assemble an open cube storage shelf low to the floor.
- Add Bins: Place canvas, plastic, or woven fabric bins into each cube.
- Label clearly: Attach dual labels (a clear picture for young kids + written word for older kids) to the front of each basket.
- Distribute Supplies: Reserve separate bins for Play-Doh, plastic molds, sensory bin materials, and big craft kits.
Tips and Variations
- Tips: Use drop-in bins without lids so clean-up involves simply dropping items into the right box.
- Variations: Mix open shelves for decorative display jars with closed basket bins for messy items.
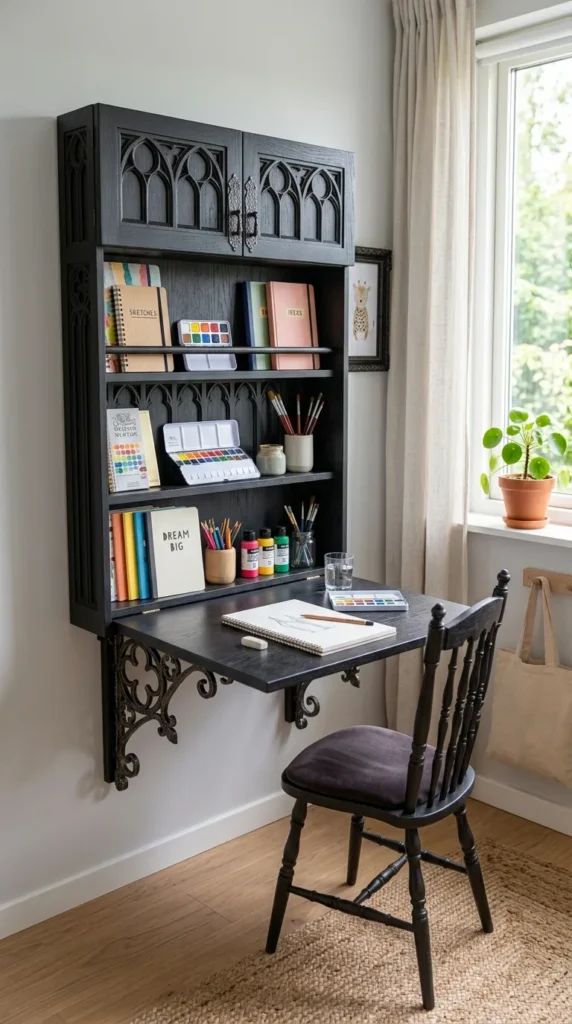
17. Fold-Down Wall Desk with Built-In Storage
What This Idea Means
A fold-down wall desk (or drop-leaf table) creates a temporary craft zone that folds flat against the wall when creative time is over, saving floor space in smaller homes.
How to Make It
- Mount Cabinet Desk: Mount a wall-hanging drop-leaf desk cabinet at child seat height.
- Organize Internal Shelves: Store thin paper pads, shallow paint boxes, and pen jars on the interior shallow shelves.
- Fold Up After Use: Unlatch and fold the front panel down to reveal the desktop, then fold it back up and latch when finished.
Tips and Variations
- Tips: Coat the underside of the drop-leaf board with chalkboard paint so it functions as a drawing board when folded closed.
- Variations: Add a LED puck light inside the top cabinet frame to illuminate the desk area.
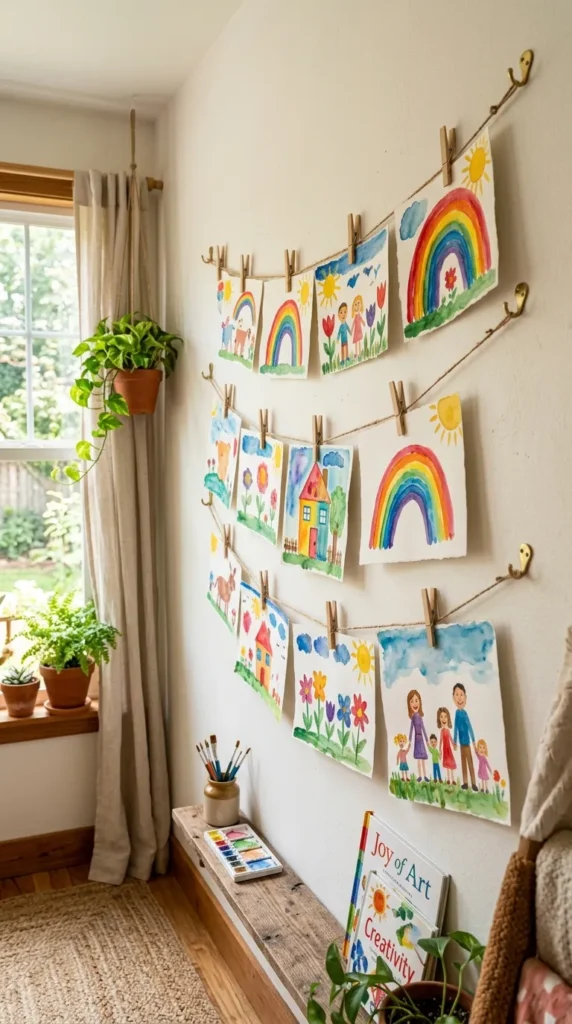
18. Clip and Wire Art Display Line
What This Idea Means
While not storing unused supplies, managing finished craft artwork is crucial. A hanging wire display line with clips holds drying paintings and finished craft masterpieces neatly, preventing clutter on work surfaces.
How to Make It
- Install Curtain Wire: String a stainless steel curtain wire or natural jute twine across an open wall section.
- Attach Clips: Slide wooden clothespins or metal curtain clips onto the line.
- Hang Artwork: Clip newly finished paintings, paper crafts, and drawings up to dry and display.
Tips and Variations
- Tips: Rotate artwork weekly, moving older pieces into a portfolio binder to keep the wall line clutter-free.
- Variations: Use fairy lights with mini photo clips for a cozy glowing art gallery effect.
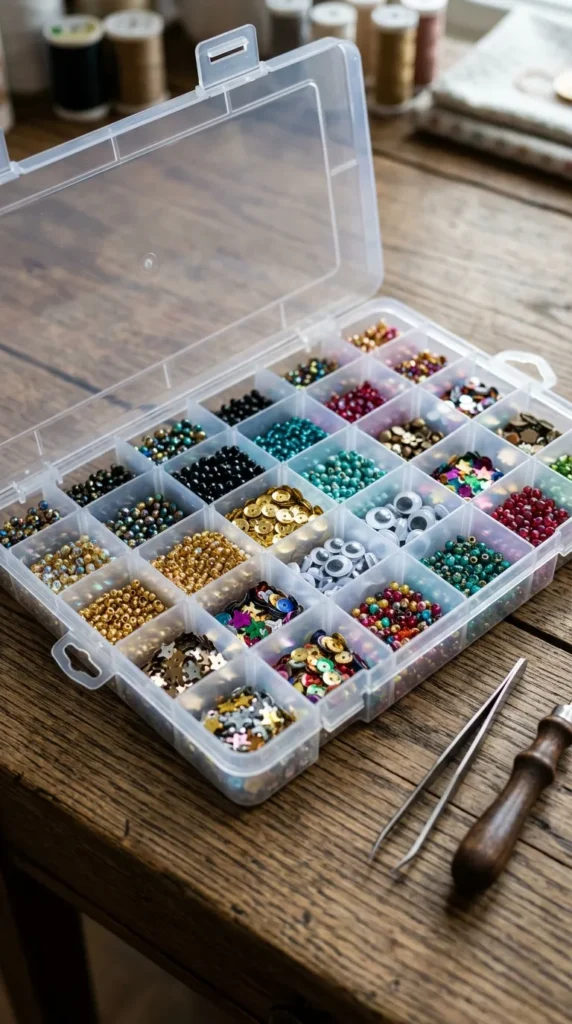
19. Stackable Tackle Boxes for Small Embellishments
What This Idea Means
Clear plastic fishing tackle boxes or embroidery thread organizers feature tiny, adjustable compartments perfect for organizing microscopic craft supplies like sequins, small beads, googly eyes, and jewel gems.
How to Make It
- Choose Compartment Boxes: Get clear plastic organizer boxes with removable grid dividers.
- Sort Tiny Items: Sort googly eyes by size, sequins by color, and beads by shape into individual tiny grid boxes.
- Stack and Store: Snap the clear lid shut and stack boxes horizontally on shelves.
Tips and Variations
- Tips: Make sure the snap-latches on the box lock tightly so contents won’t spill if dropped.
- Variations: Label the top lid of each box with a permanent marker so you can identify contents without opening.
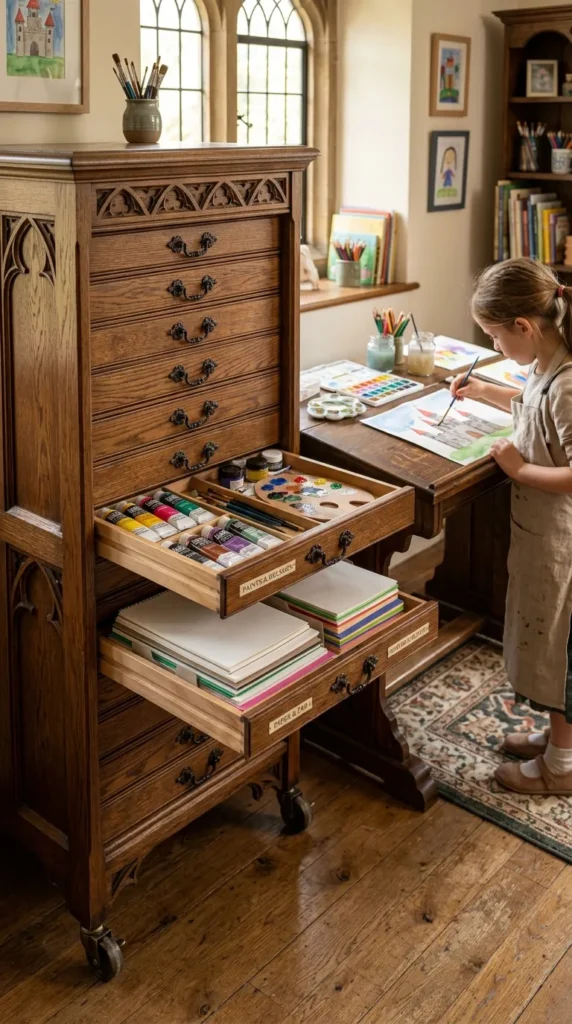
20. Rolling Wooden Drawer Cabinet
What This Idea Means
A slim, multi-drawer solid wood or veneer cabinet unit provides deep, flat drawer storage that keeps paper, craft kits, and messy supplies completely hidden behind a clean, seamless aesthetic.
How to Make It
- Position Unit: Place a low multi-drawer rolling cabinet next to or under the main craft table.
- Organize Drawers: Dedicate each drawer to specific media:
- Drawer 1: Scissors, glues, and adhesives.
- Drawer 2: Markers, crayons, and sketchbooks.
- Drawer 3: Paints, palettes, and aprons.
- Drawer 4: Craft foam, felt, and fabric.
- Add Drawer Dividers: Use shallow tray inserts inside top drawers to separate small items.
Tips and Variations
- Tips: Attach rubber drawer liners inside each drawer so tools don’t slide around when drawers are opened.
- Variations: Paint each drawer front a different subtle pastel color for a playful, stylish look.