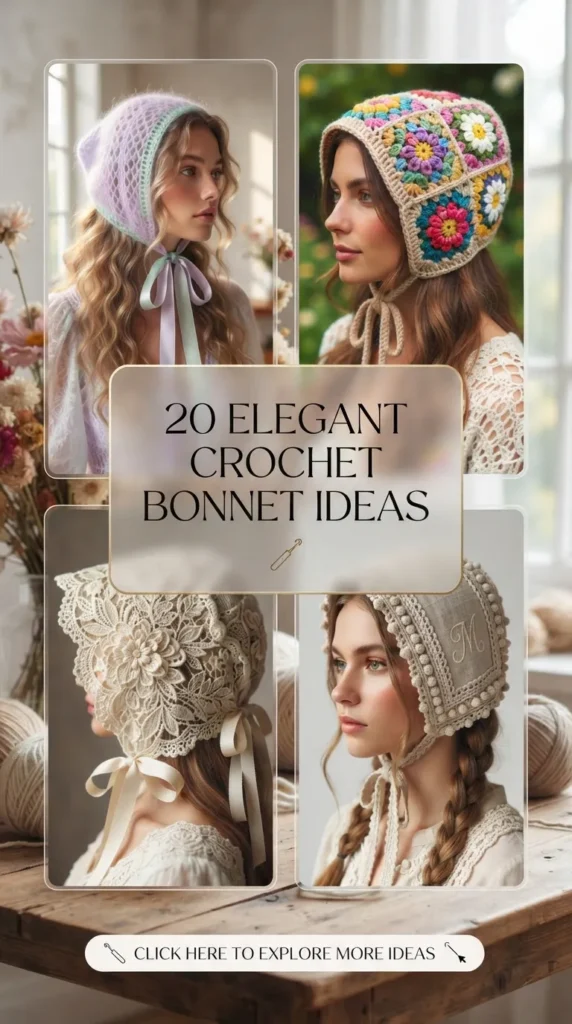
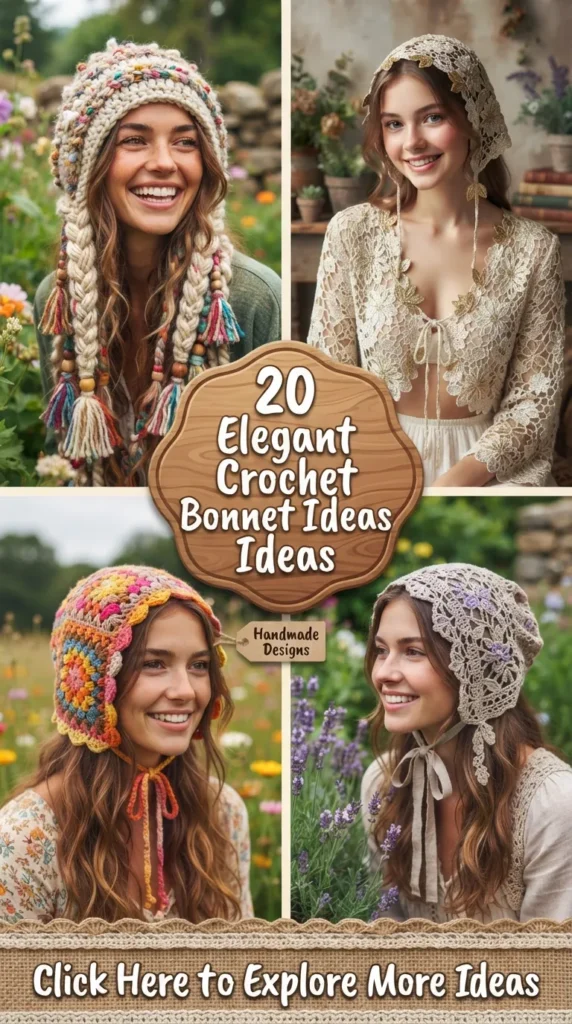
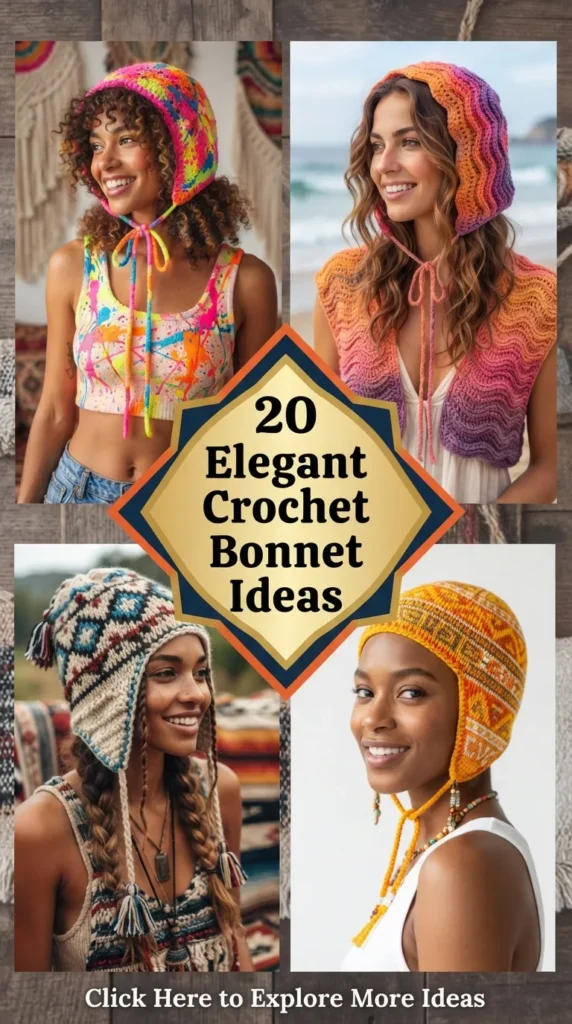
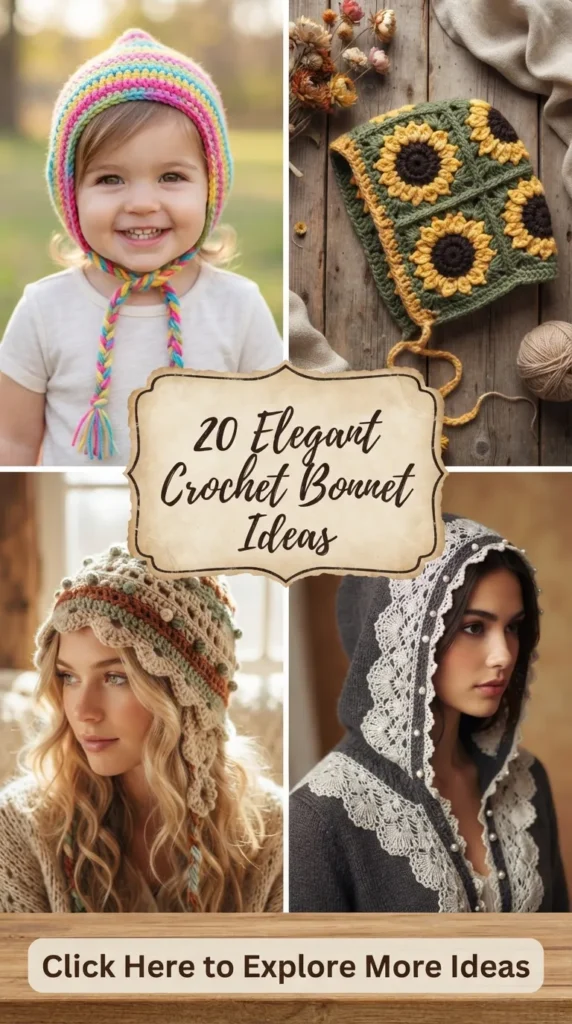
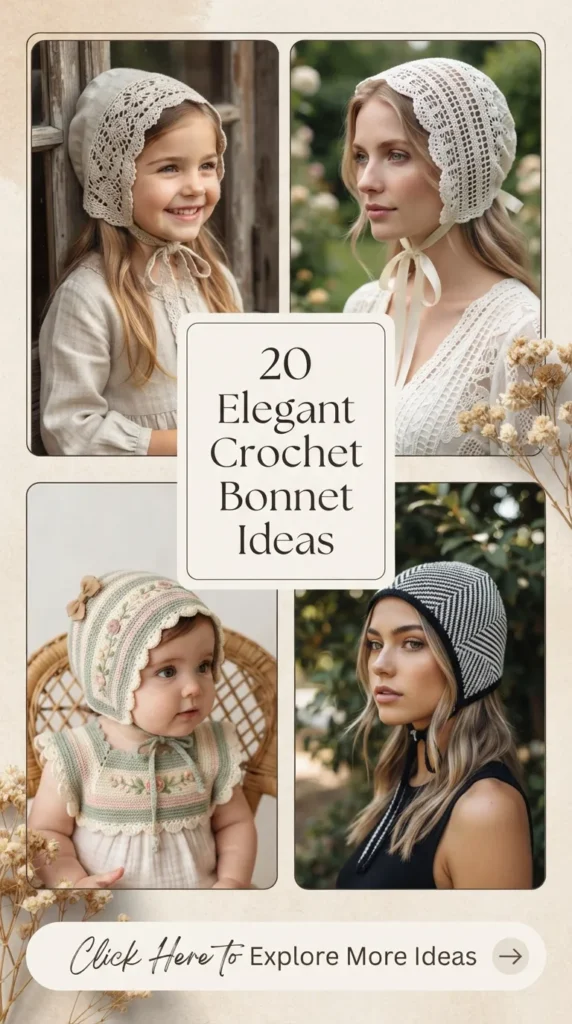
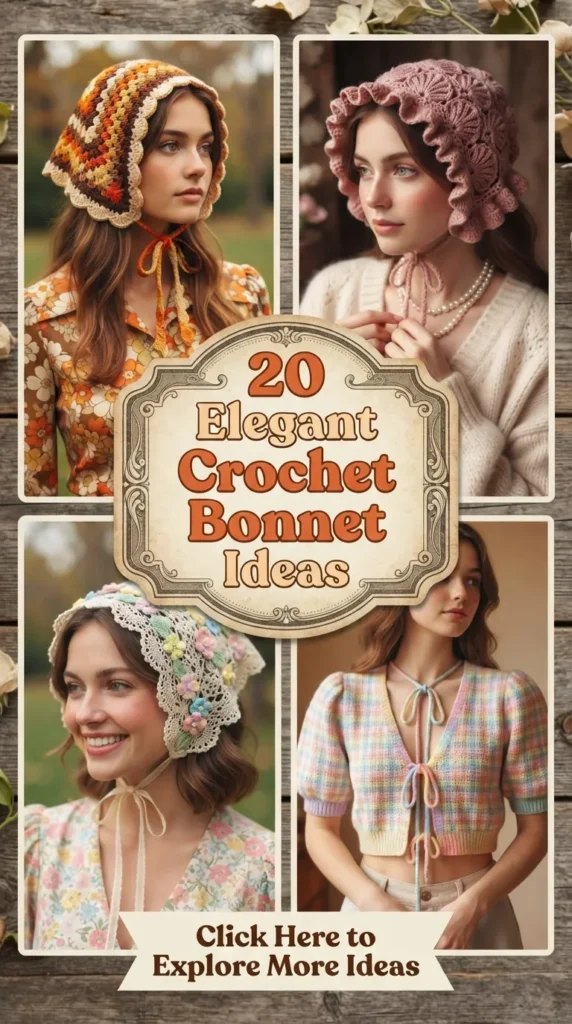
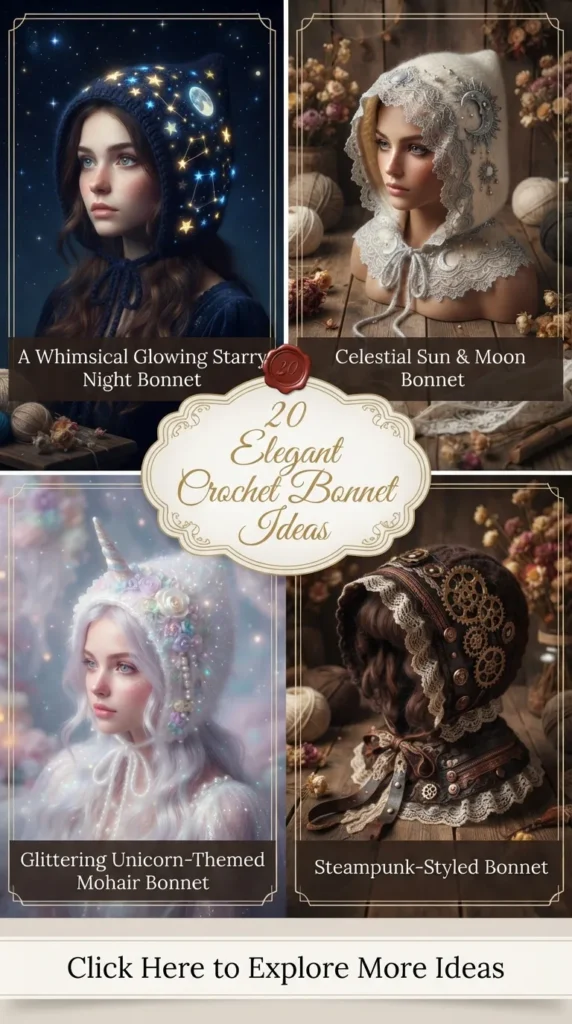
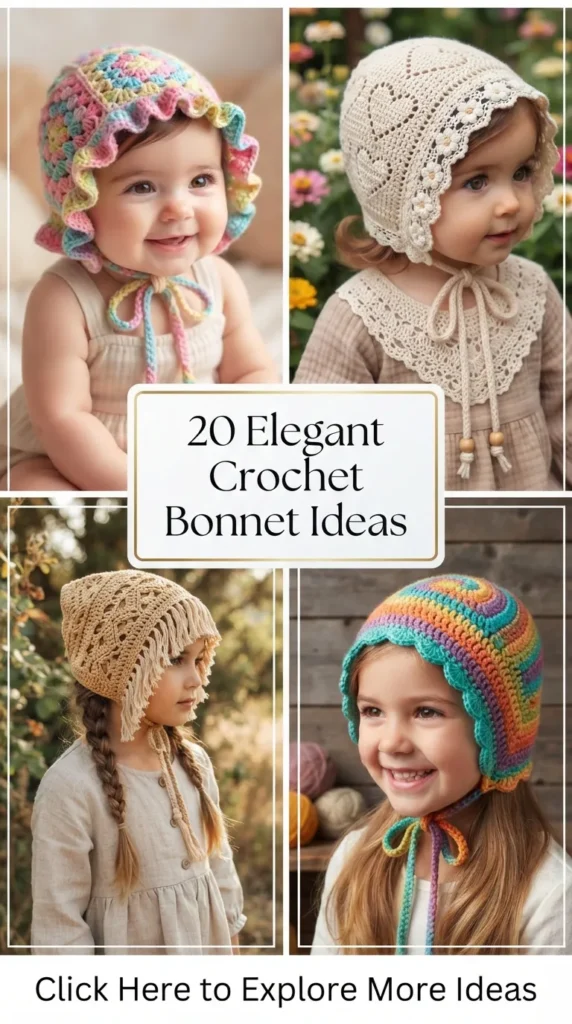
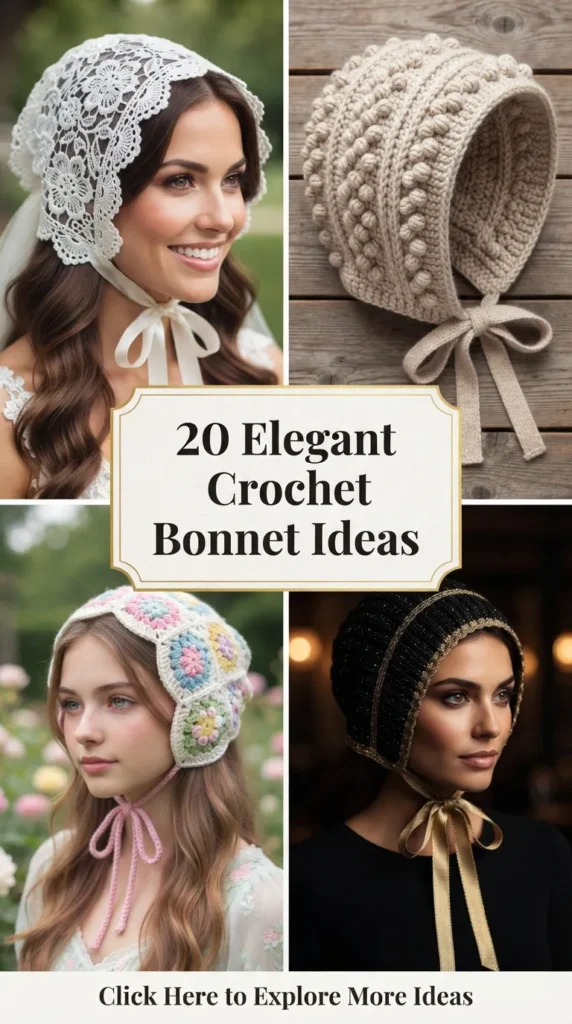
The crochet bonnet has made a breathtaking resurgence in modern fashion, transitioning from a vintage prairie staple into an iconic aesthetic accessory. Equal parts cozy, whimsical, and effortlessly stylish, a beautifully handmade bonnet frames the face while adding tactile texture to any outfit. From cottagecore ruffled designs and delicate lace balaclavas to Y2K cat-ear silhouettes and opulent floral patchwork headpieces, crafting your own crochet bonnet allows you to tailor fit, drape, yarn weight, and embellishments.
Below is a detailed guide featuring 20 Elegant Crochet Bonnet Ideas, complete with tutorials, insider crafting tips, creative variations, and material checklists to guide your next handmade fashion project.
1. Vintage Cottagecore Ruffled Prairie Bonnet
What This Idea Means
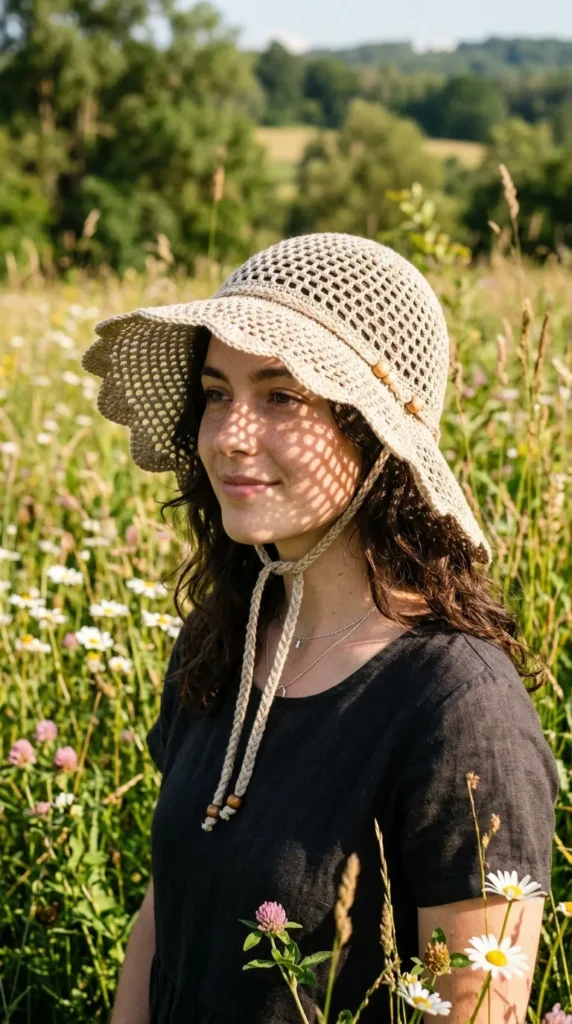
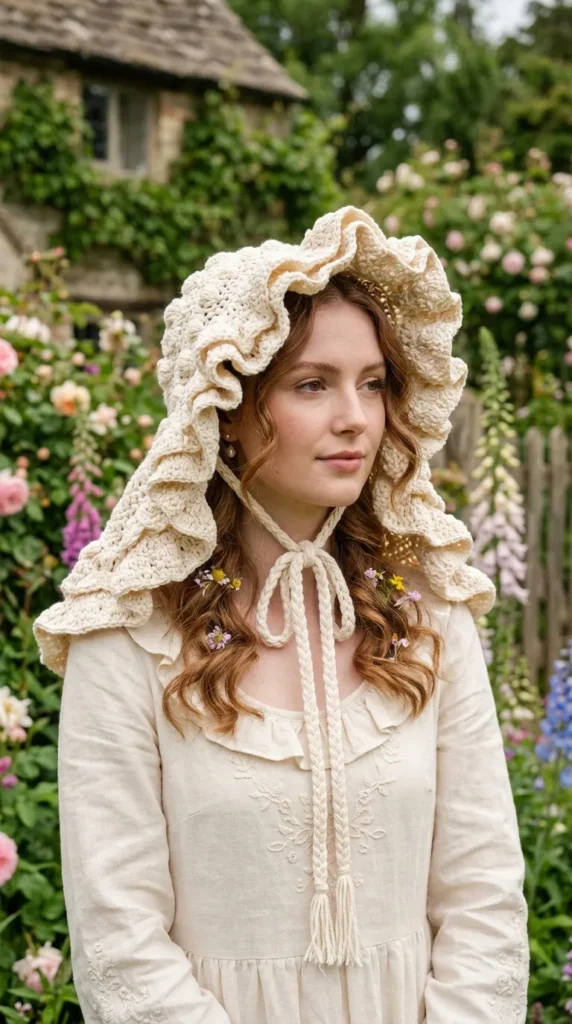
Embodying countryside charm, this classic prairie bonnet features a fitted crown that extends into a soft, voluminous ruffled brim framing the face. Long braided chin ties complete the nostalgic cottagecore look, making it ideal for springtime strolls and outdoor picnics.
How to Make It
- Crochet the Crown: Work a flat circular disk using single crochet or half double crochet rounds, increasing symmetrically until it matches the back measurement of the head.
- Work the Main Hood: Discontinue increases and work back and forth in rows across 75% of the crown circumference to build the sides of the bonnet toward the forehead.
- Build the Ruffled Brim: At the front edge, work 3 to 4 double crochets into every single stitch to create a dramatic, cascading ruffled edge around the face.
- Attach Chin Ties: Join yarn at the lower front corners and braid 18-inch long yarn strands or crochet i-cord ties to fasten under the chin.
Tips & Variations
- Tip: Steam-block the ruffled brim with an iron on the steam setting to open up the ruffle folds and improve drape.
- Variation: Thread a 1/2-inch wide satin ribbon through the neck row instead of yarn ties for a vintage Victorian touch.
What You Need
- DK weight cotton or alpaca yarn in cream or sage green
- 4.0mm crochet hook
- Tapestry needle & scissors
- Measuring tape
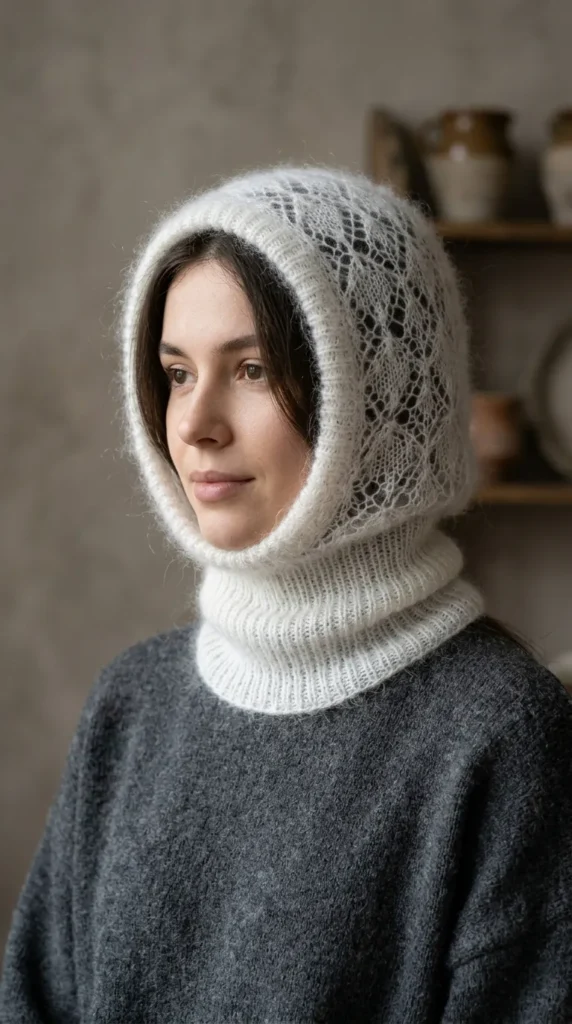
2. Delicate Mohair Lace Balaclava Bonnet
What This Idea Means
Airy, delicate, and sophisticated, this design bridges the gap between a cozy balaclava and a soft romantic bonnet. Crafted from brushed mohair or silk-alpaca blend yarn in an openwork lace lattice, it provides sheer, cloud-like warmth.
How to Make It
- Work Hood Panel: Pair lace-weight mohair yarn with a larger 5.0mm hook. Crochet an openwork chain-space or V-stitch mesh rectangle (10×20 inches).
- Fold & Seam Back: Fold the rectangle in half widthwise and seam the top back edge using a tapestry needle to form the hood cavity.
- Shape Neck Collar: Join yarn around the bottom neck opening and work continuous rounds of ribbed half double crochet in the back loops only (BLO) to form a snug neck gaiter.
- Frame the Face: Work a neat picot border around the facial opening to lock floating mohair fibers in place.
Tips & Variations
- Tip: Work gently with mohair yarn; avoid pulling stitches too tight as brushed fibers cling to each other if you need to frog (unravel) rows.
- Variation: Add small glass seed beads onto the facial picot border stitches for subtle, light-catching sparkle.
What You Need
- Lace-weight brushed silk-mohair yarn
- 5.0mm crochet hook
- Tapestry needle & stitch markers
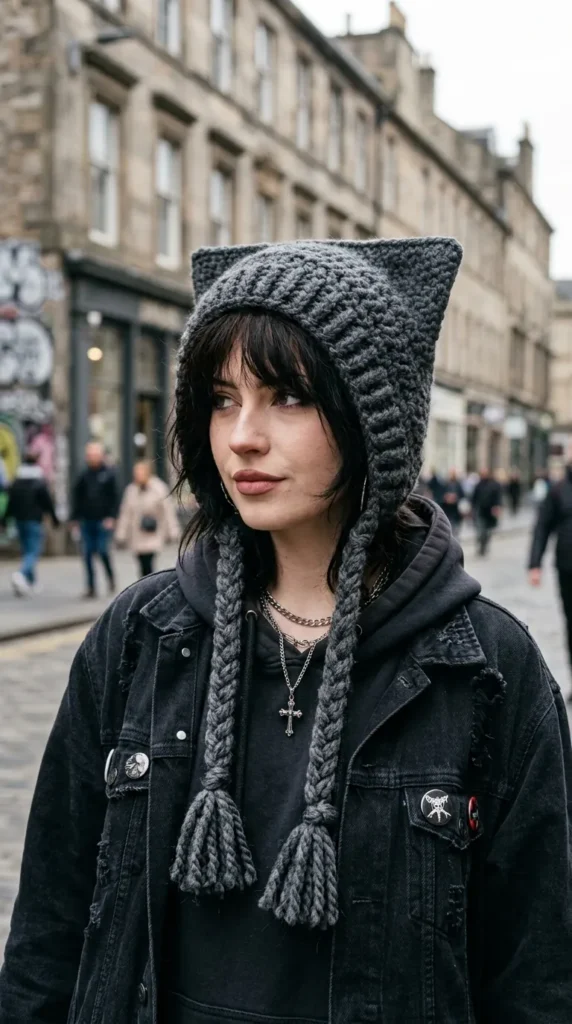
3. Y2K Chunky Cat-Ear Kitten Bonnet
What This Idea Means
Playful, trend-setting, and cozy, the cat-ear kitten bonnet features a square-top construction. When placed on the head, the flat top corners naturally poke upward to form subtle, pointy kitten ears, making it a staple for Y2K streetwear styling.
How to Make It
- Crochet a Rectangular Tube: Using bulky weight yarn and a 6.5mm hook, work a flat rectangular panel in ribbed half double crochet.
- Fold and Seam Top: Fold the rectangle in half and seam the top edge completely flat using mattress stitch.
- Pinch Ear Corners: Pinch the top two outer corners from the inside and secure them with a few tight stitches to define the pointed kitten ear shapes.
- Add Lower Ties: Attach thick braided yarn tassels or i-cord ties to the bottom front corners.
Tips & Variations
- Tip: Use a dense stitch pattern like thermal stitch or thick ribbing so the top corners maintain their upright ear structure when worn.
- Variation: Add small pastel safety pins or metal chain accents across the forehead edge for an edgy Y2K look.
What You Need
- Bulky weight wool or acrylic yarn
- 6.5mm crochet hook
- Tapestry needle & scissors
4. Romantic Rose Patchwork Granny Square Bonnet
What This Idea Means
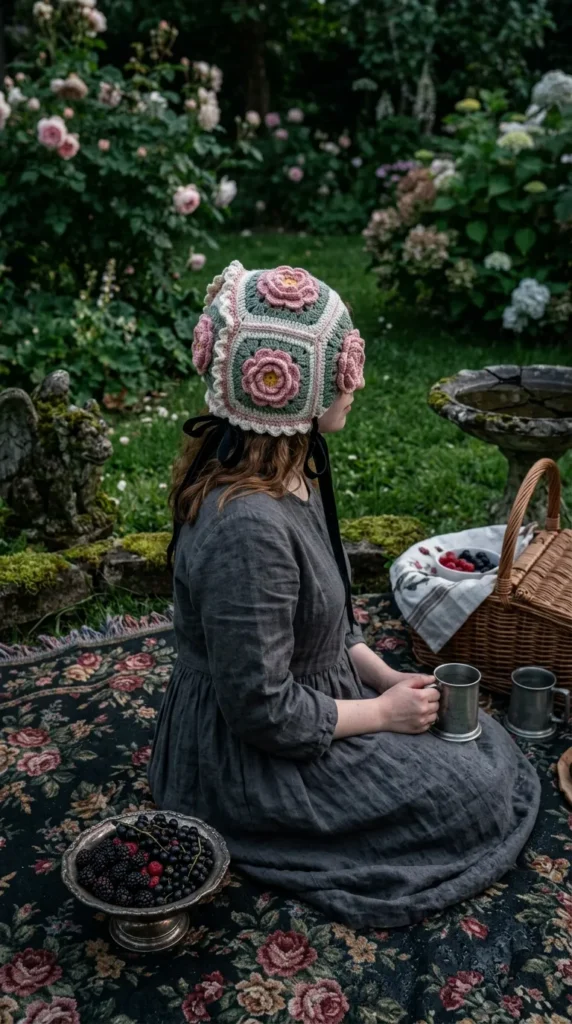
Combining heirloom granny square motifs with romantic floral accents, this bonnet is assembled from individual squares featuring raised 3D rose centers set against pastel background frames.
How to Make It
- Crochet Rose Squares: Make 5 to 6 identical-sized granny squares starting with a 3D layered crochet rose motif at the center ring of each square.
- Block Squares: Steam-block all squares to uniform 4×4-inch dimensions.
- Assemble Hood Geometry: Join 5 squares into a T-shape layout using a flat slip-stitch or join-as-you-go method, then fold and seam the rear edges to form the bonnet hood.
- Border & Strap: Crochet a row of single crochet around the face and neck opening, extending the lower edge into long chin straps.
Tips & Variations
- Tip: Keep color transitions consistent across squares to ensure the overall patchwork feels cohesive.
- Variation: Use sunflower motifs with dark brown centers and mustard yellow petals on a cream background for an autumn festival look.
What You Need
- DK weight cotton yarn (Blush pink, Rose red, Cream, Sage)
- 3.5mm or 4.0mm crochet hook
- Tapestry needle & blocking pins
5. Victorian Pineapple Lace Pixie Bonnet
What This Idea Means
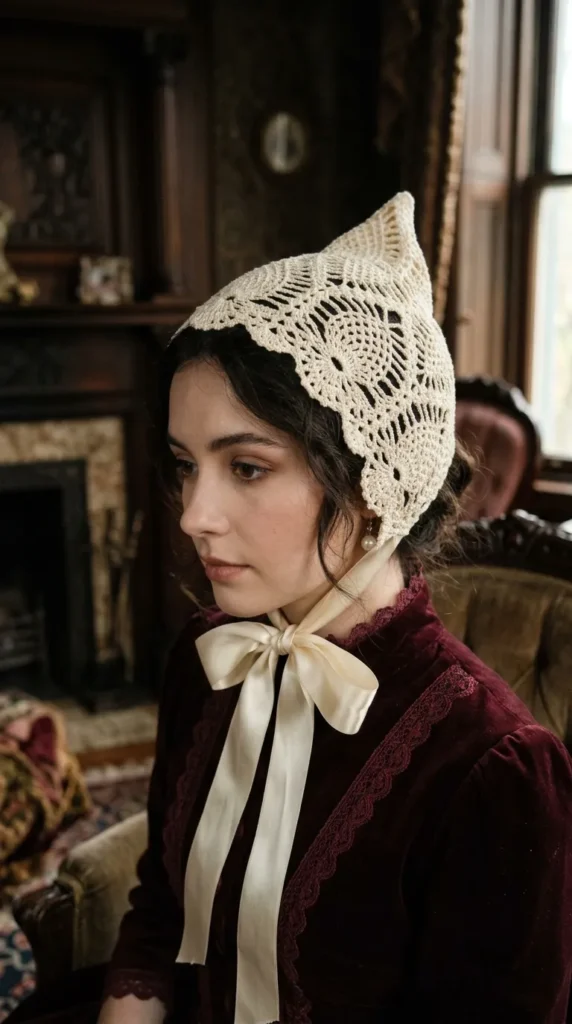
Intricate and elegant, the pineapple lace pixie bonnet features a dramatic pointed “pixie” silhouette at the top back of the crown, balanced by intricate Victorian pineapple lace motifs spanning the sides.
How to Make It
- Start Back Point: Begin at the rear crown point, expanding outward using increased chain spaces and treble cluster stitches to form a pointed pixie hood shell.
- Integrate Pineapple Lace: Transition into a classic repeating pineapple lace motif across the side panels toward the face.
- Scalloped Facial Border: Finish the facial opening with a sweeping double-ring scalloped shell border.
- Attach Satin Ribbon: Thread a wide silk or velvet ribbon through the neck eyelet row to function as the primary chin tie.
Tips & Variations
- Tip: Wet-block the finished bonnet pin-by-pin along pineapple tips to fully extend and accentuate the teardrop points.
- Variation: Work with silk or bamboo thread for a glossy satin finish and fluid fabric drape.
What You Need
- Mercerized cotton or bamboo thread (Category 2)
- 2.75mm or 3.0mm crochet hook
- 1-inch wide silk or velvet ribbon (1.5 yards)
- Stainless steel T-pins & blocking board
6. Chunky Cable-Knit Look Alpine Bonnet
What This Idea Means
Embracing alpine winter warmth, this heavy bonnet uses raised front-post crochet stitches to create thick cable braids running from the forehead backward over the crown.
How to Make It
- Crochet Cable Band: Work a wide strip using front-post treble crochet (FPtr) crossed over back-post stitches to construct intricate 4-stitch cable braids.
- Form Hood Back: Join yarn along one long edge of the cable band and work decreasing half double crochet rows to close the back crown curve.
- Add Ribbed Neckline: Work 4 rows of back-loop-only single crochet along the neck edge for a snug fit around the nape.
- Add Faux-Fur Pom-Poms: Attach soft faux-fur pom-poms onto the ends of thick braided chin ties.
Tips & Variations
- Tip: Cable stitches consume more yarn than flat stitches; ensure you purchase 15–20% extra yarn for your project.
- Variation: Work in heathered oatmeal wool yarn for an authentic ski-lodge look.
What You Need
- Worsted or Bulky weight wool yarn
- 5.5mm crochet hook
- Faux-fur pom-poms (2 pieces)
- Tapestry needle & stitch markers
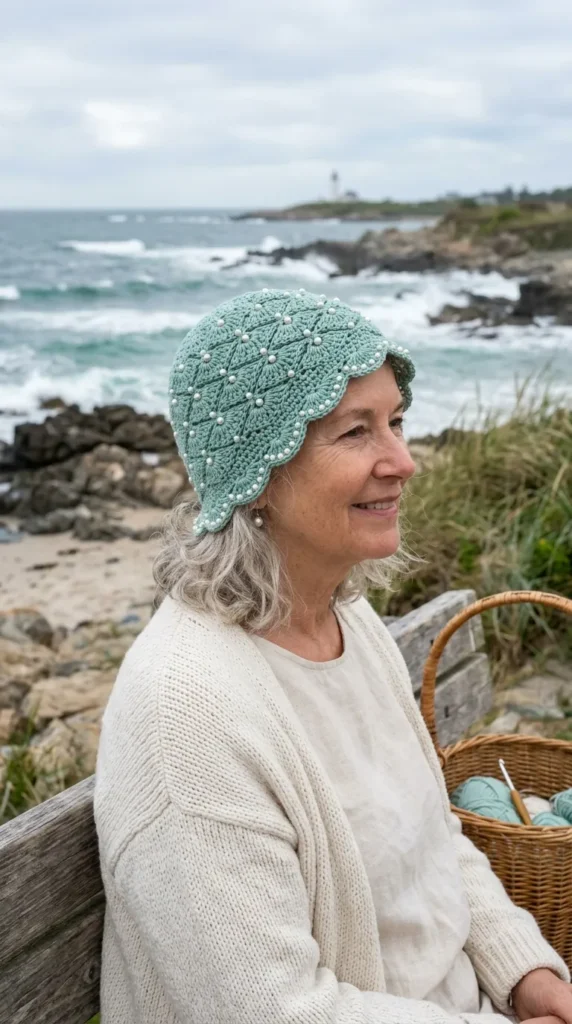
7. Sheer Mesh Fairy Sun Bonnet with Scalloped Edge
What This Idea Means
Designed for warm summer days, this light sun bonnet uses breathable openwork mesh stitches to cast soft shadows across the face while protecting against sunlight with a wide scalloped visor brim.
How to Make It
- Crown Mesh: Crochet a flat circular disc in open arc chain mesh (ch 3, sc in next loop).
- Work Side Walls: Continue mesh rows down the sides of the head to cheekbone level.
- Flared Visor Brim: Increase rapidly along the front facial opening (3 dc in every 2nd st) to build a wide, flared sun visor brim.
- Finish Scallops: Complete the brim with a 7-dc shell stitch scalloped edge.
- Add Ties: Attach thin cord ties at the cheeks.
Tips & Variations
- Tip: Use stiff linen or raffia yarn so the flared visor brim maintains its structure without drooping over the eyes.
- Variation: Dip-dye the scalloped brim in a pastel pink or lavender dye bath for an ombre gradient finish.
What You Need
- 100% Linen or Raffia yarn
- 3.5mm crochet hook
- Tapestry needle & scissors
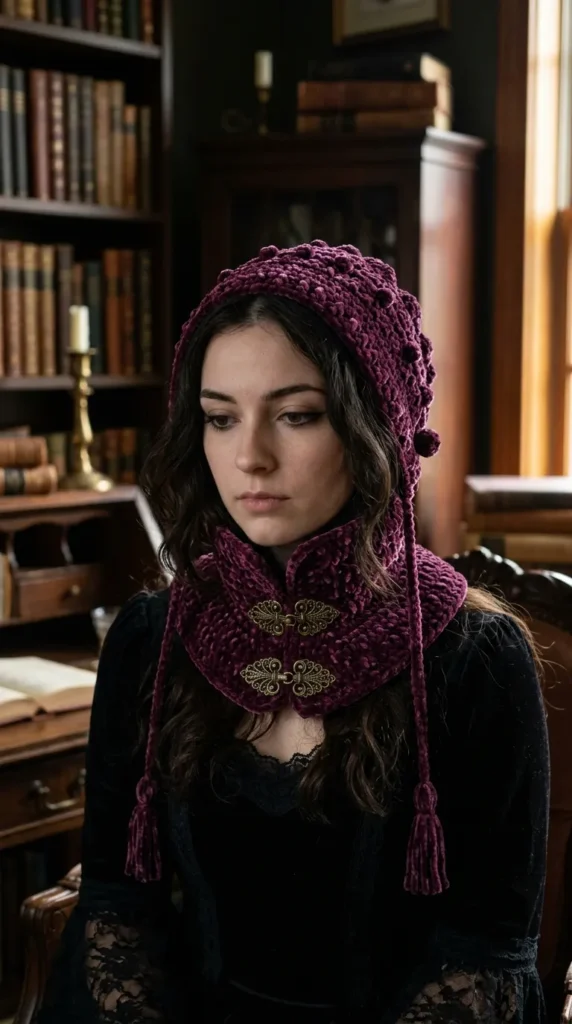
8. Gothic Velvet High-Collar Vampire Bonnet
What This Idea Means
Dramatic, dark, and romantic, this moody bonnet pairs deep black or plum velvet yarn with a structured high collar that wraps snugly around the neck like a Victorian choker.
How to Make It
- Work Velvet Hood: Using deep black velvet yarn and a 5.0mm hook, crochet a dense rectangular hood panel in moss stitch.
- Seam Back Curve: Seam the rear top edge with a soft rounded curve.
- Attach High Choker Collar: Work a dense, raised collar panel directly onto the neck edge using extended single crochet, extending upward toward the chin.
- Front Closure: Fasten the front collar using vintage brass filigree clasps or frog closures.
Tips & Variations
- Tip: Count stitches carefully when working with velvet yarn, as texture can make individual stitch loops harder to see.
- Variation: Interweave black lace ribbon through eyelet rows along the facial brim.
What You Need
- Velvet yarn (Worsted weight) in Black or Plum
- 5.0mm crochet hook
- Brass frog closure or filigree metal clasps
- Sewing needle & matching thread
9. Coastal Shell-Stitch Bonnet with Pearl Accents
What This Idea Means
Evoking seaside breezes, this romantic bonnet features repeating fan/shell stitches reminiscent of ocean waves, embellished with hand-sewn freshwater pearls nestled inside each shell center.
How to Make It
- Work Shell Body: Crochet the main hood using a 5-dc shell stitch pattern in soft cream or seafoam cotton yarn.
- Shape Face Rim: Work 3 rounds of tight single crochet around the face opening to create a flat border.
- Hand-Sew Pearls: Using a thin beading needle, sew 4mm glass or freshwater pearls into the center loop of every shell stitch across the bonnet body.
- Attach Ties: Add twisted cord chin straps finished with tiny mother-of-pearl button ends.
Tips & Variations
- Tip: Mercerized cotton yarn provides crisp stitch definition that keeps shell patterns flat and distinct.
- Variation: Alternate seafoam green and sand beige rows to create an ombre wave gradient.
What You Need
- Mercerized cotton yarn (Cream or Seafoam)
- 3.75mm crochet hook
- 4mm freshwater glass pearls
- Beading needle & thread
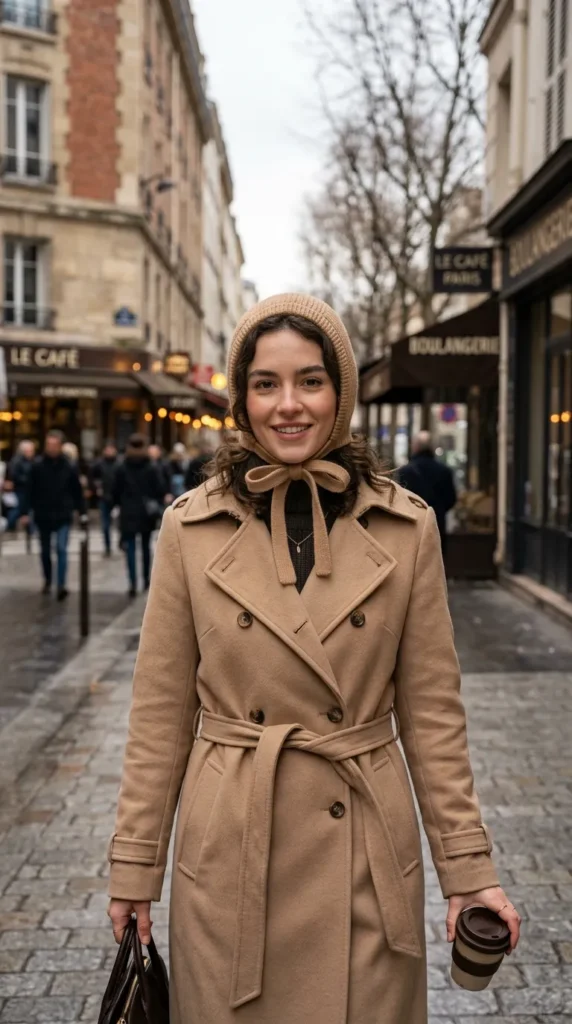
10. Minimalist Ribbed Cashmere Everyday Bonnet
What This Idea Means
Sleek, modern, and versatile, this minimalist bonnet features clean horizontal ribbing and a snug, form-fitting silhouette. Made with soft cashmere or merino wool, it pairs effortlessly with winter coats and trench jackets.
How to Make It
- Crochet Ribbed Panel: Work a flat rectangle in back-loop-only half double crochet (BLO HDC) using ultra-soft neutral yarn.
- Form Back Crown: Seam the top back edge using an invisible mattress stitch, rounding off the top rear corner for a smooth head contour.
- Neck Band: Work 3 rows of single crochet around the lower neck edge to gather excess fabric neatly at the nape.
- Attach Minimal Ties: Crochet simple i-cord chin straps.
Tips & Variations
- Tip: Use a slightly smaller hook than recommended for your yarn to achieve a wind-resistant fabric density.
- Variation: Fold back the front 1 inch of the bonnet edge to create a tailored cuff around the face.
What You Need
- Merino wool or Cashmere blend yarn
- 4.0mm crochet hook
- Tapestry needle & scissors
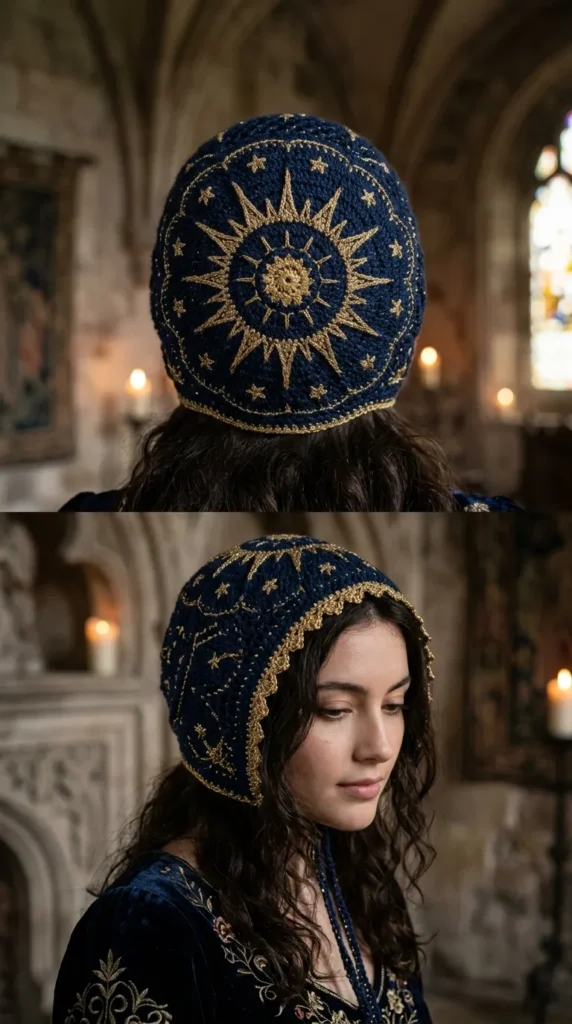
11. Celestial Sunburst & Star Motif Bonnet
What This Idea Means
Celestial motifs—such as sunbursts, star points, and crescent moons—form the central back medallion of this ethereal headpiece, surrounded by midnight blue and metallic gold thread work.
How to Make It
- Center Back Sunburst: Start the crown with a large circular sunburst motif using puff stitches and radiating treble spikes.
- Square Off Medallion: Convert the circular sunburst into a square or hexagon frame using varied stitch heights.
- Build Hood Walls: Continue working mesh rows in midnight blue yarn outward from the star motif to complete hood depth.
- Metallic Edging: Border the facial opening with metallic gold thread worked in a picot stitch.
Tips & Variations
- Tip: Maintain relaxed tension when working puff stitches so sun rays pop with 3D texture without puckering the fabric.
- Variation: Work in cream and metallic silver for an icy winter celestial bonnet.
What You Need
- Fingering weight yarn in Midnight Navy and Metallic Gold
- 3.0mm & 3.5mm crochet hooks
- Tapestry needle & stitch markers
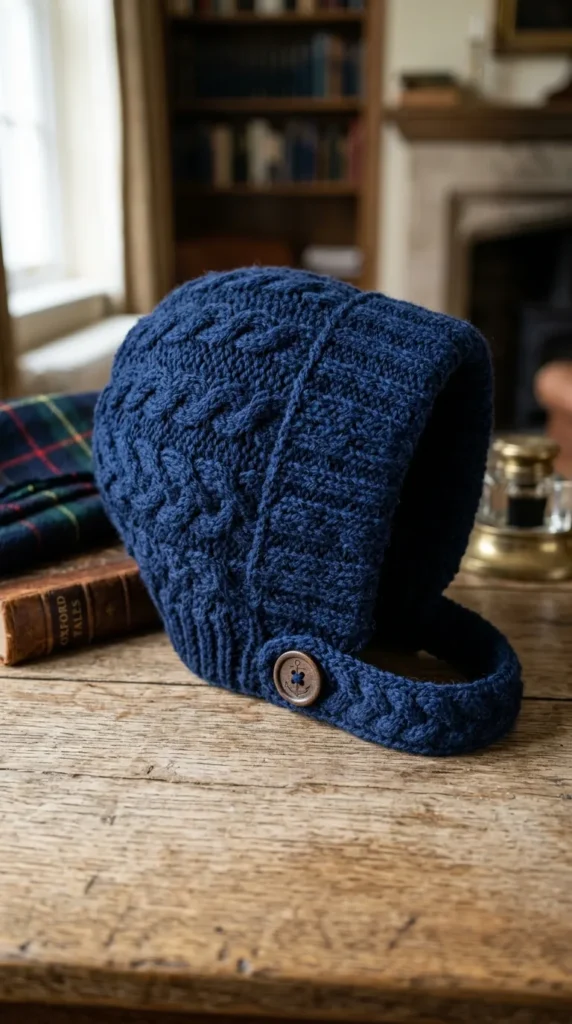
12. Preppy Cable & Ribbed folded-Brim Bonnet
What This Idea Means
Bringing classic prep-school tailoring into handmade headwear, this structured bonnet features a folded front brim, raised cable accents, and clean geometric lines.
How to Make It
- Work Main Hood: Crochet a structured hood body using half double crochet stitches in heather grey or navy blue yarn.
- Add Folded Brim: Work 8 extra rows along the front facial edge using back-loop-only ribbing, then fold the brim backward and tack it down securely at the temples.
- Add Cable Accents: Surface-crochet or work post-stitch cables along the outer folded brim face.
- Fasten Button Strap: Attach a narrow chin strap that buttons on one side with a polished wooden or brass button.
Tips & Variations
- Tip: Steam the folded brim prior to stitching it down so the fold lies flat and sharp.
- Variation: Pair with a matching cropped cable-knit cardigan for a coordinated preppy ensemble.
What You Need
- Worsted weight wool blend yarn
- 4.5mm or 5.0mm crochet hook
- Polished wooden or brass buttons
- Tapestry needle & pins
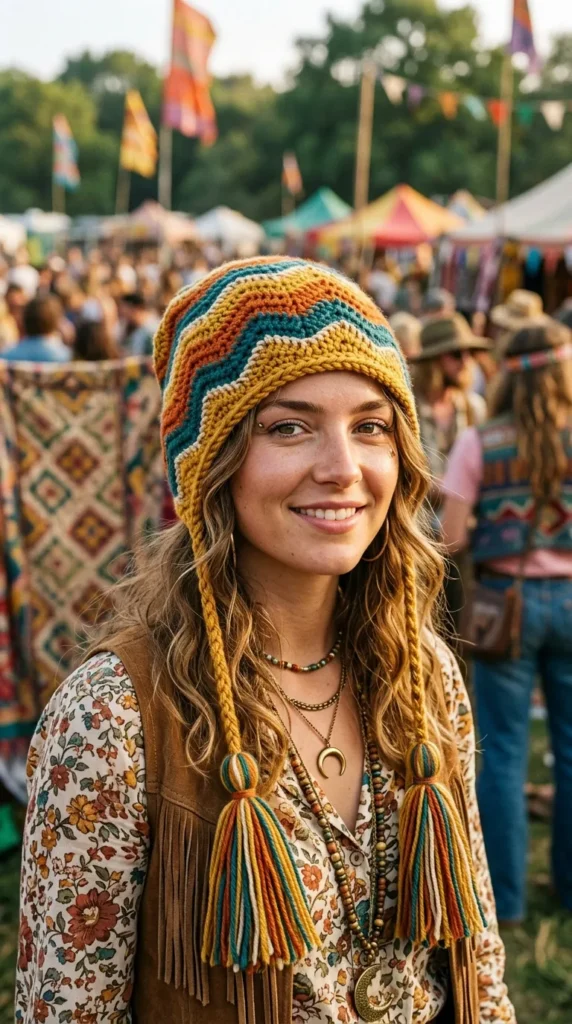
13. Retro 70s Chevron Stripe Festival Bonnet
What This Idea Means
Fun, vibrant, and bursting with retro energy, this bonnet uses classic ripple/chevron stitches worked in bold horizontal stripes of mustard yellow, burnt orange, teal, and cream.
How to Make It
- Set Up Chevron Pattern: Work a repeating wave pattern using increases (2 dc in 1 st) at peaks and decreases (dc2tog) at valleys.
- Color Changes: Change yarn colors every 2 rows to form distinct retro stripes across the hood panel.
- Assemble Hood: Seam the rear top edge while preserving the zigzag chevron peak at the top back center.
- Add Tassels: Attach long multicolored tassels onto the chin ties for retro movement.
Tips & Variations
- Tip: Carry unused yarn colors neatly along side seams when changing colors frequently to minimize loose ends to weave in later.
- Variation: Add short fringe along the cheek edges for an authentic 1970s festival feel.
What You Need
- DK weight cotton yarn in 4–5 retro colors
- 4.0mm crochet hook
- Tapestry needle & scissors
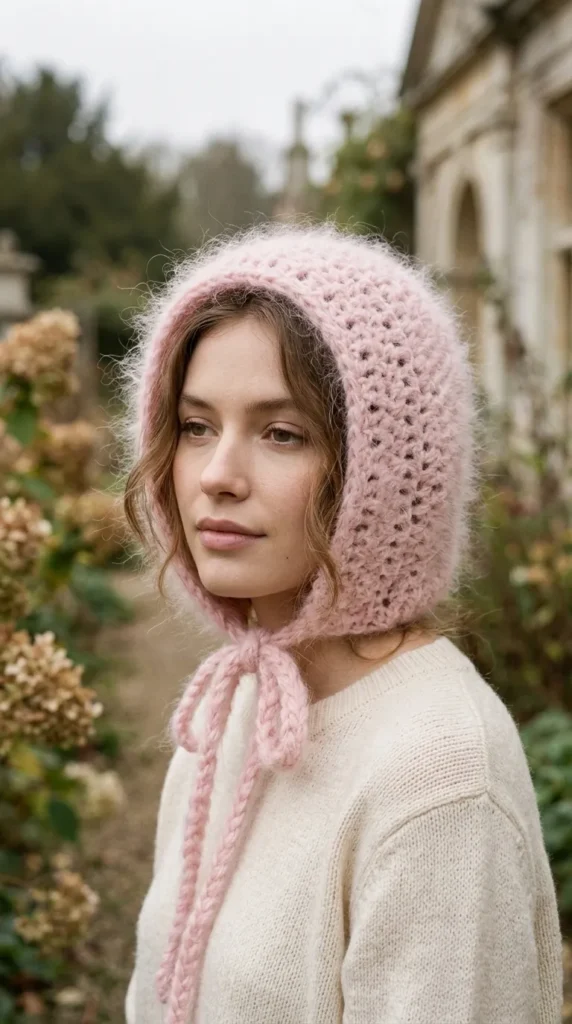
14. Sheer Mohair Fluffy Cloud Bonnet
What This Idea Means
Dreamy, weightless, and cloud-like, this oversized fluffy bonnet features a brushed mohair halo that creates a glowing frame around the face.
How to Make It
- Double-Strand Mohair: Hold two strands of lace-weight silk-mohair yarn together with a 6.0mm hook.
- Work Slouchy Hood: Crochet a loose, oversized hood panel using basic moss stitch or double crochet.
- Seam Soft Back: Gather the back crown stitches with a darning needle and pull tight to form a soft rounded shape without harsh seam lines.
- Fluffy Rim: Work a final round of brushed loop stitches around the facial opening to maximize the cloud halo texture.
Tips & Variations
- Tip: Gently brush the finished bonnet with a clean mohair brush or soft bristle brush to raise the fuzzy fibers.
- Variation: Work in soft blush pink or ice blue for an angelic fairy-core aesthetic.
What You Need
- Silk-mohair lace yarn (2 skeins)
- 6.0mm crochet hook
- Soft bristle brush
- Tapestry needle
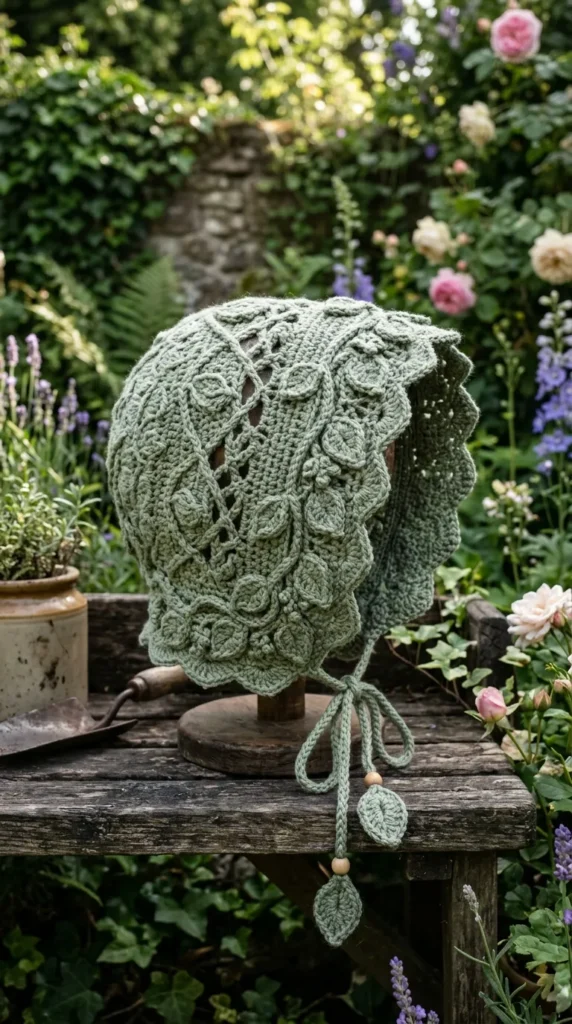
15. Botanical Leaf & Vine Trail Bonnet
What This Idea Means
Nature-inspired and artistic, this design integrates sculpted leaf motifs and vine-like chains into an organic openwork fabric that wraps around the head like living foliage.
How to Make It
- Craft Leaf Motifs: Crochet individual leaf medallions using trebles, double crochets, and picots.
- Connect Vine Mesh: Join leaf motifs together using floating chain-space vines and leaf-stem stitches as you build up the bonnet panels.
- Scalloped Hem: Complete all edges with small sprout/bud picot clusters.
- Leaf-Tip Ties: Finish chin ties with sculpted leaf charms at the ends.
Tips & Variations
- Tip: Pin motifs onto a foam mannequin head while joining to ensure correct body proportions and smooth drape.
- Variation: Use variegated yarn featuring greens, golds, and rusty reds to simulate autumn foliage.
What You Need
- Fingering or Sport-weight yarn in forest green or sage
- 3.25mm or 3.5mm crochet hook
- Foam mannequin head or blocking template
- Tapestry needle & pins
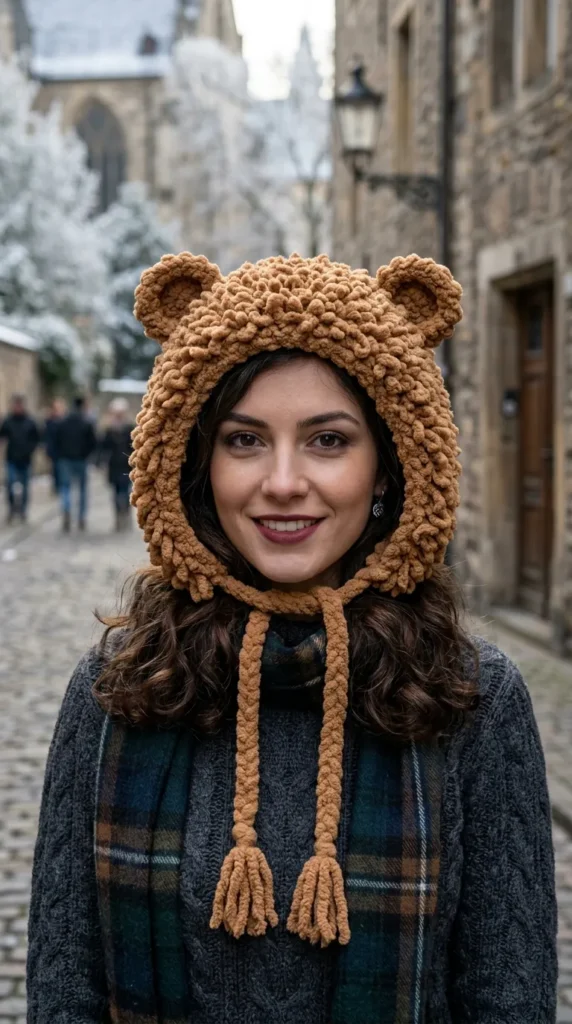
16. Chunky Shaggy Loop-Stitch Teddy Bonnet
What This Idea Means
Playful, tactile, and warm, this fleece-inspired bonnet uses crochet loop stitches (or faux-fur yarn) to create a plush, shaggy outer texture resembling a cozy teddy bear hood.
How to Make It
- Master Loop Stitch: Practice loop stitch (wrapping yarn over your finger before pulling through to form 1-inch surface loops).
- Work Hood Panel: Crochet a simple rectangular panel, working loop stitches on right-side rows and single crochets on wrong-side rows.
- Fold & Seam: Fold the panel and seam the top back edge.
- Add Teddy Ears: Crochet two small circular rounded cup ears and sew them securely onto the top sides of the bonnet.
Tips & Variations
- Tip: Keep loop lengths consistent by wrapping yarn around a sturdy ruler or piece of cardboard on every right-side row.
- Variation: Use pastel gradient yarn to craft a whimsical “rainbow cloud” festival accessory.
What You Need
- Bulky fleece/bouclé yarn or soft acrylic
- 7.0mm crochet hook
- Cardboard spacer strip (for uniform loops)
- Tapestry needle & scissors
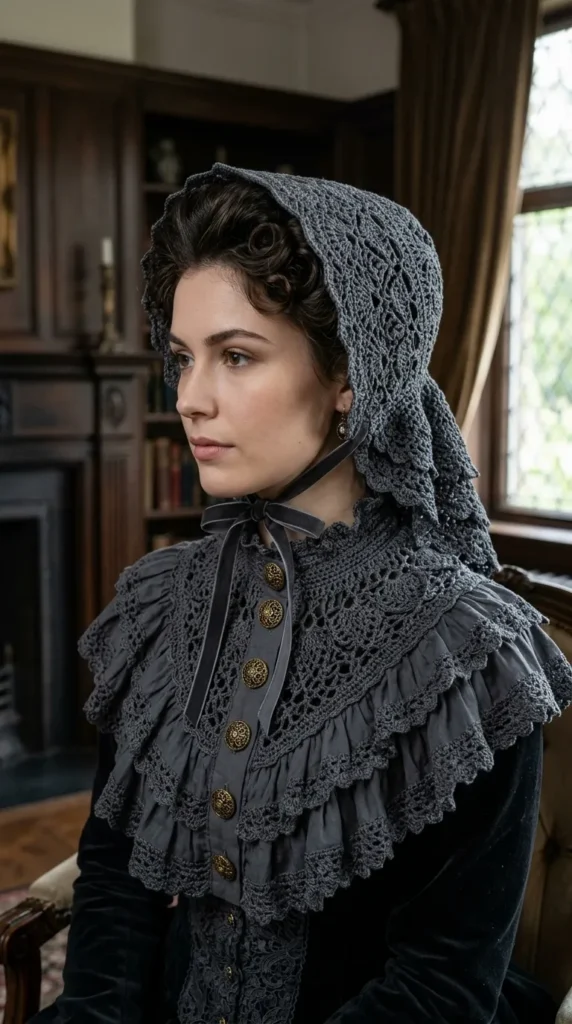
17. Victorian High-Low Peplum Bonnet with Ruffled Collar
What This Idea Means
Combining high-fashion tailoring with historic silhouettes, this structured bonnet features a fitted crown that extends downward into an attached ruffled neck collar.
How to Make It
- Upper Crown: Crochet upper hood panels in dense herringbone half double crochet up to the nape.
- Work Neck Ruffle: Attach yarn to the bottom neck edge and work double crochets with rapid increases (3 dc in every st) to form cascading ruffles across the collar.
- Finish Neckline: Add a small mandarin collar or stand-up neck ruffle near the chin.
- Front Closure: Secure front neck gap with antique brass filigree buttons.
Tips & Variations
- Tip: Block the neck ruffle thoroughly with starch spray to emphasize crisp structured folds.
- Variation: Add small antique filigree metal buttons down the front opening for a tailored steampunk look.
What You Need
- Worsted weight structured cotton or wool yarn
- 4.5mm crochet hook
- Starch spray & blocking pins
- Antique brass buttons
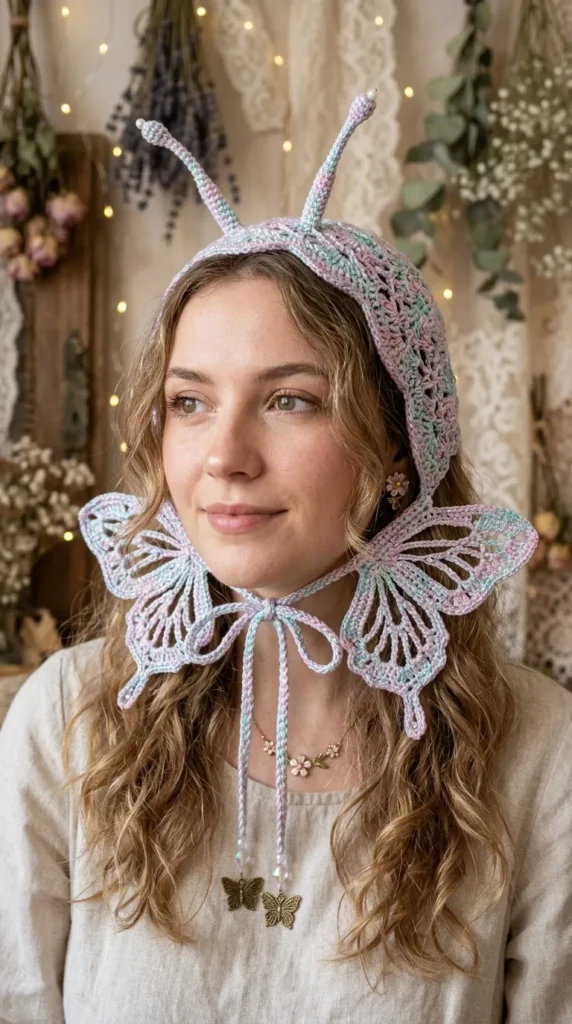
18. Whimsical Butterfly Motif Tie-Front Bonnet
What This Idea Means
Embracing 90s fairy aesthetics, this playful design features two openwork butterfly motifs framing the cheeks, complete with wired antennae ties that fasten under the chin.
How to Make It
- Crochet Cheek Butterflies: Work two symmetrical lace butterfly motifs using treble clusters, chains, and picots.
- Construct Hood Back: Crochet a simple solid mesh hood back that connects the two cheek butterflies.
- Antennae Ties: Chain short cords from top butterfly wing tips to act as functional chin ties.
- Beaded Accent: Attach small teardrop crystals onto the bottom wing tips.
Tips & Variations
- Tip: Use iridescent multi-colored yarn so butterfly wings shift color tone across different lighting conditions.
- Variation: Add small dangling teardrop crystal beads onto bottom wing tips for light-catching movement.
What You Need
- Sport or Fingering weight cotton yarn
- 3.25mm crochet hook
- Crystal teardrop beads
- Tapestry needle & scissors
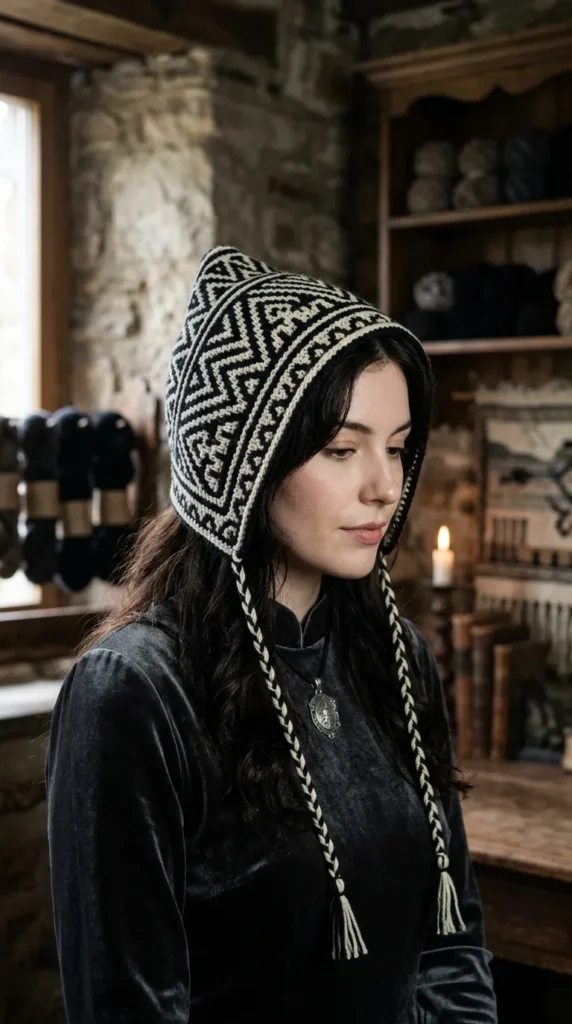
19. Geometric Mosaic Tapestry Bonnet
What This Idea Means
A true visual masterpiece, this bonnet incorporates mosaic crochet techniques to display bold Southwestern or Nordic geometric art patterns across the sides and crown.
How to Make It
- Chart Pattern: Select an interlocking geometric mosaic chart (chevrons, diamonds, or grids).
- Work Overlay Mosaic: Crochet side panels using overlay mosaic technique (working in front loops and dropped double crochets into lower front loops).
- Solid Frame: Surround the bold mosaic back panel with solid, complementary-colored borders.
- Cuff Accents: Repeat a small 4-row mosaic pattern strip along the facial brim.
Tips & Variations
- Tip: Cut yarn at the end of every row when working overlay mosaic crochet; double-knot fringe strands along sides into neat selvedge borders.
- Variation: Use high-contrast black and cream yarn for a bold graphic modern art statement.
What You Need
- DK weight yarn in 2 contrasting colors (e.g., Black & Cream)
- 4.0mm crochet hook
- Printed mosaic grid chart & stitch markers
- Tapestry needle
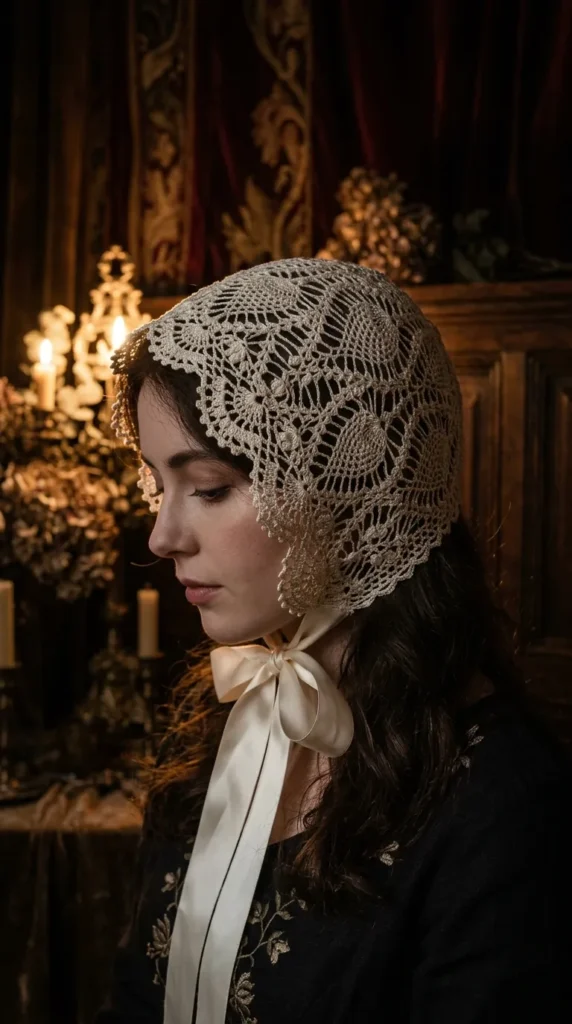
20. Sheer Pineapple Lace Fairy Bonnet
What This Idea Means
The classic pineapple lace motif is one of crochet’s most elegant openwork patterns. Worked into a delicate curved bonnet, it creates a luxury heirloom piece suitable for garden parties, weddings, and romantic styling.
How to Make It
- Start Pineapple Motifs: Work pineapple cluster motifs radiating outward from a central back crown ring.
- Shape Facial Curve: Continue pineapple repeats forward over the head, shaping cheek panels into soft sweeping curves.
- Scalloped Border: Outline the entire facial perimeter with a double-ring scalloped lace edge.
- Ribbon Tie: Thread a long satin ribbon through the neck row.
Tips & Variations
- Tip: Wet-block the finished bonnet pin-by-pin along pineapple tips to fully extend and accentuate the teardrop points.
- Variation: Work with silk or bamboo thread for a glossy satin finish and liquid-like fabric drape.
What You Need
- Size 10 Mercerized Crochet Thread or Fine Lace Yarn
- 2.25mm or 2.5mm steel crochet hook
- Blocking board & stainless steel T-pins
- Satin ribbon & thread scissors