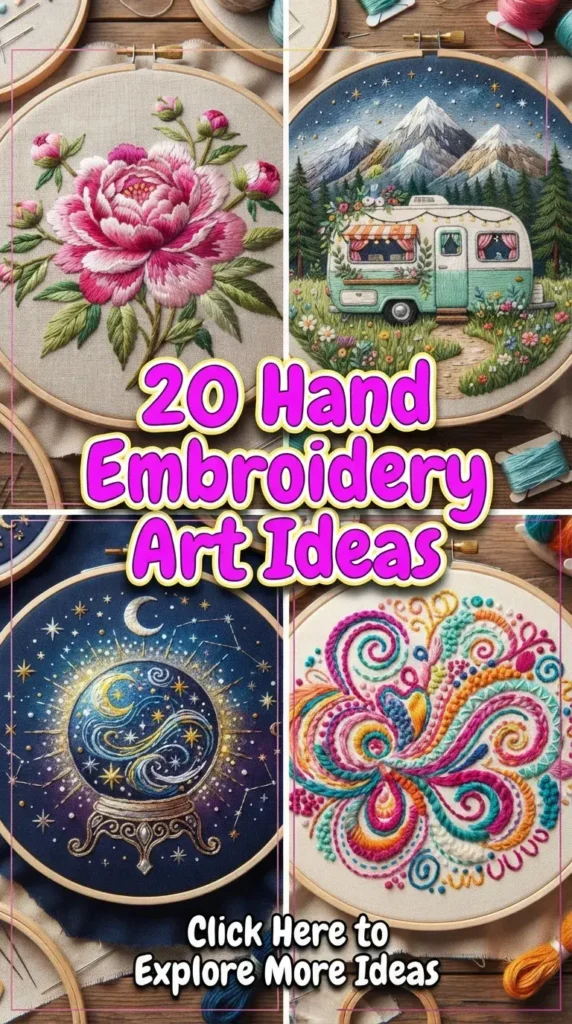
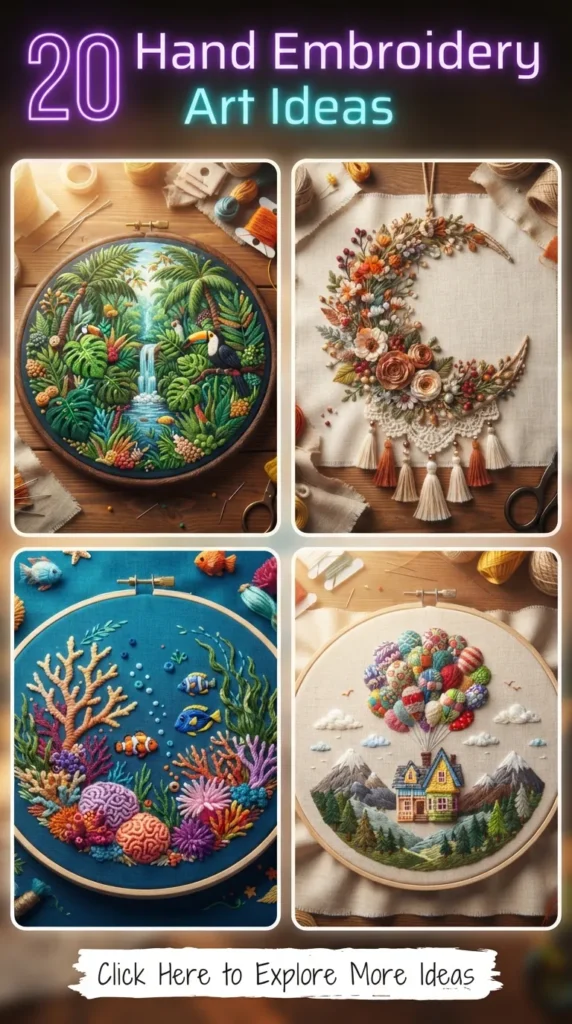
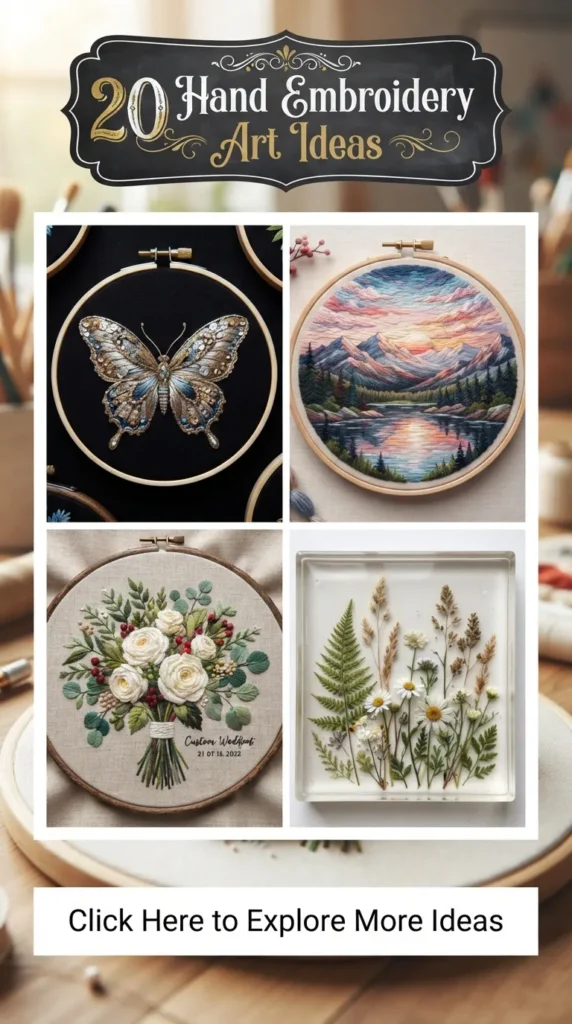
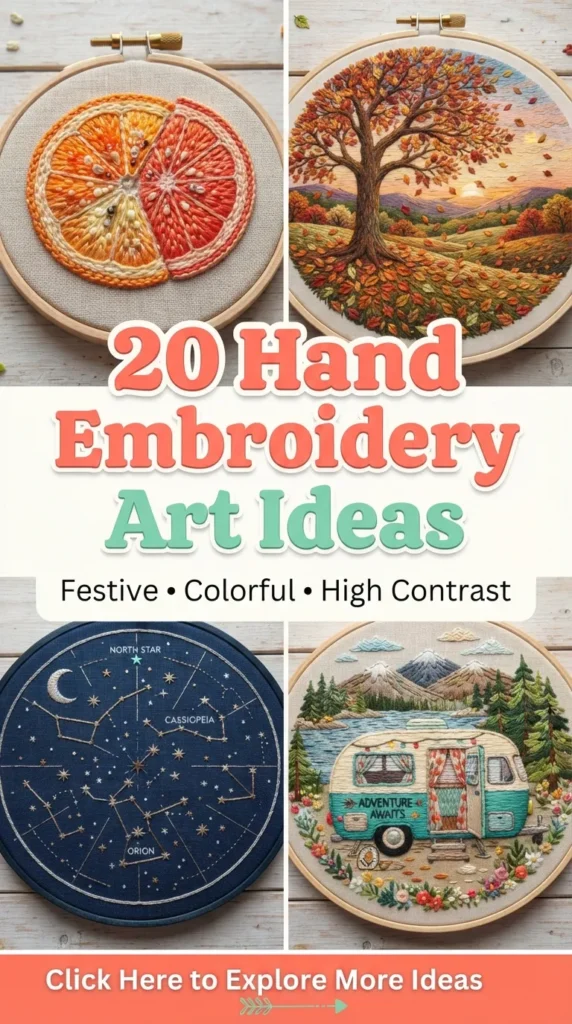
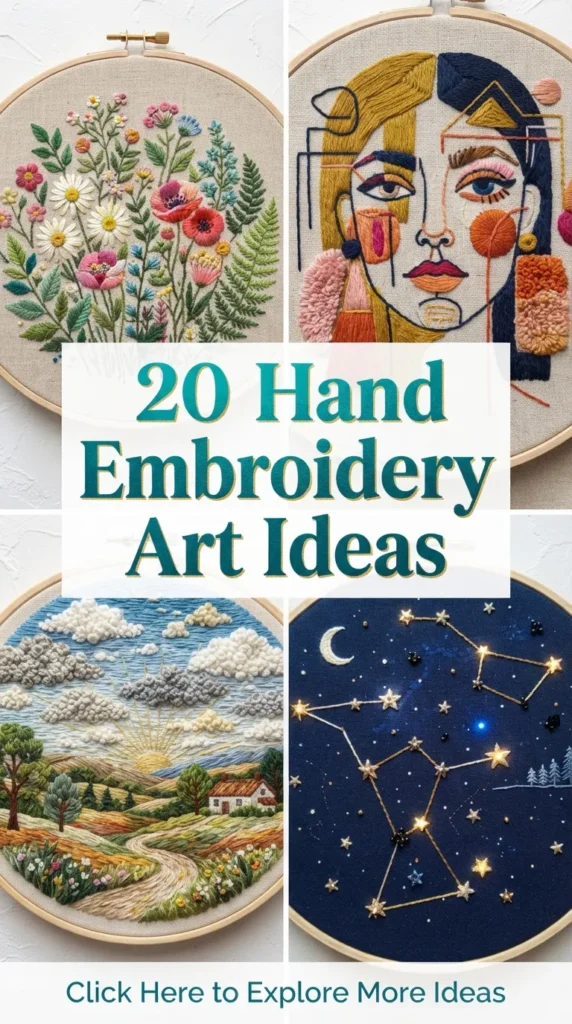
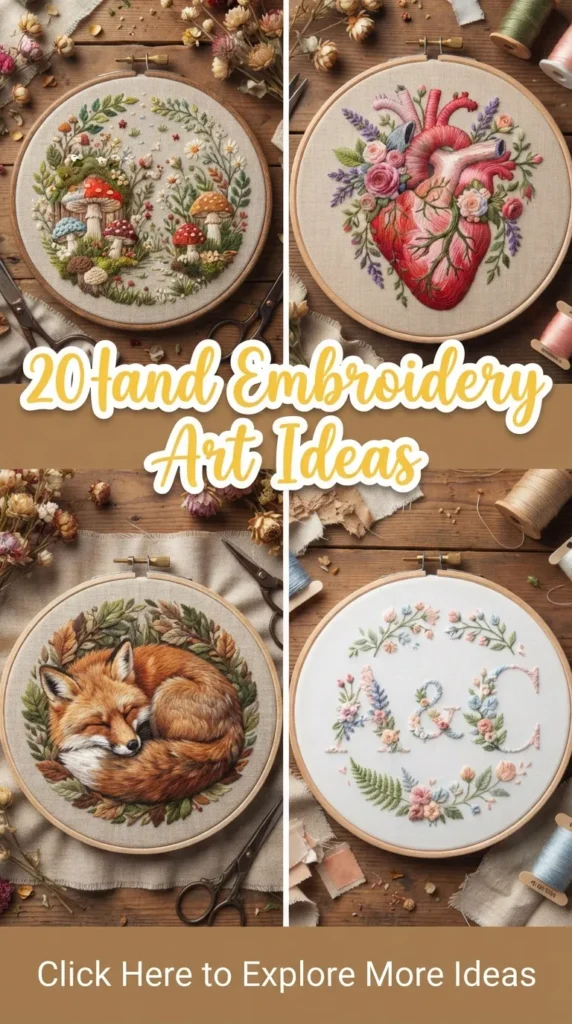
Modern hand embroidery has transformed from a traditional domestic craft into a sophisticated, tactile medium for contemporary interior decor and personal expression. Today’s aesthetic moves away from rigid cross-stitch samplers toward organic line work, dimensional fiber textures, mixed-media layering, and minimalist botanical palettes. Whether displayed in natural beechwood hoops, framed in archival shadowboxes, or stitched directly onto everyday functional items, hand embroidery brings warmth, texture, and mindful artistry into modern living spaces.
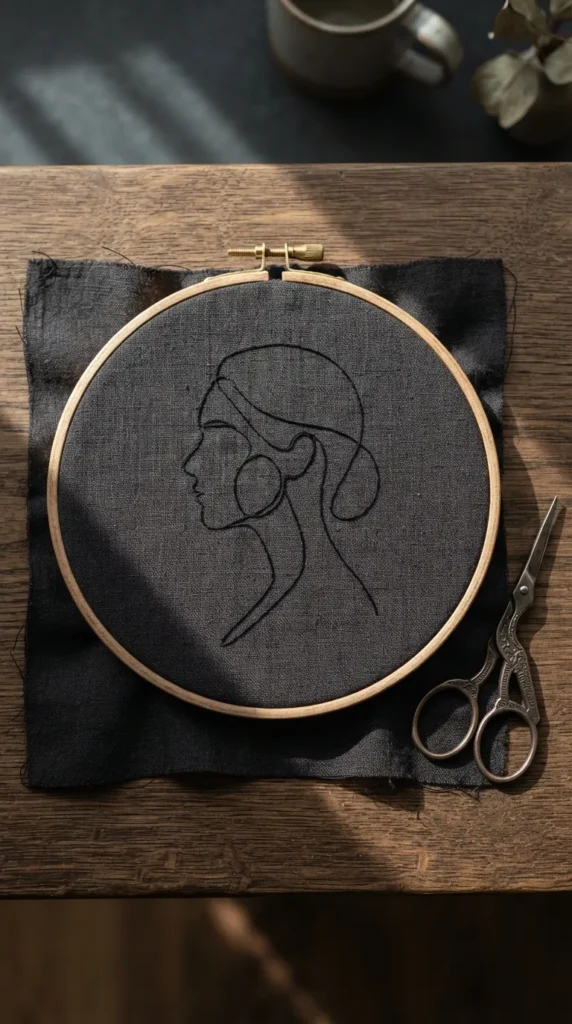
1. Minimalist Continuous Line Art Silhouette
Introduction Continuous line embroidery translates modern single-line drawings into tactile fiber art. Inspired by Picasso and Matisse contours, this style relies on unbroken flowing paths that define human figures, faces, or delicate hands using a single uninterrupted thread.
What This Idea Means This concept strips away complex shading, multiple thread colors, and busy fills. It celebrates structural restraint, clean negative space, and modern gestural expression.
How to Make It
- Select a high-contrast line illustration and trace it onto stretched neutral linen using a heat-erasable friction pen.
- Thread a single strand or two strands of black stranded cotton embroidery floss into a fine embroidery needle (size 7 to 9).
- Secure your starting knot at the back and work a neat, small stem stitch or split backstitch along the entire line, ensuring thread tension remains smooth and uniform around tight curves.
- Once the line finishes, secure the tail under existing back stitches without knotting too tightly.
- Apply gentle steam or a warm iron from the back to remove all trace lines completely.
Tips and Variations
- Keep stitch lengths micro-sized on curves (1–2 mm) to avoid jagged edges.
- For variation, stitch on raw, unbleached linen with a single metallic copper or deep ochre thread instead of classic black.
2. Dimensional Stumpwork Botanical Specimen
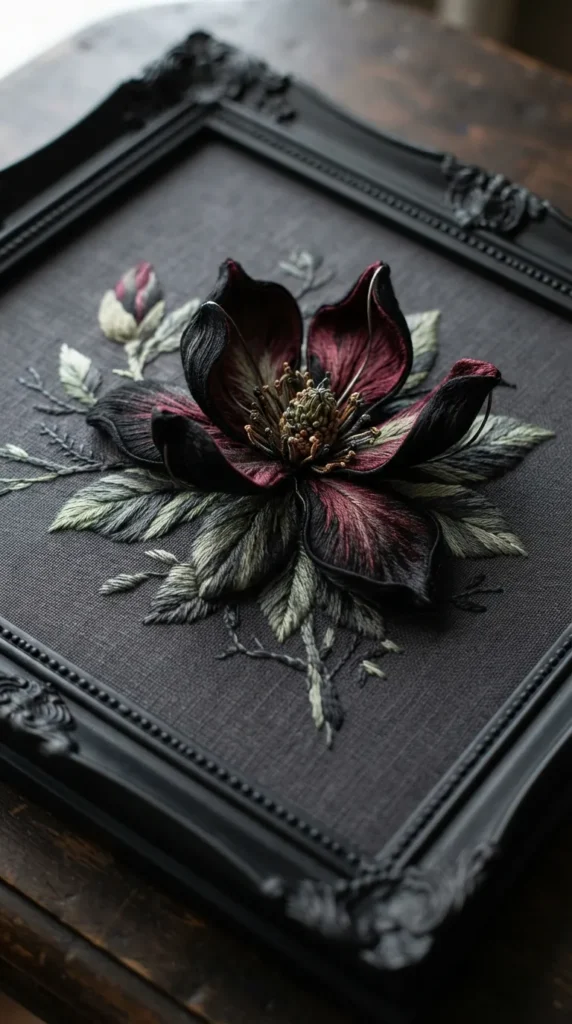
Introduction Stumpwork is a raised embroidery technique dating back centuries, reimagined here for modern botanical decor. By incorporating wire armatures into individual petals and leaves, the stitched plant elements physically lift off the background fabric.
What This Idea Means Stumpwork bridges the gap between 2D needlepoint and 3D floral sculpture, providing tangible shadow, depth, and lifelike movement to embroidered foliage.
How to Make It
- Shape 28-gauge craft wire to the contour of individual petals (e.g., a magnolia or eucalyptus leaf) and baste the wire onto a separate piece of organza or fine cotton.
- Cover the wire and fill each petal using tightly packed long and short satin stitch, blending two to three tonal shades of thread.
- Edge the petal contour with tight buttonhole stitch over the wire perimeter, then carefully snip the completed petal away from the organza base.
- Mount your main background linen into a hoop, embroider the central stem using couching or whipped backstitch, and insert the wired petal tails through the ground fabric to secure them at the back.
Tips and Variations
- Blend subtle gradient tones (e.g., sage green to pale blush) for botanical realism.
- Combine dimensional stumpwork petals with flat background flora for an engaging foreground-to-background contrast.
3. Abstract Textured Color-Block Landscape
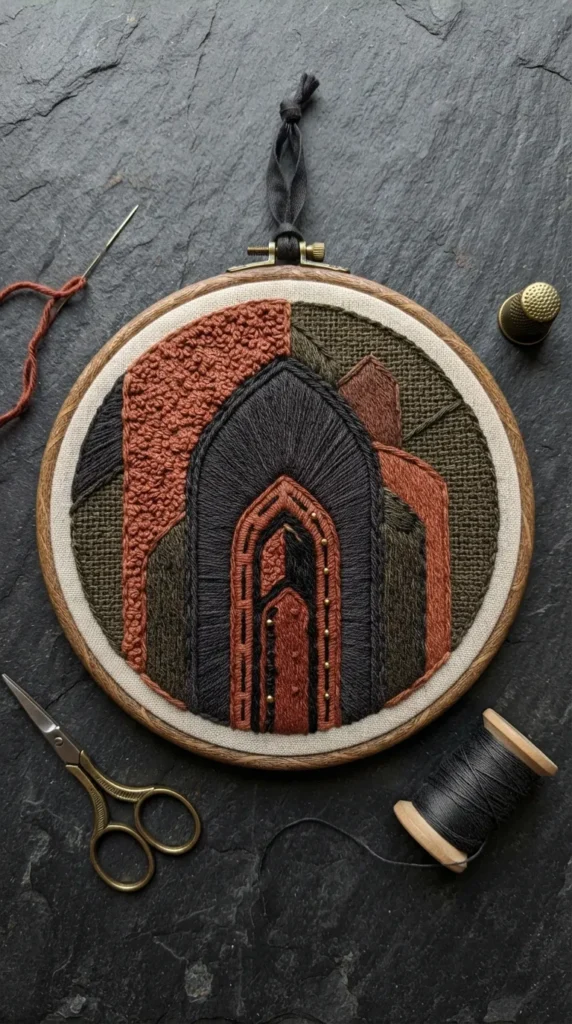
Introduction Inspired by modern mid-century abstract painting and Scandinavian wall tapestries, this project mixes thick geometric blocks of muted earth tones with rich structural stitches.
What This Idea Means This idea focuses on tactile variety and spatial composition rather than literal representation, using thread weight and stitch density to represent rolling hills, terra-cotta suns, and architectural horizons.
How to Make It
- Sketch simple overlapping geometric arches, semicircles, and soft diagonal bands across stretched cotton canvas.
- Assign distinct textures and thread weights (perle cotton #5, 6-strand floss, or crewel wool) to each section.
- Fill large blocks using basketweave stitch, brick stitch, rows of chunky French knots, and vertical satin stitch.
- Frame the finished piece in a natural round bamboo hoop or a floating square frame.
Tips and Variations
- Utilize a limited color story: raw terracotta, dusty olive, warm cream, and muted mustard.
- Vary strand counts from 2 to 6 strands within the same hoop to create varying surface heights.
4. Celestial Velvet Constellation & Moon Phases
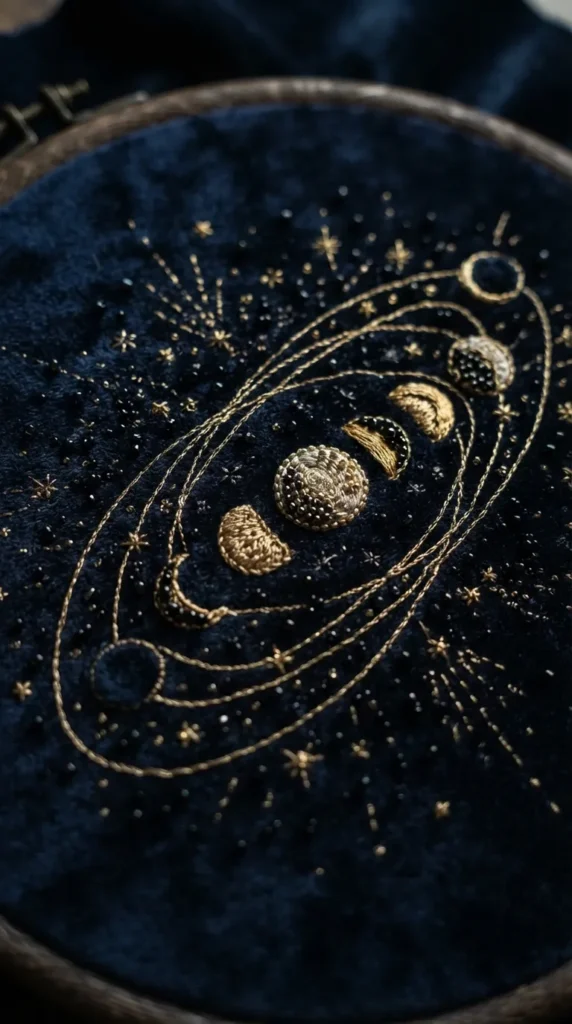
Introduction Deep midnight-blue or charcoal-black silk velvet serves as a luminous cosmic backdrop for metallic-stitched celestial charts, gold-threaded orbital paths, and textured moon phases.
What This Idea Means This design combines the luxurious sheen of plush velvet with crisp geometric astrology and astronomy, evoking celestial calm and nighttime elegance.
How to Make It
- Hoop a piece of backed velvet with water-soluble stabilizer on top to prevent the pile from crushing and to hold your traced pattern.
- Use metallic gold or silver DMC Diamant thread to outline orbital circles using precise backstitch.
- Embroider the textured surface of the moon phases with overlapping seed stitches and long and short stitches in tones of ivory, silver, and pale gray.
- Add star points using star eyelet stitches and anchor tiny crystal seed beads with invisible nylon thread at key planetary nodes.
- Dissolve the stabilizer under lukewarm running water and air-dry flat.
Tips and Variations
- Metallic thread twists easily; keep thread lengths under 12 inches and use thread conditioner (beeswax or silicon-based).
- For variation, create a full zodiac star map with tiny French knots marking star magnitudes.
5. Architectural Monoline Cityscape on Raw Canvas
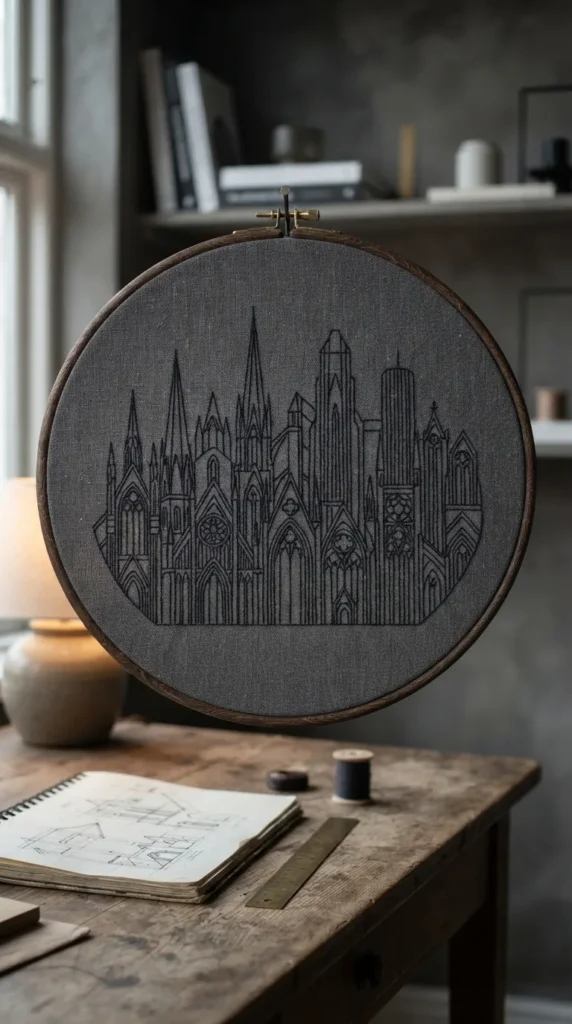
Introduction Clean, linear depictions of historic architectural arches, brutalist buildings, or iconic bridges rendered on heavy unbleached duck canvas using architectural drafting aesthetics.
What This Idea Means It transforms rigid architectural blueprints into delicate, tactile fiber lines, balancing structured perspective with the organic softness of woven fabric.
How to Make It
- Transfer a precision perspective drawing of a cityscape or structural archway onto heavy raw canvas using transfer carbon paper.
- Choose a matte charcoal or slate-gray single-strand cotton floss.
- Work straight horizontal and vertical structural lines using ultra-straight backstitch or couching stitch to maintain razor-sharp angles.
- Add structural window frames with fine straight stitches and delicate masonry texture with microscopic speckle stitches.
Tips and Variations
- Use a clear plastic ruler while drawing the initial transfer to ensure true vertical lines.
- Add a single pop of color—such as a single terracotta roof or an emerald-green entryway door—against the monochromatic lines.
6. Mixed Media Watercolor Botanical & Thread Painting
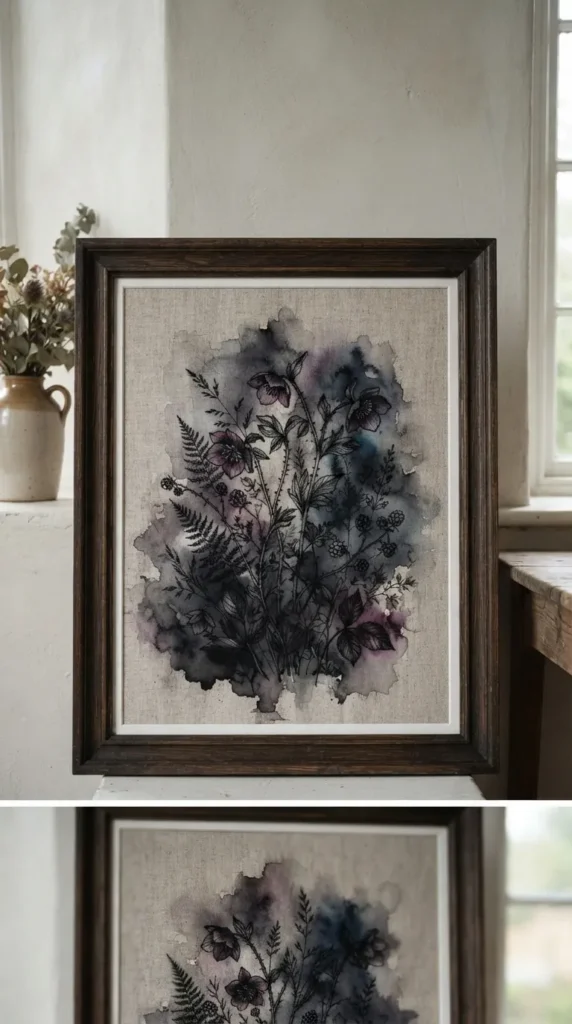
Introduction A harmonious fusion of fluid watercolor washes and fine embroidery thread painting. Soft pigment bleeding across the fabric forms atmospheric undertones, while embroidery adds crisp definition to veins, stems, and petals.
What This Idea Means Mixed media embroidery speeds up the creation process while producing an airy, painterly depth that thread alone cannot achieve.
How to Make It
- Dampen 100% natural linen or heavyweight watercolor paper, then apply sheer watercolor pigment (soft blush, moss green, lavender) to map out general floral shapes. Allow to dry completely.
- Stretch the painted fabric tautly within a wooden hoop.
- Use 1 strand of stranded cotton floss to stitch over selected areas of the watercolor shapes using long and short silk shading to add detailed central petals, stamen, and leaf skeletons.
- Leave edges of the watercolor wash deliberately untouched to showcase the contrast between soft watercolor diffusion and high-definition thread.
Tips and Variations
- Test paint opacity beforehand; sheer washes look most balanced with threadwork.
- Set watercolor washes with a gentle dry heat press before stitching to prevent pigment transfer onto your threads.
7. Moody Monochrome Mushroom & Foraged Forest Floor
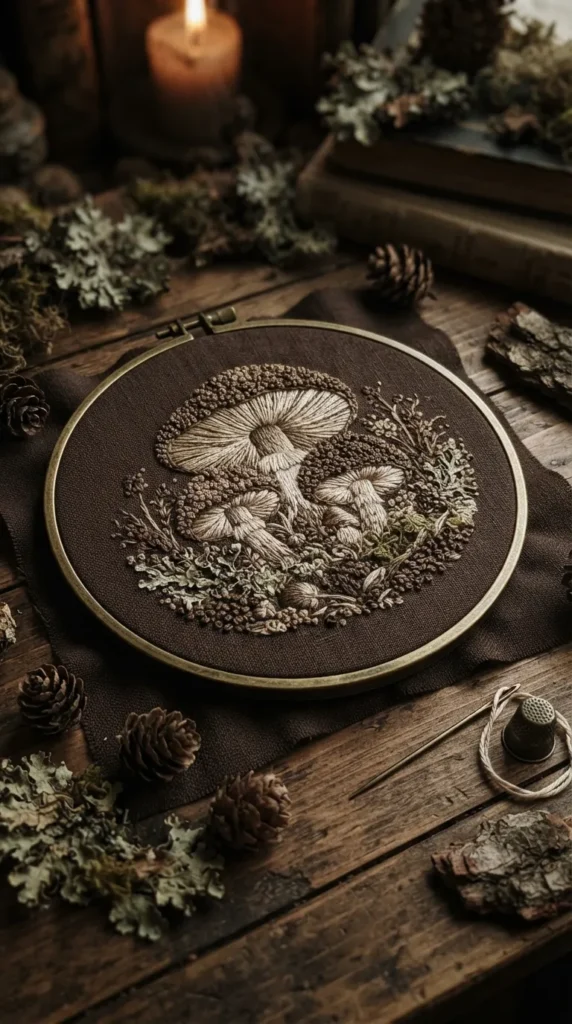
Introduction A rich, cottagecore-inspired embroidery piece highlighting woodland flora—chanterelles, morels, lichen, and ferns—worked entirely in a sophisticated single-color gradient (shades of sepia, charcoal, or bone).
What This Idea Means It celebrates the intricate textures and spore patterns of mycology through monochromatic tonal contrast, creating an antique botanical collector’s specimen look.
How to Make It
- Trace detailed botanical mushroom profiles onto dark oatmeal or chocolate-brown linen.
- Outline the mushroom caps and stems with whipped backstitch using medium-value ecru thread.
- Fill mushroom gills using dense, radiantly angled straight stitches with an ultra-fine single strand.
- Stitch creeping moss and forest floor debris around the mushroom base using dense clusters of French knots, bullion knots, and tiny fern stitches.
Tips and Variations
- Use variegated cotton floss to produce natural tonal shifts throughout the mushroom gills without constantly re-threading needles.
- Experiment with textured linen slubs to enhance the wild, earthy backdrop.
8. Sheer Tulle Floating Floral Wreath
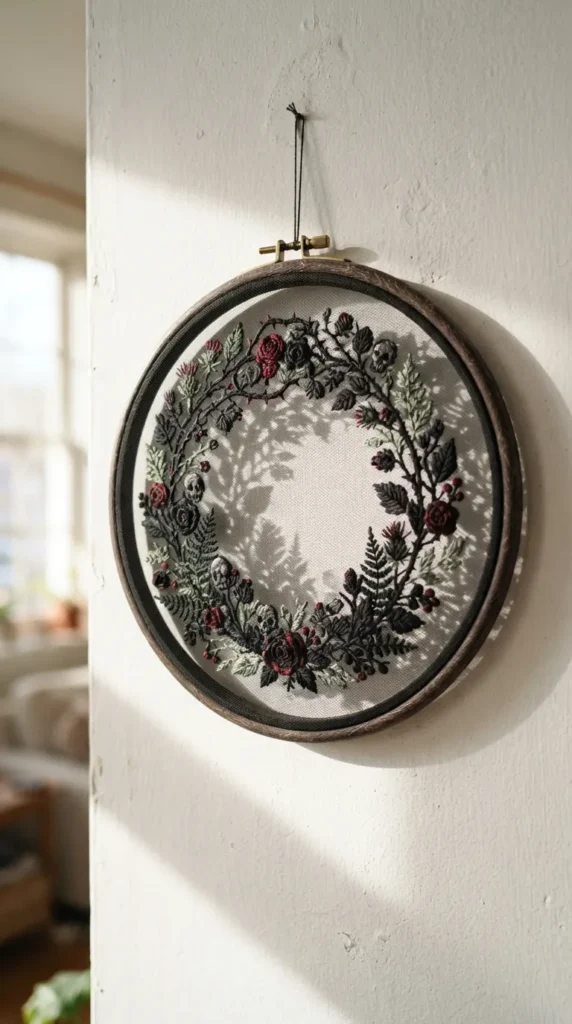
Introduction Stitching directly onto translucent illusion tulle creates the optical effect of delicate botanical petals and vines floating mid-air inside a minimal wooden frame.
What This Idea Means This technique removes the solid backdrop entirely, letting ambient light, background walls, and casting shadows become an integral component of the embroidery art.
How to Make It
- Stretch two layers of fine hexagonal illusion tulle tightly inside a high-quality round embroidery hoop (double layer prevents tearing).
- Lightly pin a paper pattern beneath the tulle for visual guidance (do not mark the mesh directly).
- Thread a fine tapestry needle (size 26) with soft pastel floss and work delicate lazy daisy stitches, woven wheel roses, and fishbone stitch foliage.
- Hide your travel threads meticulously along existing stems because every stitch is visible from both front and back.
- Finish the back cleanly by trimming tulle neatly around the hoop frame and securing with a thin line of clear fabric adhesive.
Tips and Variations
- Never pull threads tautly across open empty spaces; travel along the backs of stitched stems instead.
- Choose high-contrast pale floral colors (ivory, peach, mint) so the petals pop against the transparent mesh.
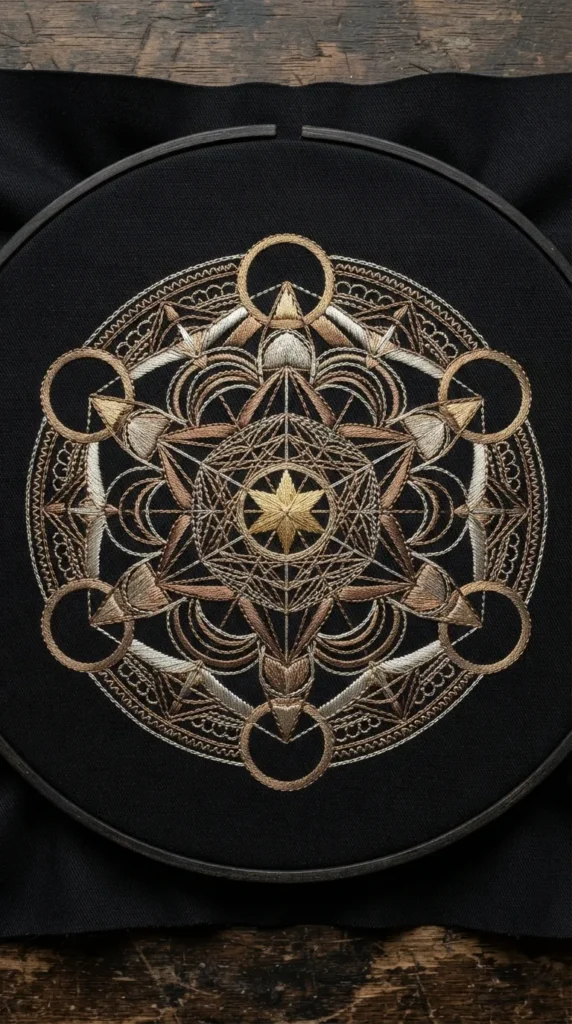
9. Contemporary Geometric Mandala & Sacred Geometry
Introduction Intricate, mathematically balanced geometric patterns composed of interlocking hexagons, circles, and optical isometric grids, rendered in precise needlework.
What This Idea Means Geometry-based hand embroidery transforms mindful repetitive stitching into a visual meditation, emphasizing crisp line alignment and optical balance.
How to Make It
- Print a sacred geometry grid (like the Flower of Life or Metatron’s Cube) onto water-soluble peel-and-stick stabilizer, and adhere it to navy or forest green cotton twill.
- Use satin stitch for solid geometric triangles, alternating grain directions between adjacent segments to catch light differently.
- Stitch intersecting perimeter rings using precision chain stitch or split stitch.
- Anchor central focal nodes with crisp, tight colonial knots.
- Wash out the stabilizer in cool water and press face-down on a plush towel.
Tips and Variations
- Keep stitch tension rigorously uniform; an over-tight stitch will distort the circular symmetry of the geometry.
- Use a gradient metallic palette (bronze, copper, yellow gold, platinum) to accentuate symmetry.
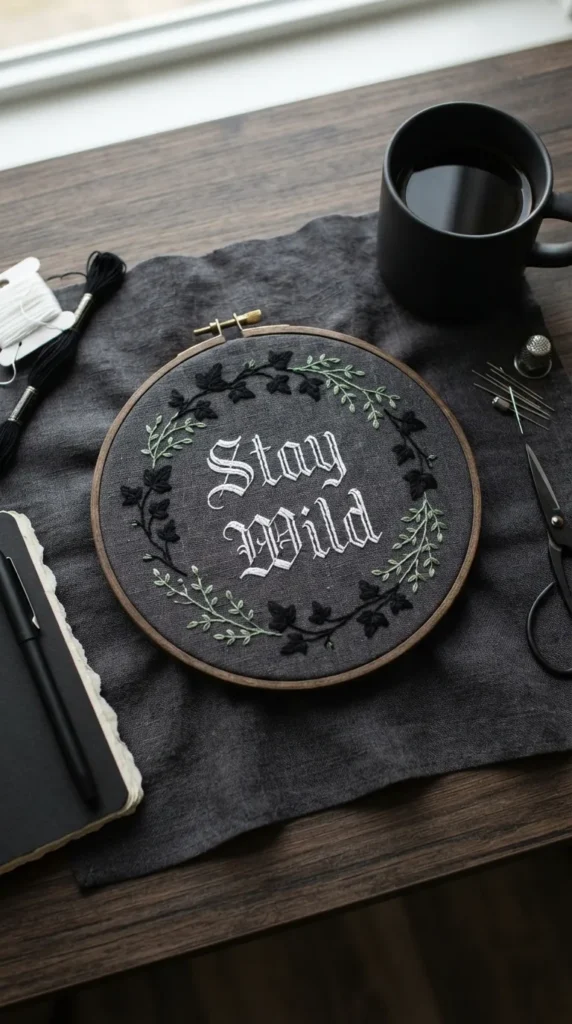
10. Modern Typography & Empowering Micro-Poetry
Introduction Clean, modern sans-serif or elegant handwritten script embroidered onto neutral backgrounds, framed by minimal botanical branch accents.
What This Idea Means This design turns uplifting quotes, literary micro-poetry, or meaningful mantras into enduring wall art through crisp letterforms and thoughtful typographic hierarchy.
How to Make It
- Design your phrase in a modern typographic layout on digital software, print it, and trace it using an ultra-fine water-soluble pen onto oatmeal linen.
- For thin cursive lettering, execute neat whipped backstitch with 1 strand of floss.
- For bold modern sans-serif letter stems, use tightly packed vertical satin stitch over a padded backstitch foundation to give the letters raised dimensionality.
- Accent the typographic layout with tiny minimalist leafy branches using fly stitch at the top and bottom margins.
Tips and Variations
- Always complete the interior negative spaces (counters) of letters like ‘e’, ‘a’, and ‘o’ cleanly before finishing outer strokes.
- Pair bold primary words with dainty, single-strand secondary phrases for visual balance.
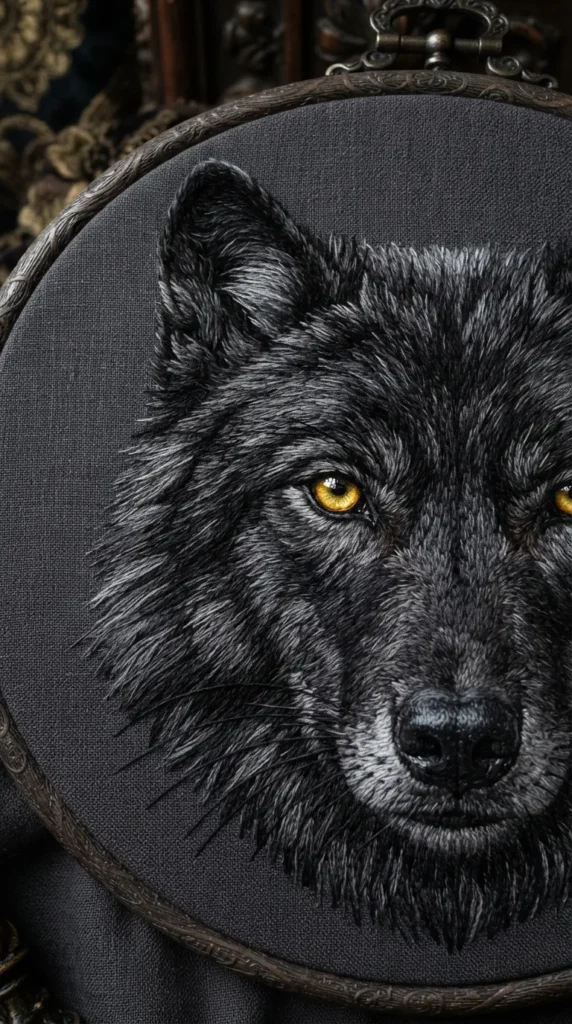
11. Thread-Painted Realistic Pet Portrait
Introduction Thread painting (silk shading) captures the fur texture, realistic eye reflections, and personality of beloved domestic pets with lifelike photorealism.
What This Idea Means It uses needle and thread precisely like an artist uses fine paintbrushes, layering microscopic directional stitches to mimic glossy animal coats and soft facial anatomy.
How to Make It
- Transfer a high-resolution pet portrait outline onto sturdy cotton broadcloth, mapping key color transition contours and fur direction vectors.
- Embroider the eyes first using layered long and short stitches in tones of amber, chocolate, and black, adding a tiny white single-strand French knot as the light reflection catchlight.
- Layer fur from the outer edges working inward, using 1 strand of thread. Angle stitches strictly in the natural direction of fur growth.
- Overlap row upon row of long and short stitches, blending 5–8 intermediate shades of fur colors.
- Finish with crisp single strands of white/stiff floss for protruding whiskers using elongated straight stitches.
Tips and Variations
- Focus on capturing the glassiness of the eyes first; this immediately establishes realism.
- Always stitch in the direction the hair grows, blending dark base tones beneath lighter surface hairs.
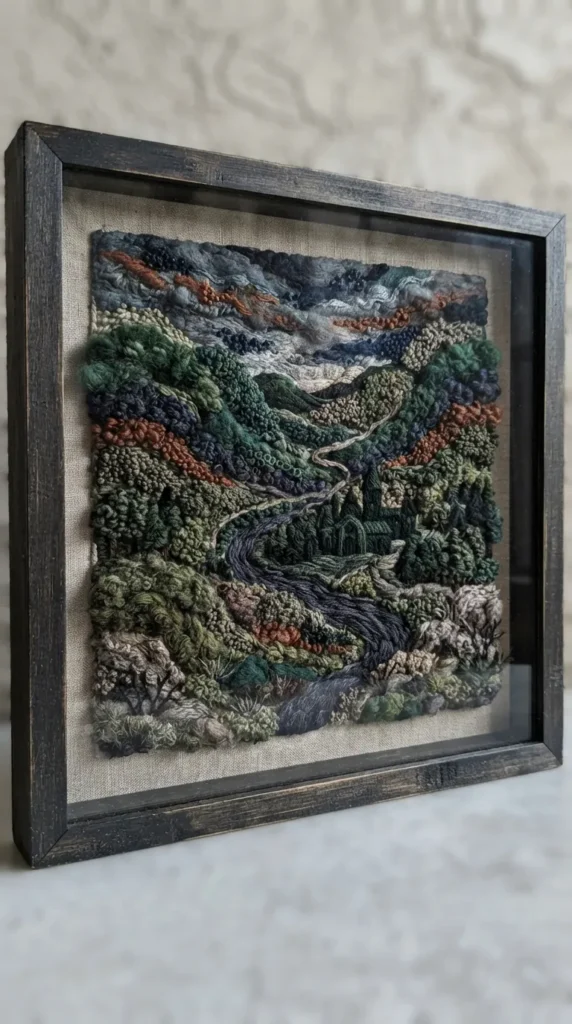
12. Modern Textured Landscape with Bouclé & Wool Yarns
Introduction A heavy-textured, tactile mountain or coastal seascape made by blending traditional fine embroidery floss with chunky crewel wool, bouclé, and organic roving yarn.
What This Idea Means This concept emphasizes high-relief surface textures, transforming flat landscape art into a sensory, multi-layered fiber landscape.
How to Make It
- Draw landscape contours (mountains, ocean waves, foreground meadows) on sturdy heavy monk’s cloth or rustic unbleached canvas.
- Stitch deep ocean waves or jagged mountain peaks with fine floss satin stitches and split stitches.
- Use a large chenille needle to stitch meadow grasses and wild flora using thick cast-on stitches, fluffy turkey work loops (trimmed into a soft pile), and textured wool bullion loops.
- Couch chunky art yarns along horizon contours for a textured relief effect.
Tips and Variations
- Combine different fiber materials: cotton floss, raw silk, alpaca wool, and looped bouclé.
- Shear down turkey work loops with sharp embroidery snips to create velvet-like moss zones.
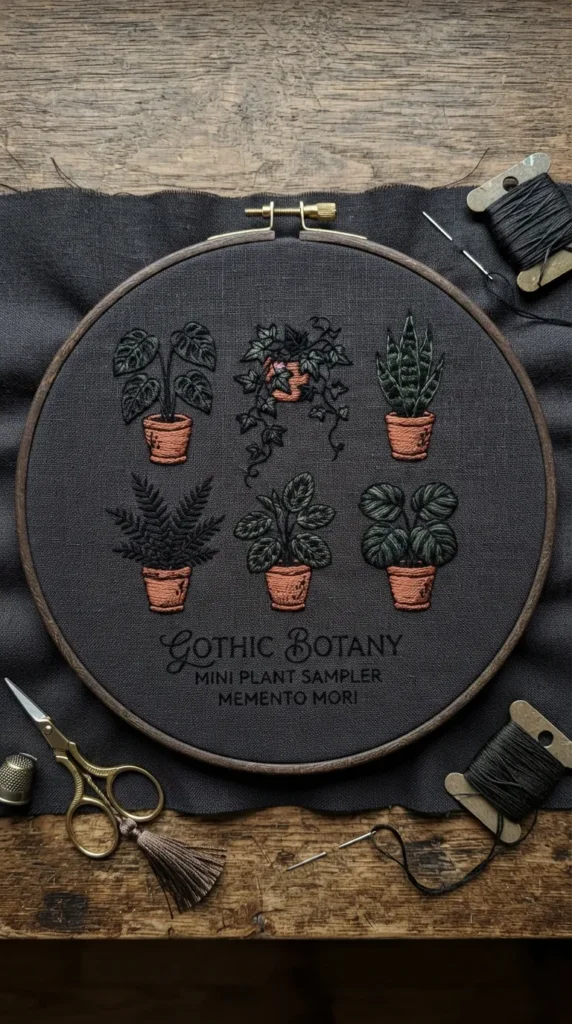
13. Minimalist Outline Herbarium & Potted Houseplants
Introduction An organized botanical display featuring popular modern houseplants (Monstera deliciosa, Fiddle-leaf fig, Calathea, and Pothos) arranged in clean grid frames or terracotta pots.
What This Idea Means It brings the freshness of an indoor greenhouse into stitched wall decor through minimalist graphic shapes and stylized green palettes.
How to Make It
- Trace potted houseplant silhouettes arranged in a neat 2×2 or 3×3 layout onto a natural linen sampler base.
- Outline distinct leaf perimeters using a crisp stem stitch or coral stitch with varying shades of forest green, olive, and jade.
- Fill plant pots with warm terracotta satin stitch or textured herringbone stitch to emulate fired pottery.
- Embroider trailing vine tendrils using graceful couching or fine running stitches.
Tips and Variations
- Add textural detail to woven basket planters using overlapping interlaced backstitch.
- Use subtle variegated green threads to recreate the natural leaf variegation of a Monstera albo.
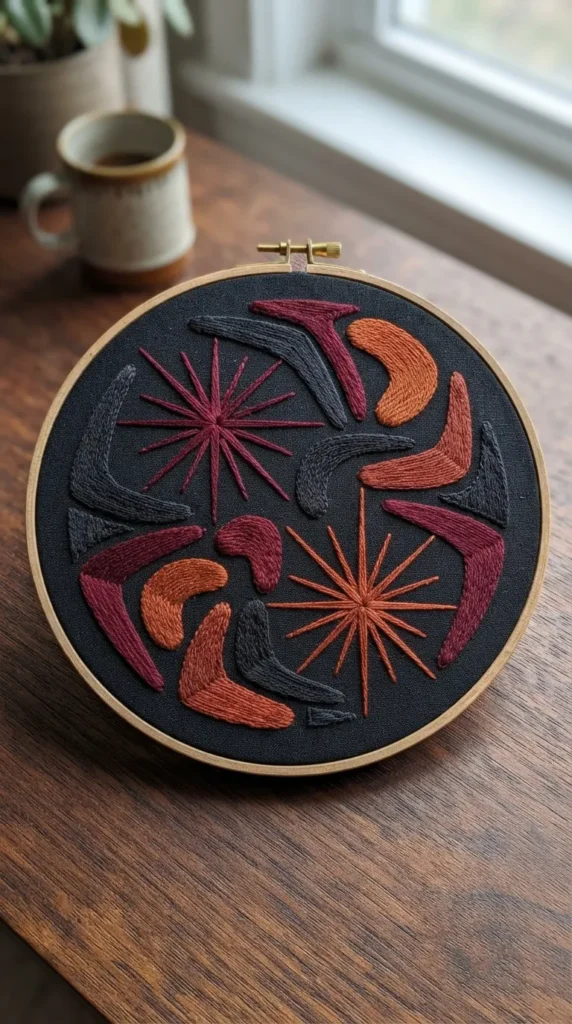
14. Retro Mid-Century Modern Abstract Geometry
Introduction Drawing aesthetic cues from 1950s and 60s Atomic Age design, this idea showcases overlapping kidney shapes, boomerangs, atomic starbursts, and bold retro palettes (avocado green, burnt orange, mustard yellow, and teal).
What This Idea Means It injects playful, clean vintage nostalgia into modern textile art, focusing on energetic asymmetrical compositions.
How to Make It
- Transfer an asymmetrical mid-century graphic pattern onto smooth, tight-weave cotton twill.
- Fill large retro shapes using uniform rows of horizontal satin stitch or smooth long and short stitch.
- Accentuate intersections with fine black straight line backstitches and bold spoke starburst stitches.
- Add small clusters of contrasting French knots orbiting the primary geometric shapes.
Tips and Variations
- Keep your thread tension uniform across broad satin stitches to maintain flat, mirror-like surfaces.
- Frame inside an oval or elongated wood hoop to match the mid-century aesthetic.
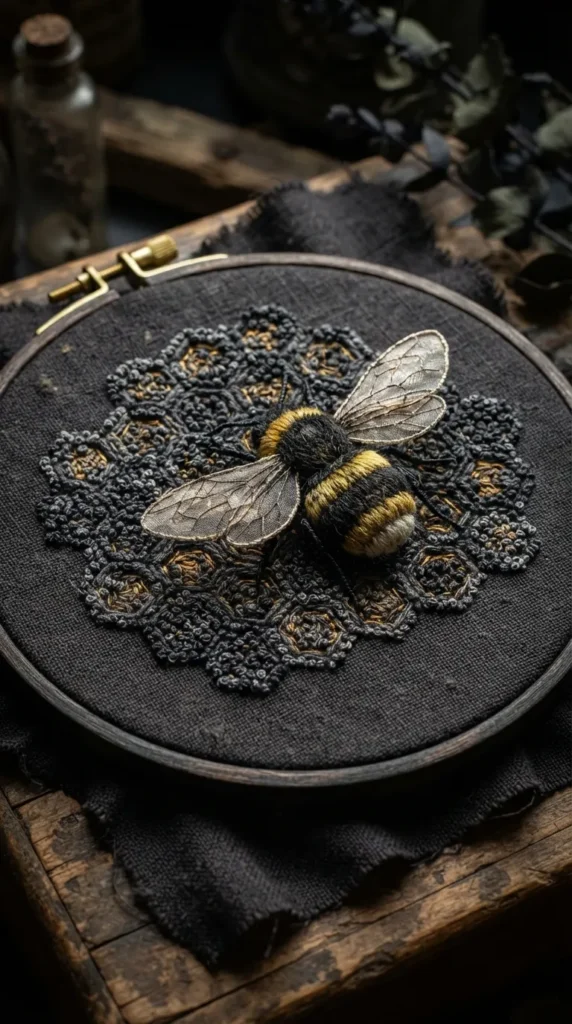
15. Tactile Textured Honeycomb & 3D Bee Needlework
Introduction A visual exploration of apiary patterns featuring geometric golden honeycombs filled with textured openwork stitches, accented by stumpwork honeybees with shimmering wired organza wings.
What This Idea Means This concept merges structured geometric pattern-making with detailed 3D insect anatomy, highlighting nature’s architectural brilliance.
How to Make It
- Draft a repeating hexagonal grid onto warm ivory linen.
- Outline the honeycomb cells with gold or deep amber perle cotton using clean backstitch or chain stitch. Fill selected random cells with dense golden French knots to look like stored pollen.
- Construct the bee body directly on the fabric using a raised, padded satin stitch for the abdomen, banded with black and honey-yellow floss, and add a fluffy turkey work thorax.
- Make wings on sheer white iridescent organza bordered by fine wire buttonhole stitch, cut them out, and attach them onto the bee’s shoulders.
Tips and Variations
- Use a single strand of metallic gold blending filament mixed with yellow floss to give the honeycomb a subtle, honeyed sheen.
- Angle the 3D wings upward to make the bee appear as though it just landed on the canvas.
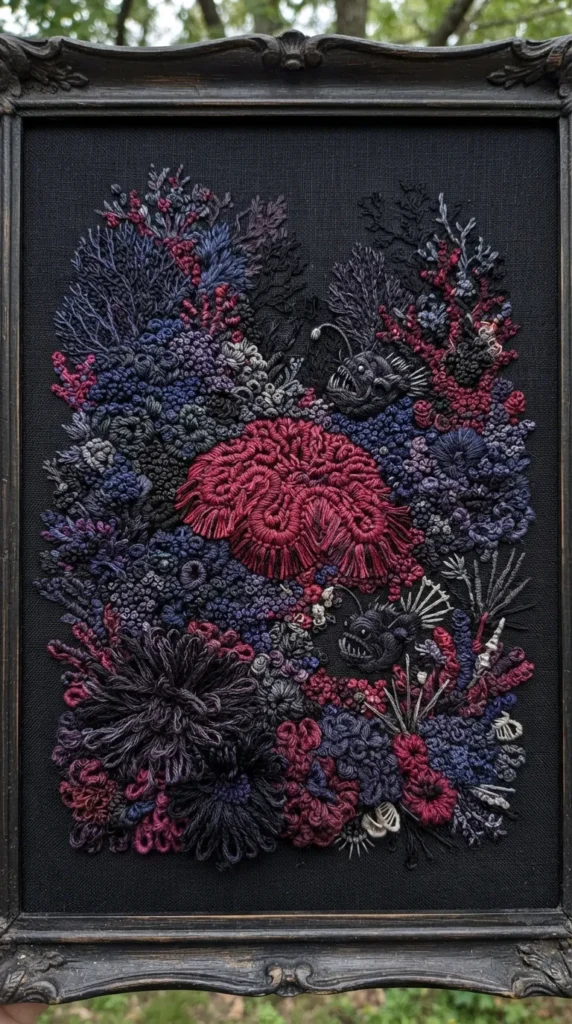
16. Ocean Gradient Coral Reef & Knot Art
Introduction A rich tapestry of dense, clustered dimensional needlework simulating ocean coral formations, anemones, and undersea shelves using rich gradient hues of teal, coral pink, sand, and aquamarine.
What This Idea Means It celebrates dense textural saturation, turning standard thread into rich, tactile undersea topographies through heavy knot work and dimensional loops.
How to Make It
- Map out general organic coral reef clusters onto heavy navy or seafoam green linen.
- Fill sea sponge and coral zones with tightly packed, multi-strand French knots and elongated bullion knots grouped closely together.
- Form sea fan coral with graceful feather stitches and coral stitches radiating upward.
- Create fringed sea anemones using dense turkey rug stitches, trimming them to varied heights to produce a lush 3D reef floor.
Tips and Variations
- Blend 2-3 contrasting thread colors into a single needle eye to create dappled, realistic coral tones.
- Incorporate occasional frosted glass beads or mini freshwater pearls to represent rising underwater air bubbles.
17. Minimalist Line-and-Wash Portraiture
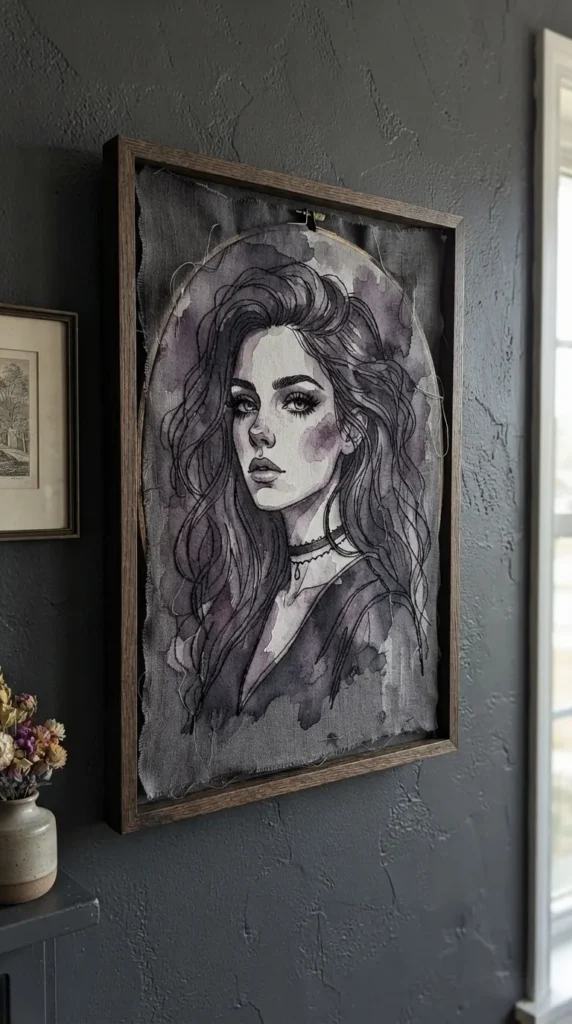
Introduction Combining sheer watercolor skin tones with crisp black monoline embroidery, this portrait concept captures human emotion and personality with contemporary minimalist elegance.
What This Idea Means It merges abstract watercolor portraiture with structured line art, producing an expressive, gallery-worthy piece of modern wall art.
How to Make It
- Paint soft, loose watercolor shapes depicting face contours, cheeks, and shadows on high-grade stretched linen. Let dry completely.
- Trace fine facial facial features (eyes, nose, lips, hair strands) over the pigment wash.
- Stitch the fine facial contours using 1 strand of crisp black or sepia floss with ultra-consistent stem stitch or split backstitch.
- Embroider delicate eyelashes and lip contours with short, tapered single straight stitches.
Tips and Variations
- Avoid overworking the line details; let the loose watercolor shapes define the mood.
- Use a warm chestnut-colored thread rather than black for a softer, vintage look.
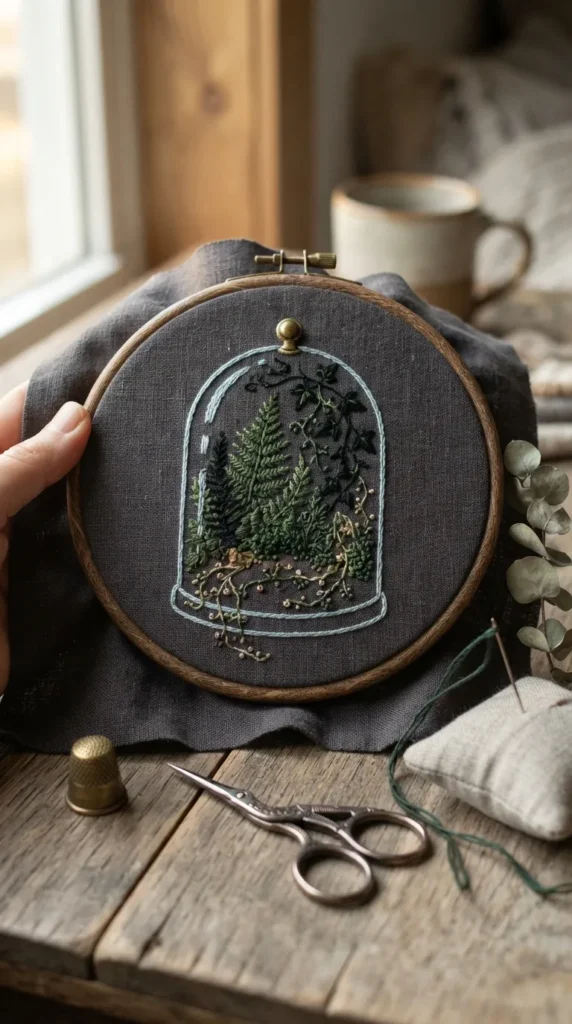
18. Vintage Glass Cloche Botanical Terrarium
Introduction An embroidered vintage bell jar or Victorian glass cloche containing an intricate, miniature ecosystem of rare ferns, succulents, and hanging air plants.
What This Idea Means It captures the charm of a curio cabinet or botanist’s laboratory, showcasing delicate plants protected beneath a clear bell jar contour.
How to Make It
- Trace a clean glass cloche outline onto oatmeal or unbleached calico fabric.
- Outline the bell jar glass dome with an ultra-delicate single strand of pale ice-blue or silver floss using split stitch.
- Stitch the wooden cloche base using horizontal satin stitch or stem stitch in walnut brown tones.
- Inside the dome, embroider lush indoor plants utilizing fishbone stitch for ferns, woven picot for hanging trailing leaves, and cast-on stitches for succulent petals.
Tips and Variations
- Add a long, vertical white straight stitch down the glass curve to realistically simulate light reflection on glass.
- Add tiny French knots along the cloche interior to represent water condensation droplets.
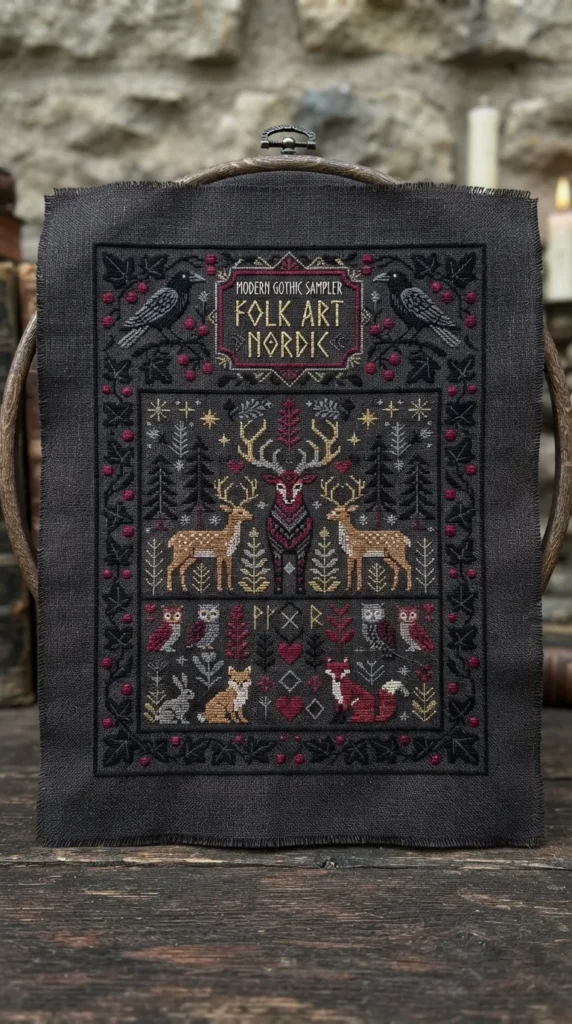
19. Folk-Modern Scandinavian Forest Sampler
Introduction A clean contemporary reinterpretation of Nordic folk art, featuring stylized Nordic fauna (hares, foxes, deer, owls) framed by geometric evergreens and berries in a crisp retro palette.
What This Idea Means It updates cozy traditional Scandinavian folk motifs with modern symmetry, balanced spacing, and a clean Scandinavian color palette (slate blue, pine green, berry red, and linen white).
How to Make It
- Print a symmetrical Nordic folk animal and flora pattern onto water-soluble stabilizer and apply to natural raw linen.
- Stitch the central animal figures using flat, crisp satin stitch accented with geometric surface lines.
- Frame the wildlife with symmetrical floral wreaths using herringbone stitch, fern stitch, and crisp fly stitches.
- Fill accent berries with glossy, plump colonial knots using bright scarlet or cranberry floss.
Tips and Variations
- Maintain strict horizontal/vertical alignment to honor traditional folk embroidery geometry.
- Keep the background linen exposed between motifs to allow the negative space to breathe.
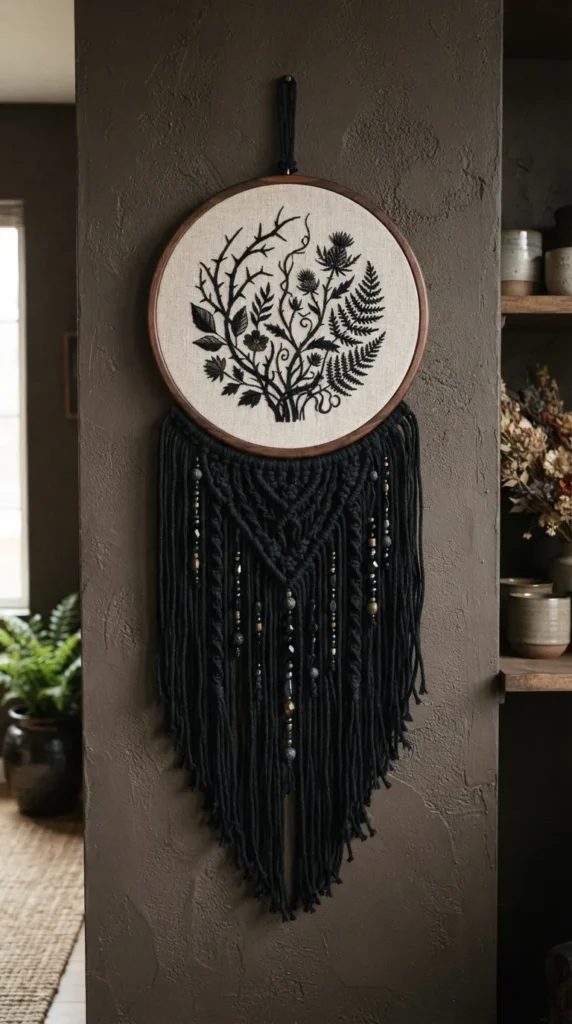
20. Mixed-Media Macramé & Embroidered Wall Tapestry
Introduction A dual-technique fiber art piece that blends a tightly stretched circular embroidery canvas with hanging macramé fringing, woven rope knots, and natural wooden beads below the hoop.
What This Idea Means This concept bridges the gap between traditional hoop art and large-scale bohemian woven wall hangings, adding structural presence and tactile texture to living room galleries.
How to Make It
- Complete a modern embroidered botanical or abstract landscape design on fabric stretched inside a smooth wooden embroidery hoop.
- Secure and finish the back of the hoop cleanly using a felt backing circle.
- Attach lengths of 3mm natural cotton macramé cord along the bottom perimeter of the wooden outer hoop using larks head knots.
- Braid, knot with square knots, and taper the hanging cords into a stylish V-shape fringe, brushing out the yarn ends with a comb for a soft feathery edge.
Tips and Variations
- Thread smooth raw beechwood beads onto selected central macramé cords before knotting.
- Dip-dye the bottom fringe in an ombre fabric dye bath matching the primary colors of your embroidery thread.