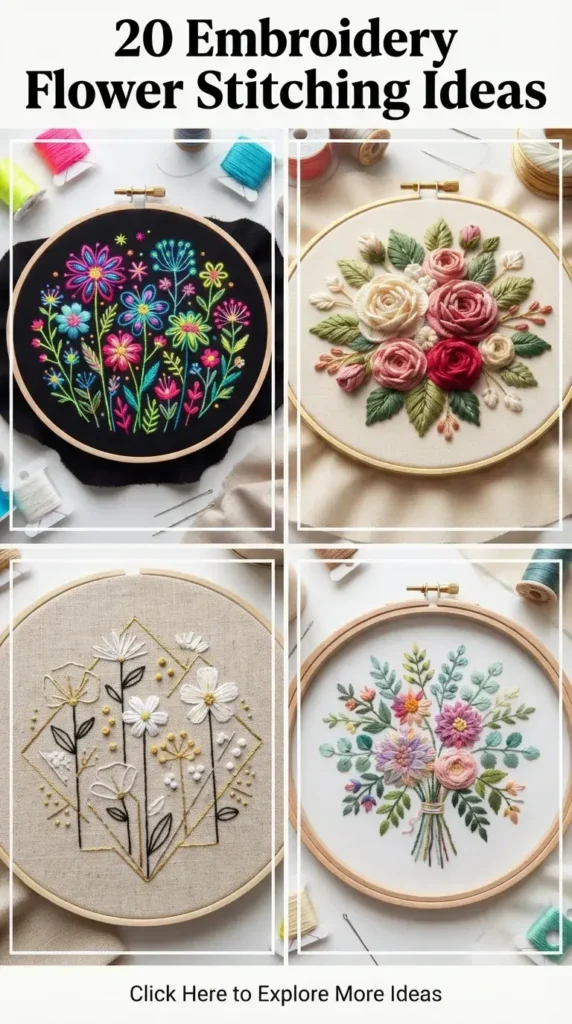
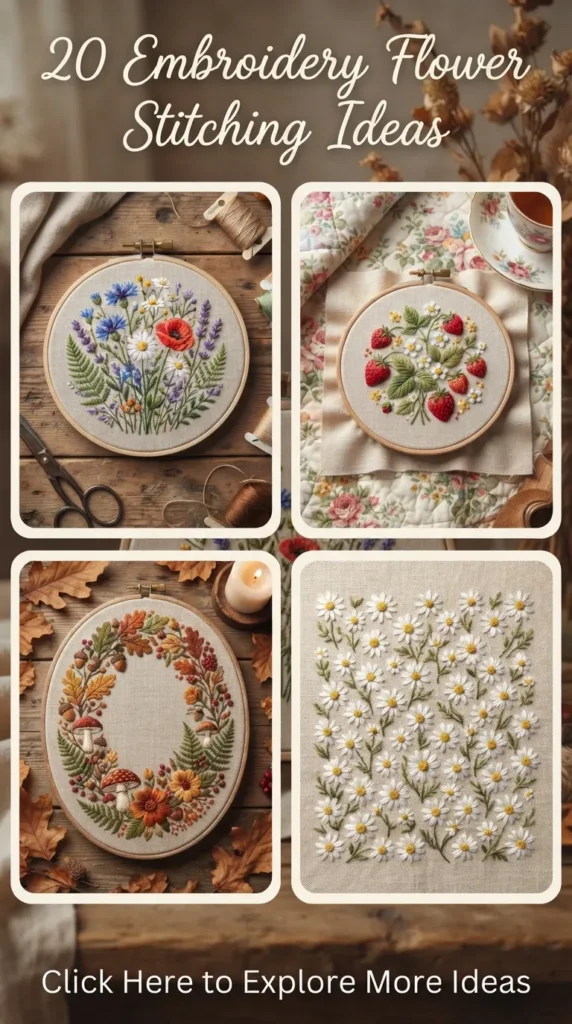
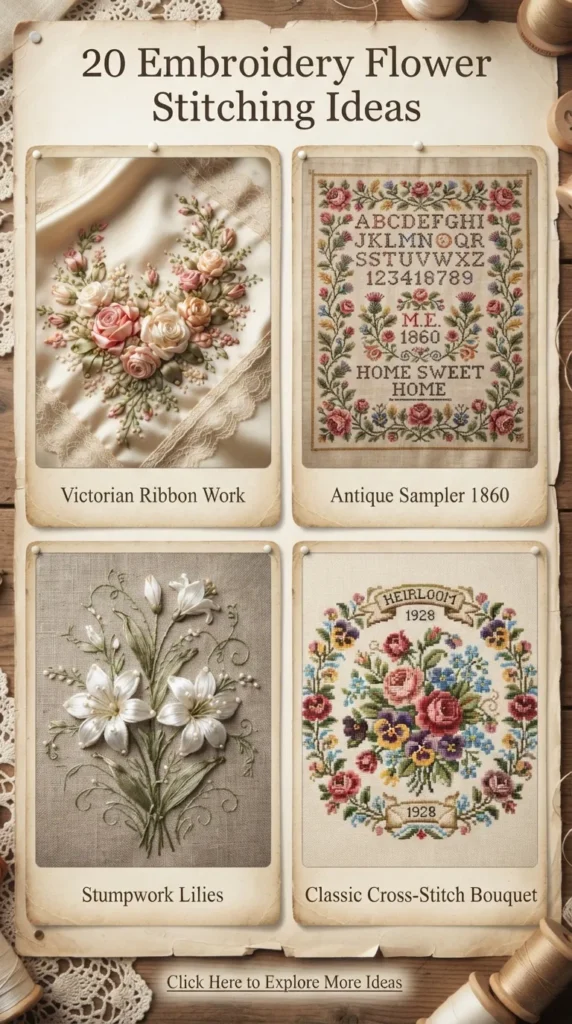
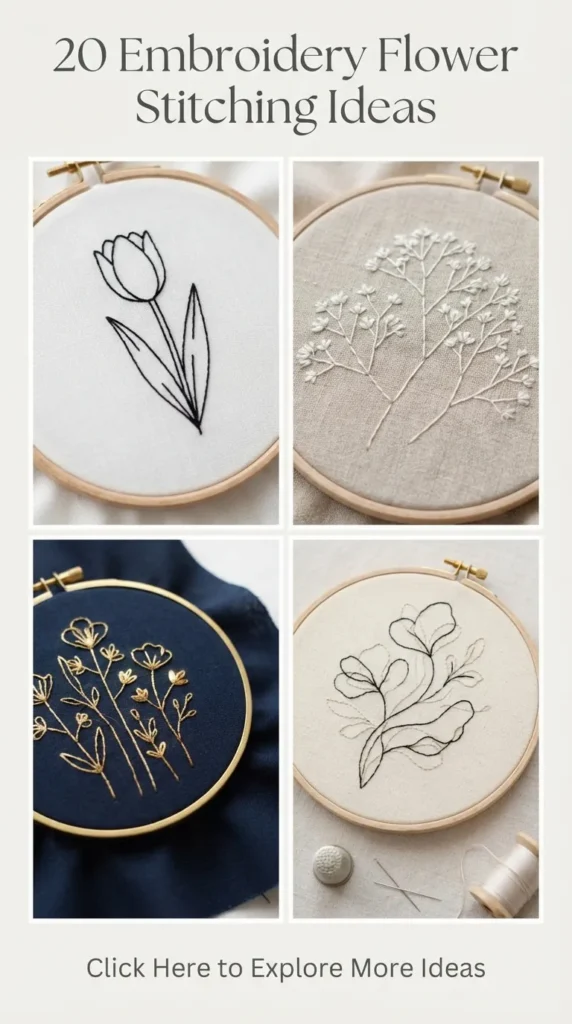
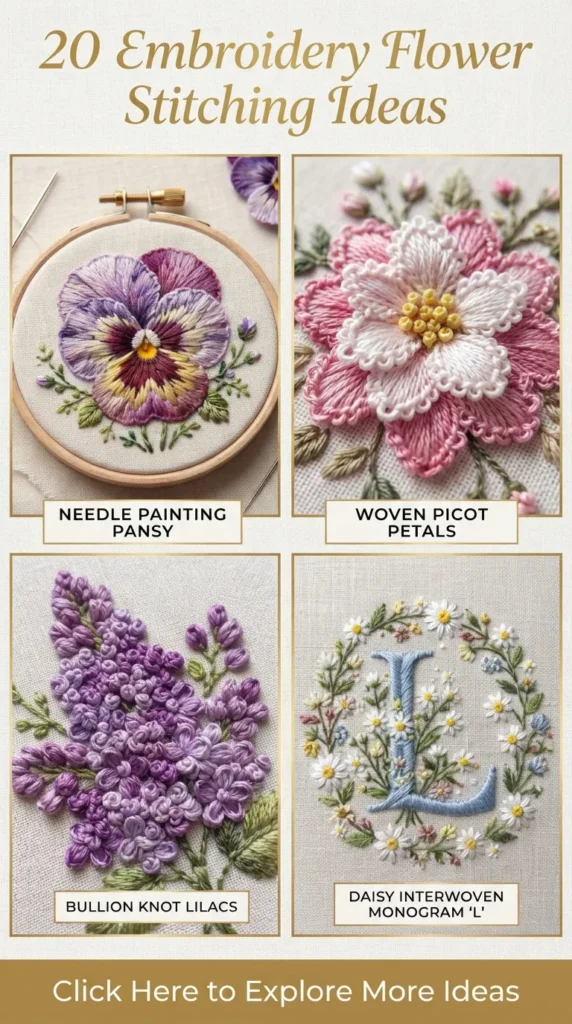
Hand embroidery continues to captivate modern crafters, blending slow living, tactile artistry, and endless aesthetic versatility. Floral embroidery in particular transforms plain fabric into textured botanical illustrations. Whether you are embellishing a linen tote, upcycling vintage denim, or framing intricate hoop art for a gallery wall, the interplay of thread textures, color gradients, and stitch techniques brings botanical art to life.
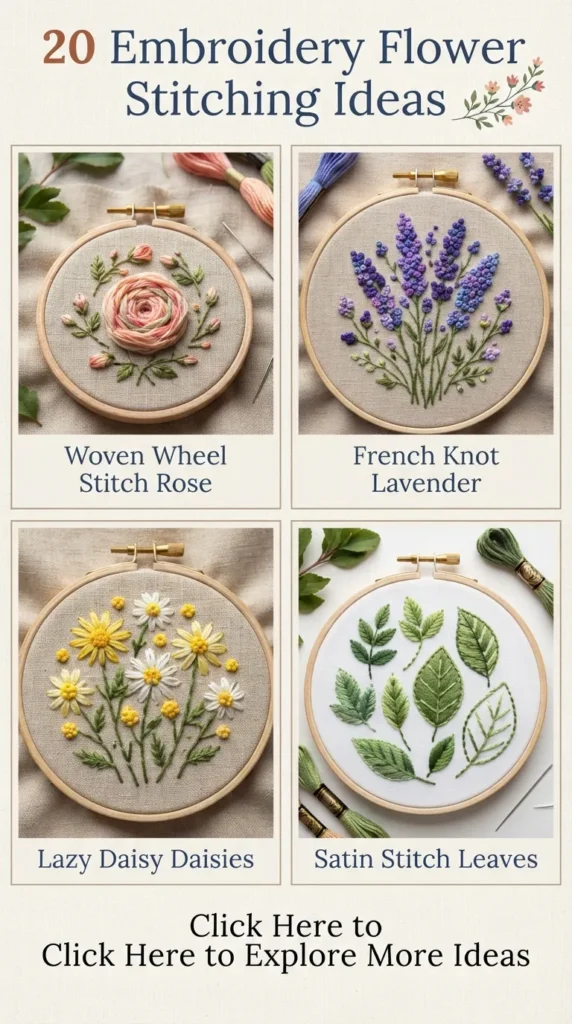
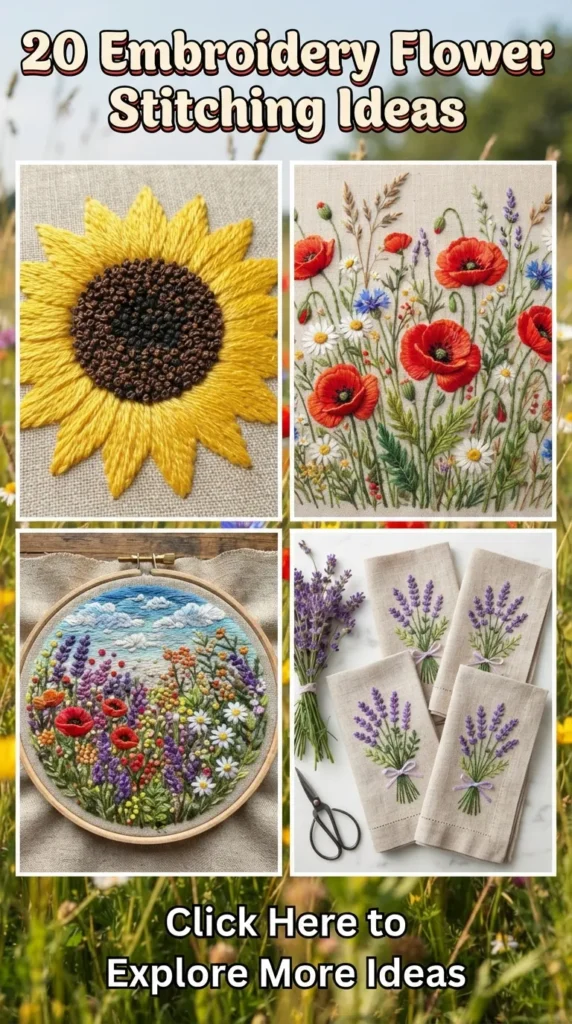
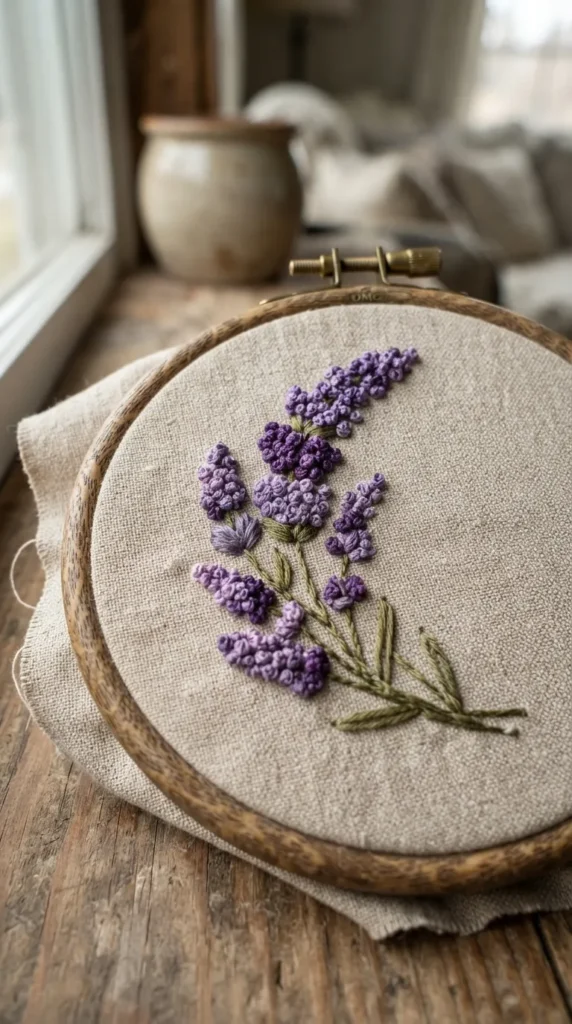
1. Dimensional French Knot Lavender Sprigs
Introduction Dimensional lavender sprigs capture the rustic charm of French countryside fields. This design utilizes raised texture to mimic the delicate clustered buds of natural lavender stems.
What This Idea Means This technique focuses on creating tactile density through clustered knots on slender stalks, balancing delicate linear stems with rich, touchable floral heads.
How to Make It
- Trace slender, slightly curved vertical lines onto natural linen using a water-soluble fabric pen.
- Use 2 strands of olive green stranded cotton to work the stems in a neat stem stitch.
- Thread a crewel needle with 3 to 4 strands of muted lavender and deep violet floss.
- Work clusters of French knots (wrapping the thread twice around the needle) tightly along the upper third of each stem, tapering into smaller, single-wrapped knots near the tips.
Tips and Variations
- Blend two varying tones of purple in a single needle eye to achieve effortless natural color variation.
- Swap traditional cotton floss for fine wool thread to create an ultra-matte, fluffy texture.
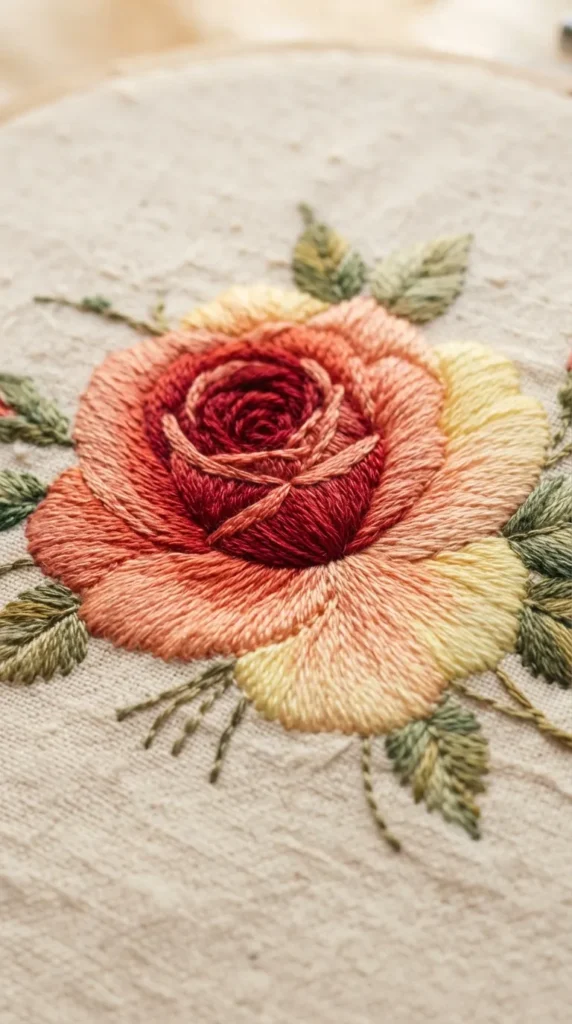
2. Gradient Thread-Painted Sunset Rose
Introduction Thread painting, or long-and-short stitch shading, turns the classic garden rose into a rich tapestry of blended crimson, peach, and soft gold tones.
What This Idea Means Thread-painted roses treat needle and floss exactly like a paintbrush, using single strands to blend hues smoothly across overlapping petals.
How to Make It
- Outline concentric, overlapping petal shapes onto tightly woven cotton fabric.
- Begin with the outermost petals using a single strand of deep coral floss, working long and short stitches directed toward the base of each petal.
- Layer intermediate shades of peach and blush directly into the split ends of the previous stitches to create a seamless transition.
- Complete the inner core with tightly curved bullion knots or dense satin stitch in golden yellow.
Tips and Variations
- Keep stitch tension moderate; pulling too tight creates puckering on broad petals.
- Use a magnifying desk lamp to ensure each single-strand stitch interlocks cleanly with previous rows.
3. Woven Wheel Cottage Daisies
Introduction Woven wheel roses and daisies provide instant three-dimensional relief, creating rounded blossoms that sit prominently above the fabric surface.
What This Idea Means A structural stitch approach where thread is systematically woven around an odd-numbered base of spoke stitches without piercing the background fabric.
How to Make It
- Mark small circles on the fabric and stitch 5 equal-length spokes radiating from the center using 6 strands of floss.
- Bring the needle up near the central hub.
- Weave the needle under and over alternate spokes in a continuous spiral, ensuring the needle does not pierce the fabric underneath.
- Pack the thread firmly until the base spokes are fully hidden, then take the needle down to secure the edge.
- Accent the center with tiny mustard-yellow seed stitches.
Tips and Variations
- Alternate petal colors between rows of weaving for a multi-tonal, ruffled daisy appearance.
- Work with variegated silk threads for subtle tonal shifts across the petals.
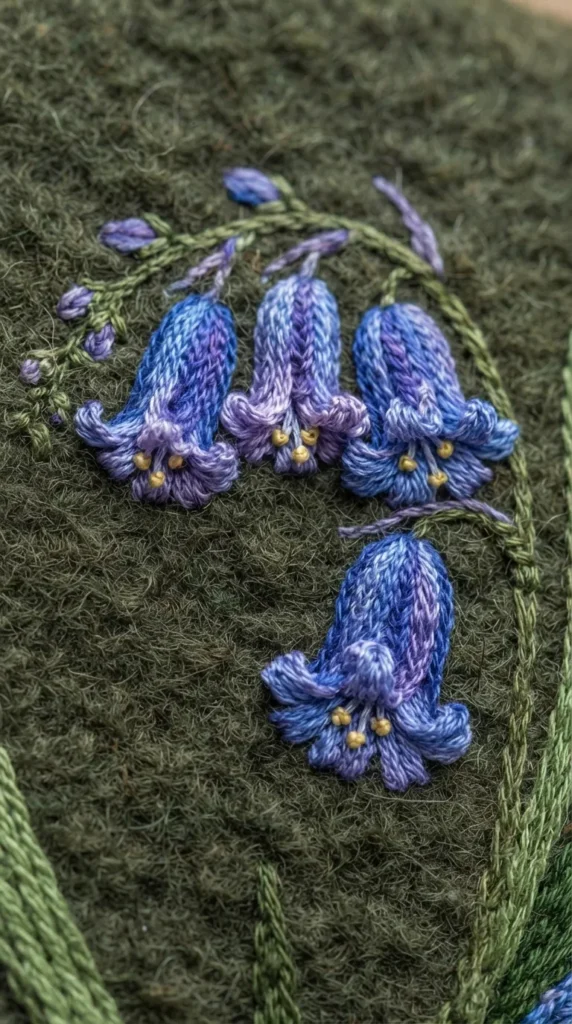
4. Cast-On Stitch Wild Bluebells
Introduction Wild bluebells feature drooping, bell-shaped blossoms. The cast-on stitch produces self-supporting three-dimensional petals that curl gracefully off the canvas.
What This Idea Means This dimensional method uses knitting-style cast-on loops directly onto the embroidery needle, creating structural, raised petals attached at precise anchor points.
How to Make It
- Stitch a drooping stem using dark green whipped backstitch.
- Insert a long milliner’s needle into the fabric at the blossom base and bring the tip out near the petal tip.
- Cast on 8 to 12 loops of royal blue floss onto the needle point.
- Carefully pull the needle through the loops while holding the cast-on coils flat against the fabric.
- Anchor the petal tip to create a natural curved bell shape, arranging 3 to 4 cast-on petals per bloom.
Tips and Variations
- Keep needle size uniform from eye to point to prevent caught loops while drawing the thread through.
- Highlight petal tips with a subtle white metallic blending filament.
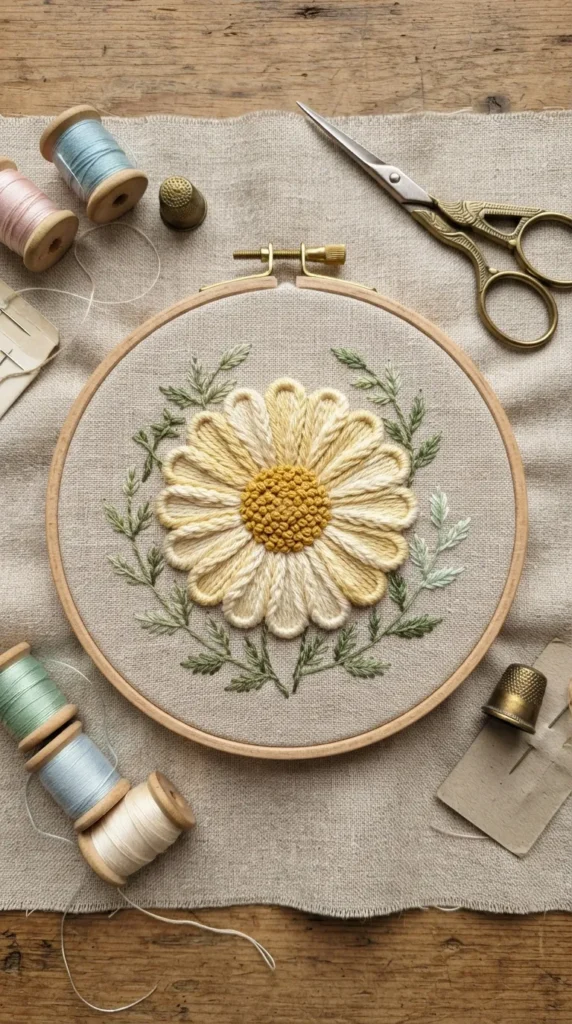
5. Bullion Knot Golden Mimosa
Introduction Bright, cheerful mimosa branches bring energetic warmth through dense arrangements of textured golden-yellow bullion knots.
What This Idea Means This idea uses elongated, coiled bullion stitches to produce tight, cylindrical floral pom-poms that mimic the fuzzy texture of mimosa blossoms.
How to Make It
- Draw a spreading branch structure with fine branches.
- Stitch branches using fine brown or sage-green split stitch.
- Work bullion knots by inserting the needle, bringing the point up through the entry hole, wrapping the floss 7 to 10 times around the needle, and pulling through smoothly.
- Cluster the bullion knots closely along the twigs, alternating bright lemon and warm ochre tones.
Tips and Variations
- Use a dedicated milliner needle; its straight shaft allows coiled loops to slide off smoothly.
- Add tiny detached chain leaves in pale sage green between blossom clusters.
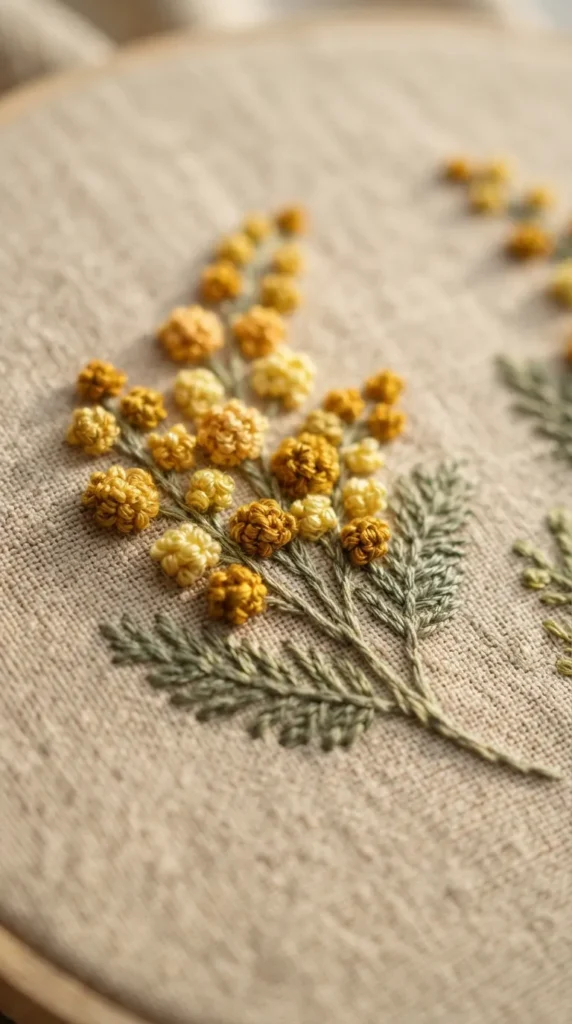
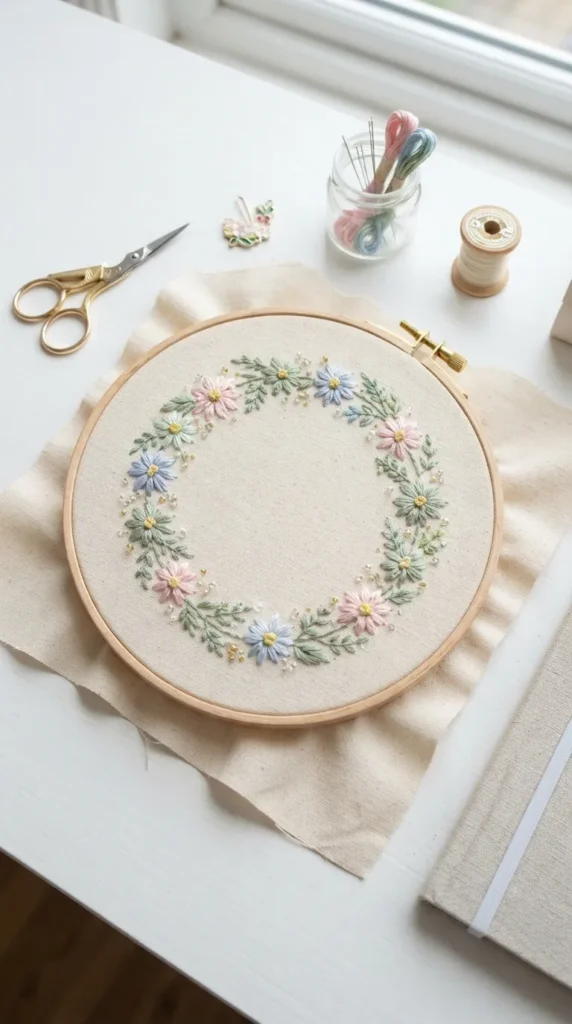
6. Delicate Lazy Daisy Meadow Wreath
Introduction The detached chain stitch (lazy daisy) is a foundational embroidery technique that creates minimalist floral wreaths when arranged in circular sequences.
What This Idea Means Simple loop geometry forms clean petal shapes, arranged sequentially around a circular ring to create an airy botanical crown.
How to Make It
- Trace an embroidery hoop circle lightly onto raw linen.
- Form individual lazy daisy flowers: bring needle up at the center, loop thread, re-insert near the starting hole, and secure the top loop with a tiny anchor stitch.
- Group petals in 5-petal or 6-petal configurations along the circle.
- Connect floral clusters with running stems and tiny seed beads sewn into the floral centers.
Tips and Variations
- Vary loop lengths within the same flower to imitate asymmetrical wildflowers.
- Combine matte cotton petals with metallic thread anchor stitches for a refined sparkle.
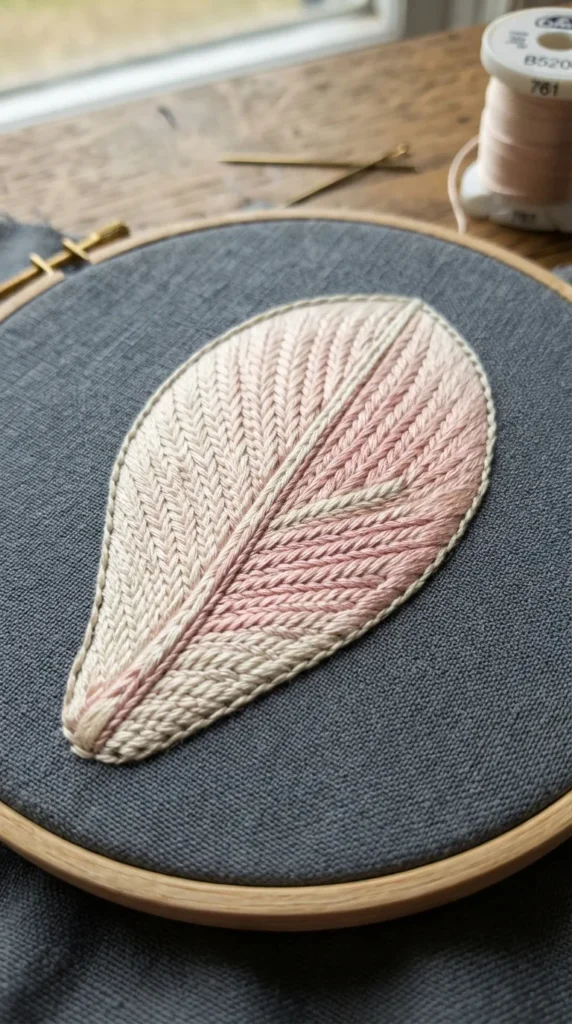
7. Fishbone Stitch Magnolia Petals
Introduction Magnolia blossoms require smooth coverage and clean central veins. The fishbone stitch creates an overlapping central ridge that mirrors natural petal anatomy.
What This Idea Means An overlapping, diagonal flat-fill technique that builds density while naturally forming a structured central spine down each petal.
How to Make It
- Sketch broad oval petals with an interior center guideline.
- Bring the needle up at the petal tip, make a straight stitch down the center line, and bring it up just to the left of the tip.
- Cross over the center line and insert the needle to the right, alternating sides continuously.
- Overlap each stitch closely, maintaining a consistent 45-degree angle toward the base of the petal.
Tips and Variations
- Shift from soft ivory at the petal tips to deep rose-pink near the base using subtle strand transitions.
- Outline completed edges with a fine split stitch for defined, graphic contours.
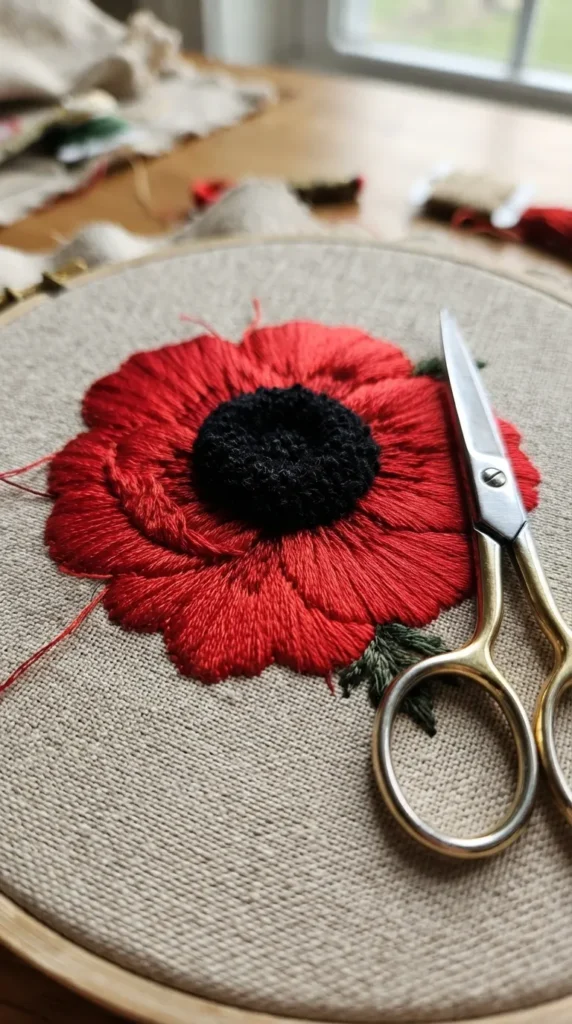
8. Velvet Stitch Poppy Blooms
Introduction Poppy centers and soft petals gain realistic pile texture through the Turkey rug stitch (velvet stitch), which is cut and sculpted with embroidery scissors.
What This Idea Means Creating dense fabric loops that are locked with anchor stitches and subsequently sheared to produce a soft, plush velvet surface.
How to Make It
- Outline the dark central disk of a poppy.
- Work rows of Turkey work: make a small anchor stitch, loop thread loosely, lock with a second straight stitch, and repeat across the designated shape.
- Once the area is densely packed with loops, cut the loop tops open.
- Trim and shape the cut threads carefully with micro-tip embroidery scissors into a dense, rounded velvet dome.
- Surround the center with flat scarlet petals worked in satin stitch.
Tips and Variations
- Add tiny black and yellow glass beads around the velvet center base to mimic pollen-laden stamens.
- Steam the plush surface lightly using an iron hover technique to fluff the trimmed fibers.
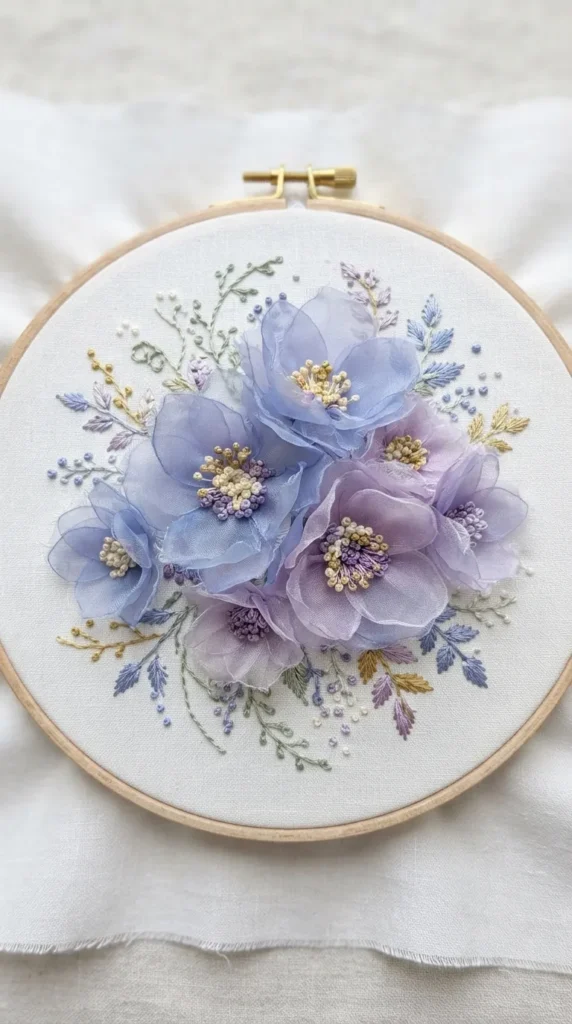
9. Layered Organza Appliqué Hydrangeas
Introduction Mixed-media embroidery introduces sheer fabrics to hand stitching, building layered floral clusters with lifelike depth and transparency.
What This Idea Means Combining lightweight, semi-transparent organza florets with anchoring anchor stitches and central french knots over a background embroidery base.
How to Make It
- Cut dozens of small four-petal shapes from washed silk or synthetic organza in tones of periwinkle, sky blue, and mauve.
- Lightly singe synthetic fabric edges with a flame for curled petal edges, or leave raw for soft fraying.
- Layer 2 to 3 petals together over the base fabric.
- Secure each flower center using 2 strands of embroidery floss formed into a tight French knot or pearl bead.
- Fill spaces underneath with dark green satin-stitched leaves to provide contrast.
Tips and Variations
- Hand-paint organza sheets with watercolor prior to cutting petals for subtle color shifts.
- Use contrasting metallic thread for center knots to catch ambient light.
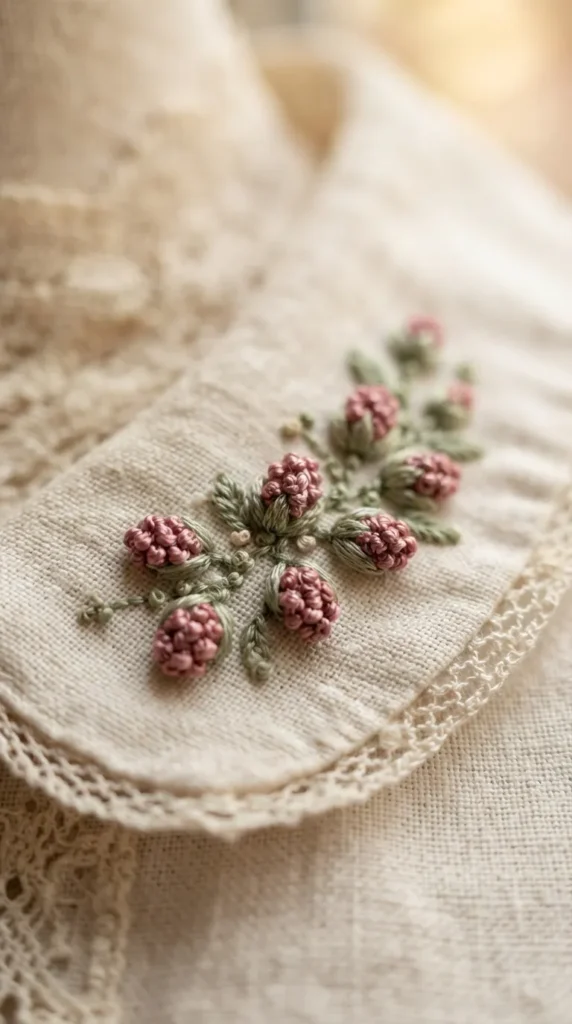
10. Granitos Stitch Miniature Rosebuds
Introduction Granitos stitches create petite, rounded oval floral buds that work exceptionally well for micro-embroidery and delicate borders.
What This Idea Means Repeatedly working straight stitches into the exact same two entry and exit holes, allowing thread tension to push the strands outward into a plumper oval bud.
How to Make It
- Mark two tiny points 3 to 4 mm apart on the fabric.
- Bring the needle up through point A, go down through point B, but leave thread slightly relaxed.
- Repeat the exact same path 4 to 6 times through the exact same holes.
- Guide each successive stitch to sit neatly alongside previous loops, building a rounded, tear-drop petal shape.
- Add two tiny straight green stitches at the base for sepal leaves.
Tips and Variations
- Ideal for collar tips, cuff edges, and handkerchief corners due to low snagging risk.
- Combine two contrasting thread tones in the needle for natural shadow depth.
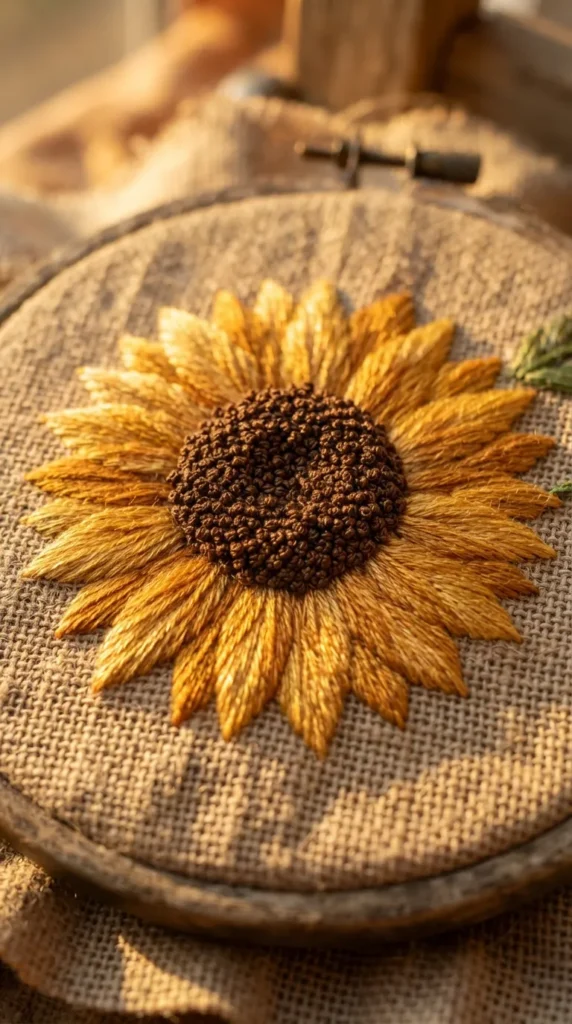
11. Long & Short Feathered Sunflowers
Introduction Sunflowers radiate natural energy. Combining rich golden tones in overlapping feather-style long and short stitches creates vibrant movement and realism.
What This Idea Means Directional thread placement that follows the natural curves and flared tips of sunflower petals, anchored by a multi-textured seed disk.
How to Make It
- Outline the broad outer petals and wide circular core.
- Fill petals using 2 strands of floss, transitioning from deep marigold at petal bases to bright yellow at tips using staggered long and short stitches.
- Angle every stitch outward to simulate natural botanical growth directions.
- Fill the center disk with dense French knots using alternating dark chocolate, umber, and olive green floss.
Tips and Variations
- Work occasional petals with slight curls by stitching an angled directional overlay in pale cream.
- Use a variegated yellow floss for quick shading transitions without constant thread swapping.
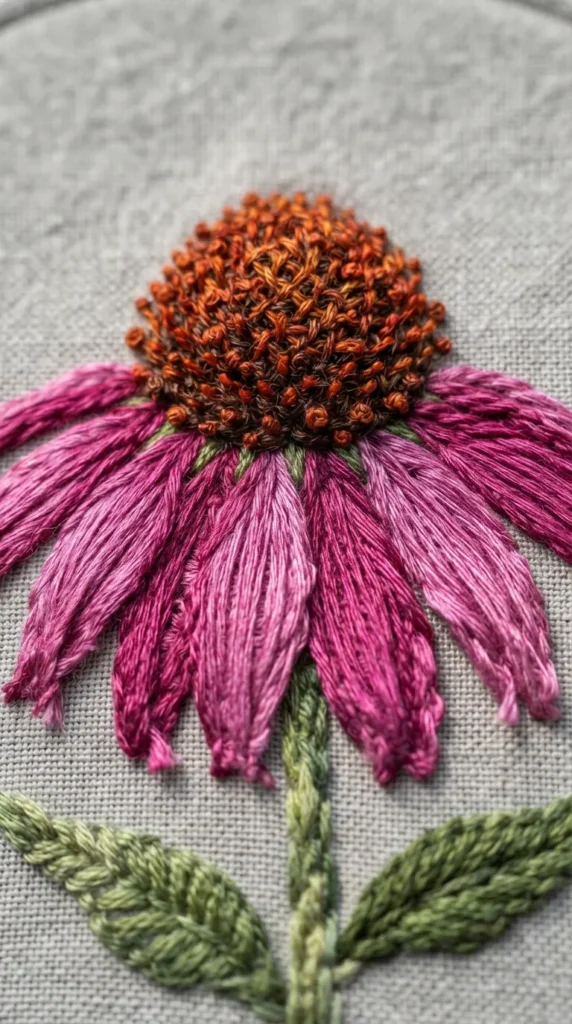
12. Raised Spider Web Echinacea (Coneflower)
Introduction Coneflowers feature prominent, dome-like centers flanked by drooping petals. The raised spider web stitch provides structural height for the seed cone.
What This Idea Means A raised foundation technique where ribbed spokes form a dimensional cone, overlaid with ribbed wraps to build substantial height off the base fabric.
How to Make It
- Stitch 5 to 7 base spokes across the upper hemisphere of the coneflower center.
- Wrap floss continuously around each spoke without catching the fabric, pulling firmly to build a rounded 3D dome.
- Work drooping petals downward from the base of the cone using elongated, smooth satin stitches in magenta or dusty pink.
- Stitch a stiff, straight stem downward using a robust 4-strand split stitch.
Tips and Variations
- Add iridescent seed beads around the upper rim of the coneflower cone for a dewdrop effect.
- Use deep orange-brown thread at the apex of the cone and transition to dark brown near the base.
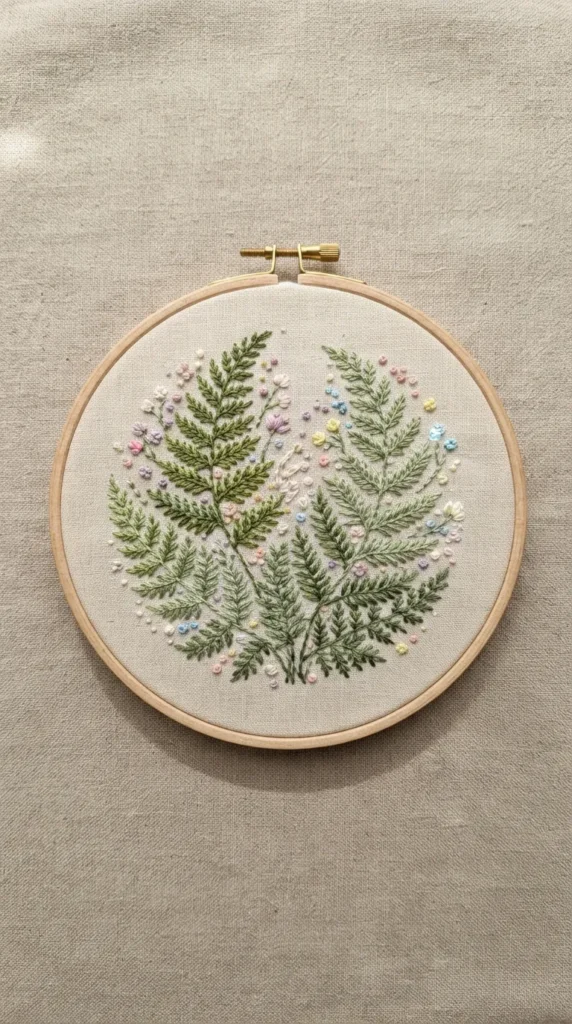
13. Fly Stitch Foliage with Pastel Blossom Accents
Introduction Fern-like foliage and delicate sprigs frame vibrant flower compositions. The open fly stitch forms central leaf ribs and symmetrical petal patterns effortlessly.
What This Idea Means Utilizing the V-shape and tail anchor of the fly stitch in rapid succession to create continuous botanical greenery and stylized feather petals.
How to Make It
- Mark a single curved stem line across the fabric.
- Bring needle up at top left, insert directly across at top right, and catch the slack loop with a center downward anchor stitch.
- Continue down the stem line, placing each new stitch directly below the previous anchor to form connected fronds.
- Scatter miniature detached chain blossoms in soft blush and buttercup yellow along the sides of the stem.
Tips and Variations
- Lengthen the tail anchor stitch to create open, airy leaf arrangements.
- Use two-tone stranded floss to give the foliage varied forest-floor depth.
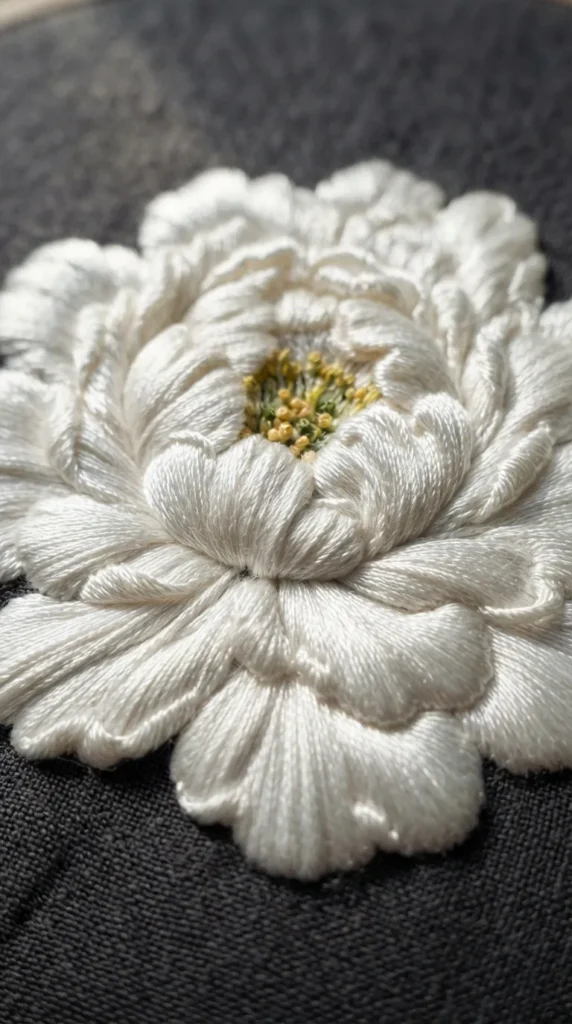
14. Padded Satin Stitch White Peonies
Introduction Peonies convey vintage luxury. Padding underlying areas with base stitches creates a high-relief, sculpted white floral portrait.
What This Idea Means Laying down dense underlay stitching perpendicular to the final satin stitch layer, creating dramatic physical relief and light-catching highlights.
How to Make It
- Draw outer and inner peony petals.
- Fill the interior of each petal shape with seed stitches or running stitches (the padding layer).
- Stitch smooth, parallel satin stitches across the padded base, completely encasing the underlay stitches.
- Angle petal directions toward the base of the blossom, alternating stitch direction between adjacent petals for distinct separation.
Tips and Variations
- Use premium single-strand silk floss for high sheen and mirror-like reflections on white petals.
- Shade petal bases with very pale seafoam green or soft gray for realistic depth.
15. Rosette Chain Stitch Floral Vines
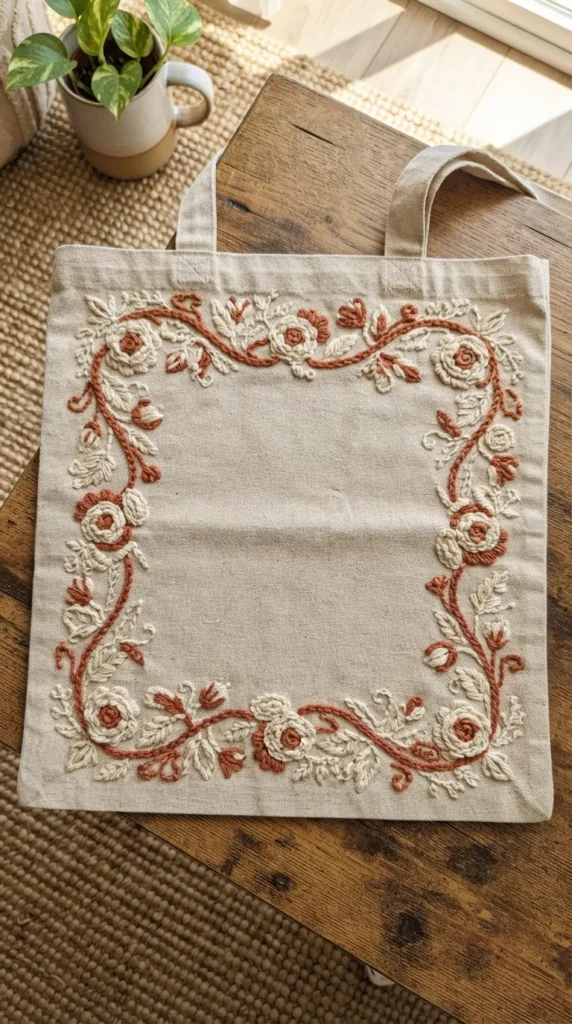
Introduction The rosette chain stitch combines loop knots and twisted stitches into a continuous floral garland, ideal for border embellishments.
What This Idea Means A decorative chain variation that locks each loop with a twisted side knot, creating a rope-like floral border with textured side ridges.
How to Make It
- Mark wavy guide lines across borders, necklines, or hem edges.
- Work right to left: form an open loop, twist needle through the loop top, insert into fabric, and pull through to form a distinct flower-bud knot.
- Space knots evenly 4 to 5 mm apart along the drawn line.
- Add tiny green backstitch leaves emerging from the connection points between knots.
Tips and Variations
- Use thick pearl cotton thread (size 8 or 5) for pronounced, rope-like structural dimension.
- Alternate floss colors every few stitches to create an ombré botanical garland.
16. Buttonhole Wheel Anemones
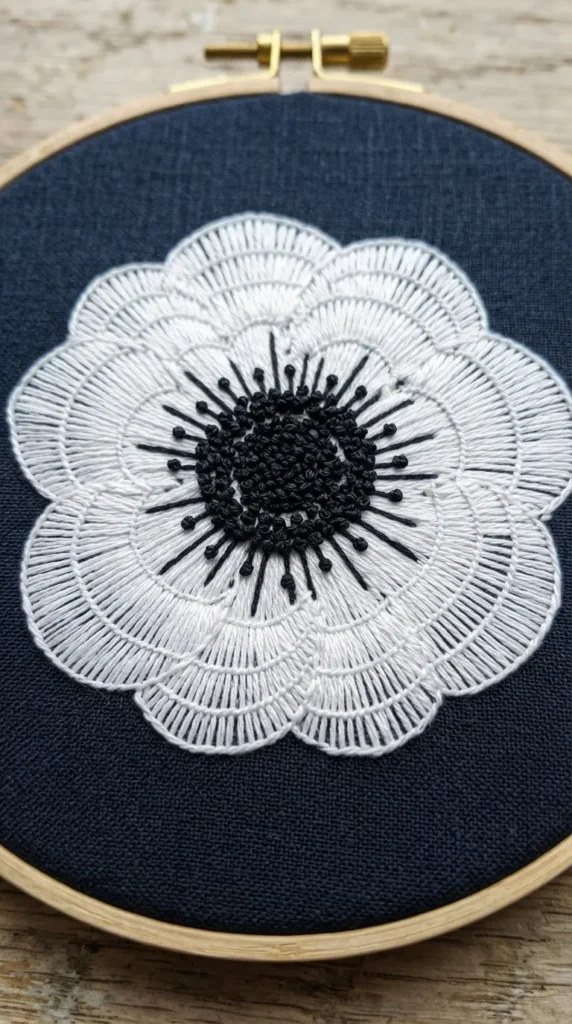
Introduction Dramatic black-and-white anemones feature flat petals surrounding an intense dark center. Buttonhole wheels produce clean radial symmetry.
What This Idea Means Radiating buttonhole (blanket) stitches worked in a circle with loop ridges facing inward, creating defined circular petal formations.
How to Make It
- Mark a circle with an inner central target.
- Work blanket stitches radiating outward: insert needle in outer circle rim, bring up in inner circle, and catch thread loop behind the needle tip.
- Pack stitches closely together around the entire perimeter to create overlapping petal rims.
- Fill the inner opening with dense black French knots, surrounded by pale green radiating straight stitches.
Tips and Variations
- Use contrasting crisp white linen and deep indigo or black thread for striking monochrome aesthetic.
- Layer a smaller buttonhole wheel inside a larger one for double-layered petals.
17. Seed Stitch Textured Wildflower Field
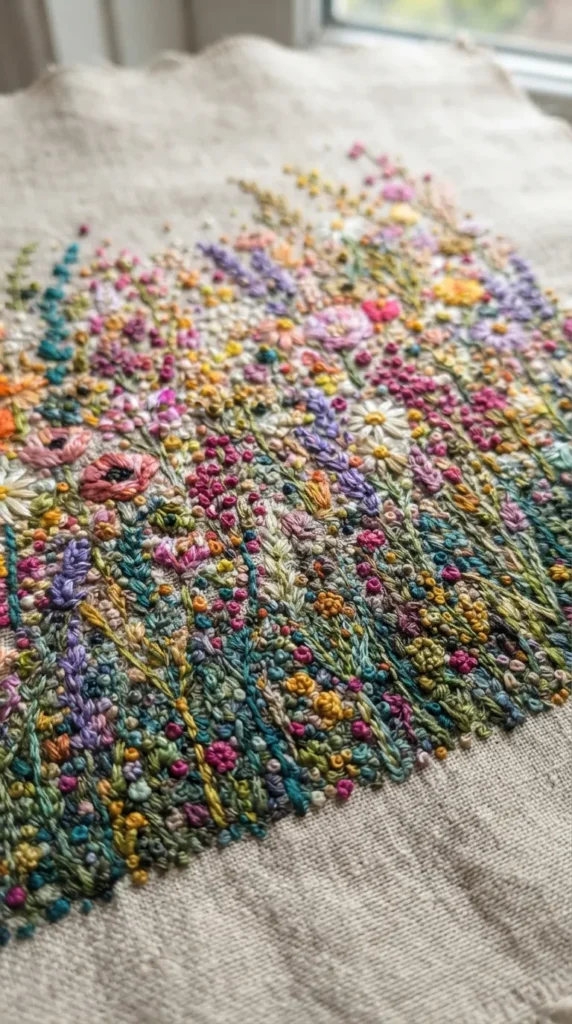
Introduction A loose, impressionistic embroidery style that relies on thousands of tiny random straight stitches to paint an abstract meadow background.
What This Idea Means Using simple, non-directional rice or seed stitches in varied density to build color gradients and atmospheric depth across open fabric areas.
How to Make It
- Frame a silhouette landscape or negative-space floral outline.
- Scatter short, 2-mm straight stitches randomly across the lower third of the canvas using 3 strands of earth-toned floss.
- Gradually mix in sage, sky blue, lavender, and golden-yellow stitches as you move upward.
- Cluster stitches densely at the base and disperse them loosely near the top to mimic field perspective.
Tips and Variations
- Leave negative space open in the center to highlight an embroidered quote or minimalist monogram.
- Add occasional French knots to represent prominent foreground blossoms.
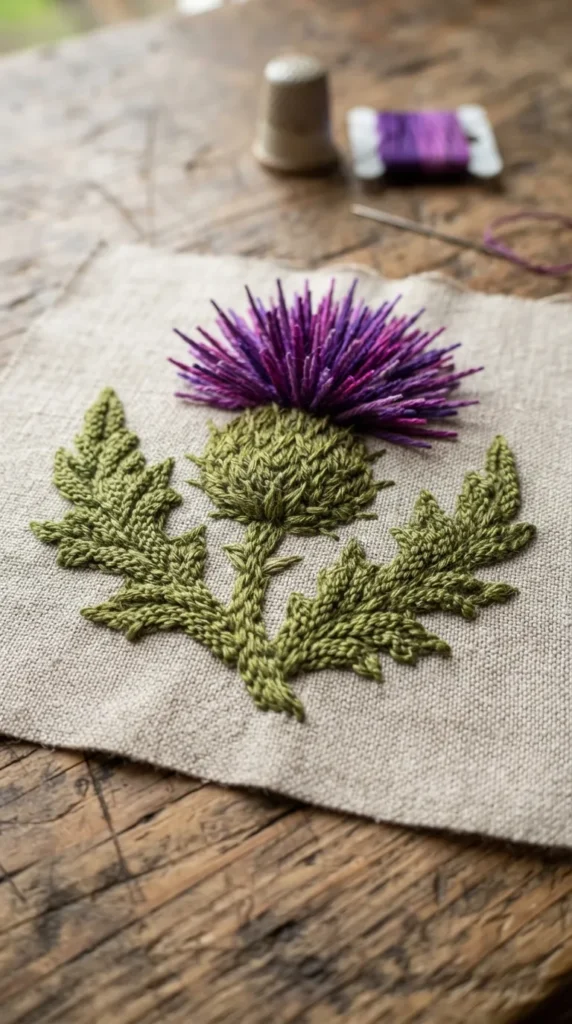
18. Ceylon Stitch Textured Honeycomb Stems and Thistles
Introduction The Ceylon stitch produces a knitted-chain texture on top of fabric, making it ideal for Scottish thistles and thick succulent leaves.
What This Idea Means A surface-looping needlelace technique that builds interconnected chain ladders anchored to the fabric only at the outer boundaries.
How to Make It
- Stitch a horizontal foundation bar across the base of the thistle bulb.
- Loop floss through the bar without piercing the fabric to build a row of interlocking knit-like loops.
- Work successive rows downward, connecting each new loop into the bottom of the row above.
- Top the bulb structure with fanned straight stitches in violet and magenta to form spiky thistle crowns.
Tips and Variations
- Pull loop tension uniformly to ensure clean, sweater-like mesh appearance.
- Combine with metallic copper thread in the base bulb for a contemporary artisanal aesthetic.
19. Ribbon Embroidery Shabby Chic Camellia
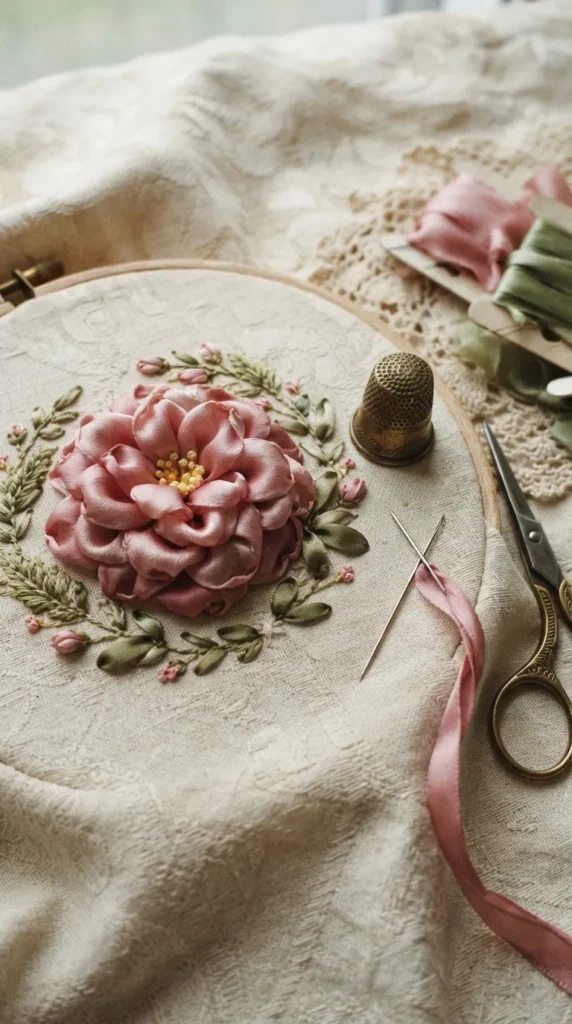
Introduction Silk ribbon embroidery creates unrivaled volume and delicate organic folds, producing realistic petals with minimal individual stitches.
What This Idea Means Using 4 mm or 7 mm 100% pure silk ribbon instead of stranded cotton, allowing broad ribbon swaths to fold, twist, and anchor naturally.
How to Make It
- Use a wide-eyed, sharp chenille needle threaded with 7 mm soft pink silk ribbon.
- Bring ribbon up from the back, keep it flat and untwisted, and pierce through the center of the ribbon itself before going into the fabric (ribbon stitch).
- Pull gently from the underside so the ribbon curls inward at the petal tip.
- Arrange 8 to 10 overlapping ribbon stitches circularly to build a lush, multi-petaled camellia.
Tips and Variations
- Never pull ribbon tight; volume comes from loose, gentle tension and organic ribbon twists.
- Use a complementary silk floss to add a cluster of tiny pistil knots in the blossom center.
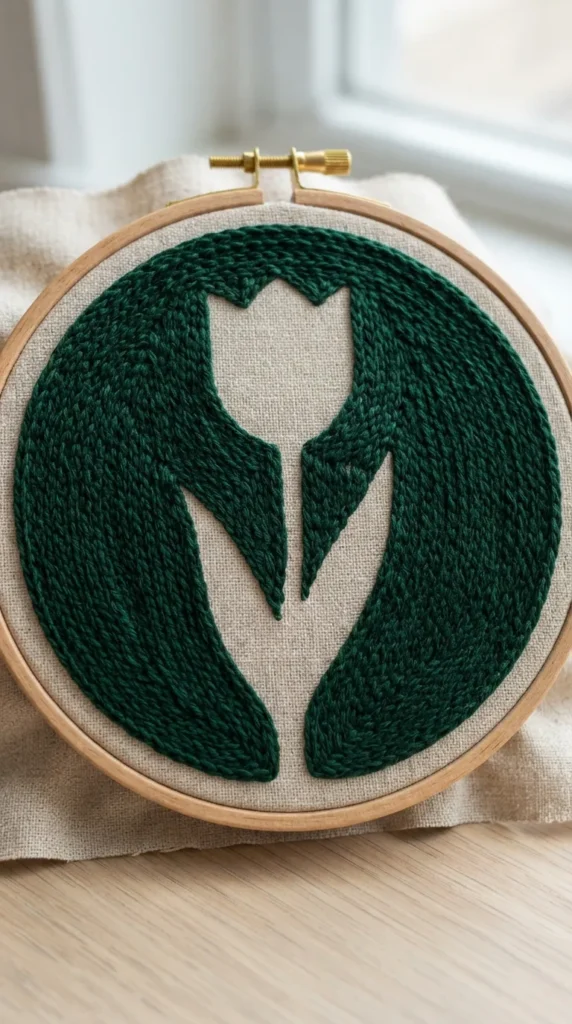
20. Negative Space Botanical Silhouette
Introduction Negative space designs invert traditional embroidery: the background is densely filled with intricate stitching, leaving clean raw fabric to define the flower shape.
What This Idea Means Embroidering exclusively outside the silhouette boundary of floral motifs, allowing plain fabric textures to form the primary visual subject.
How to Make It
- Trace a bold botanical silhouette (such as a monstera leaf, tulip, or poppy) onto fabric.
- Keep the interior shape completely free of thread.
- Fill the entire surrounding exterior background using dense, uniform black or deep navy chain stitches, French knots, or horizontal satin bands.
- Frame the piece tightly in a hoop to maintain sharp contrast between raw canvas and dense thread.
Tips and Variations
- Use textured linen or patterned vintage calico as the base fabric so the negative space shows natural character.
- Outline the silhouette boundary with a fine gold metallic split stitch for a refined, modern accent.