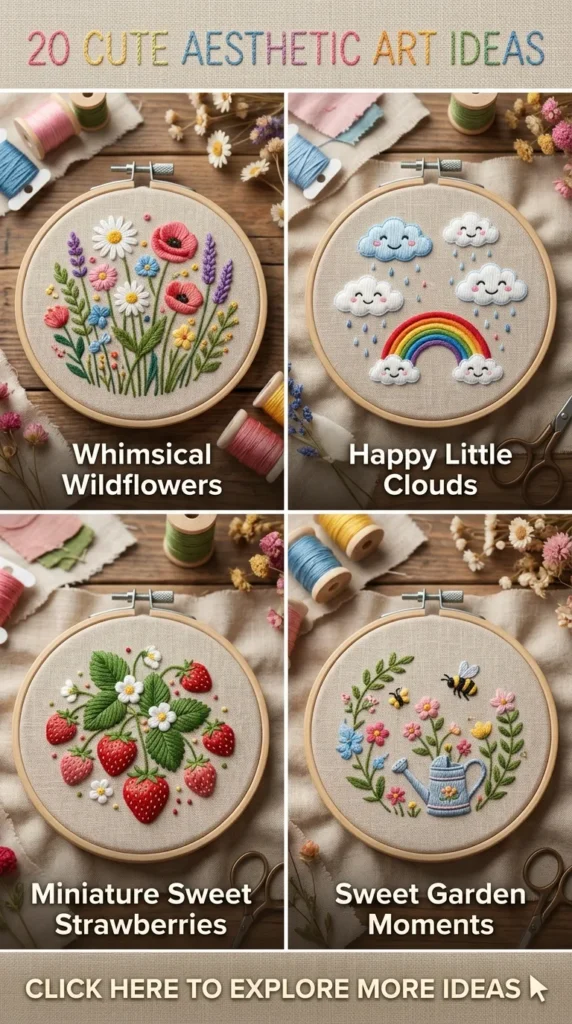
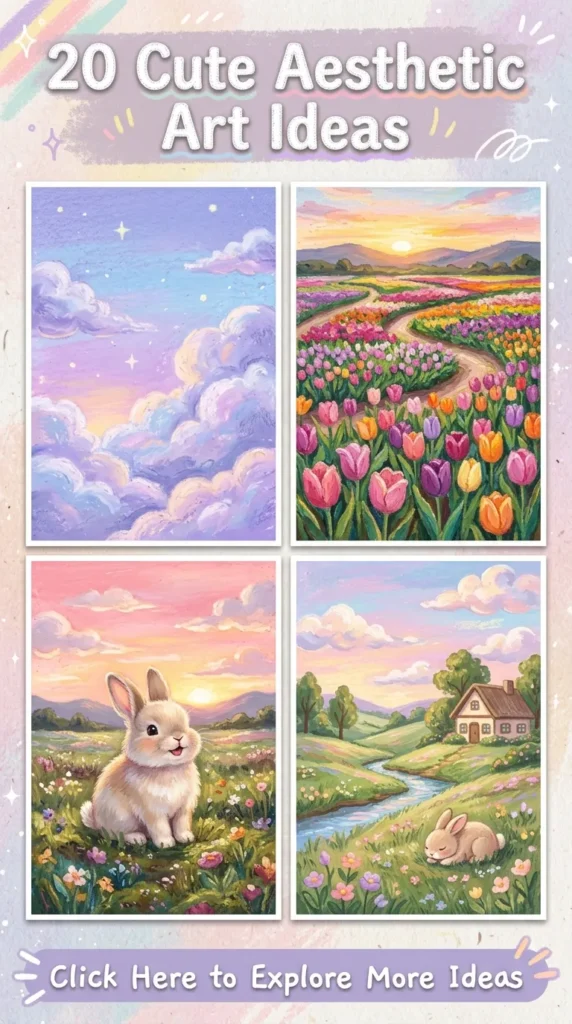
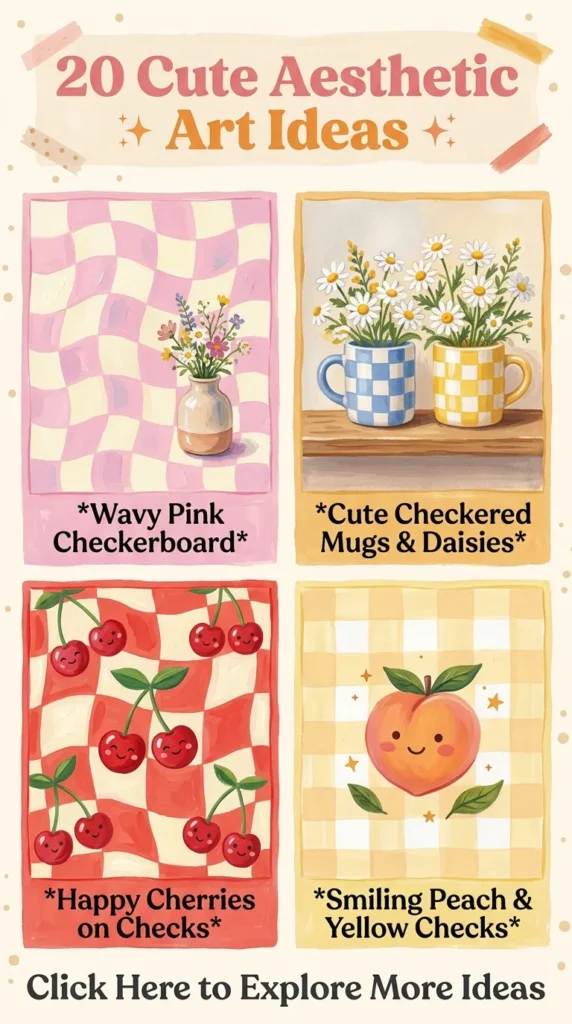
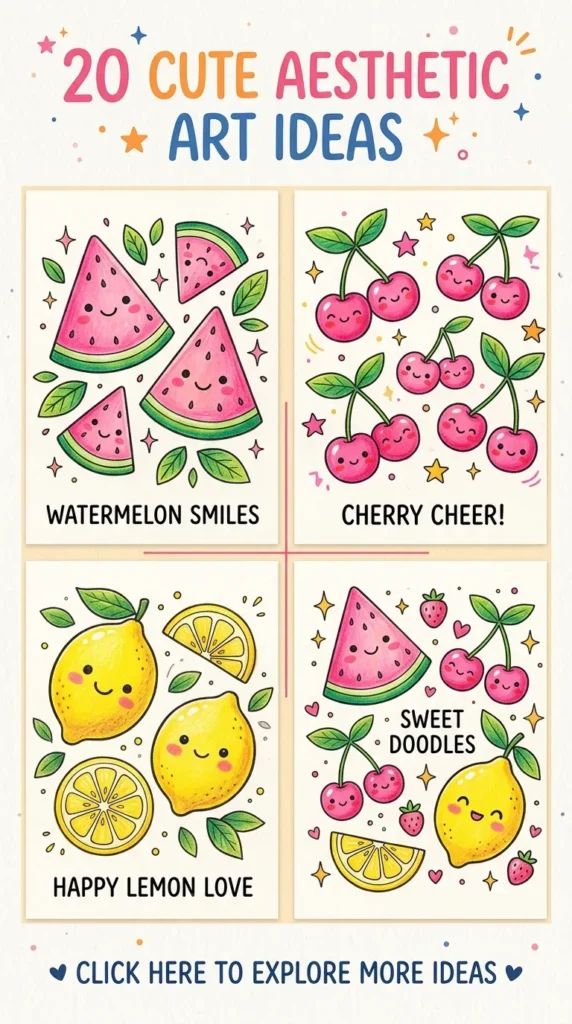
Aesthetic art is about more than making pretty things—it is an intentional approach to slow living, sensory appreciation, and visual storytelling. It creates a calming space where soft palettes, nostalgic motifs, tactile textures, and dreamy compositions intersect to bring genuine delight.
Whether you want to decorate your space, curate a cozy Pinterest feed, build an intentional sketchbook habit, or simply unwind after a busy day, this comprehensive guide covers 20 deeply satisfying, cute aesthetic art projects. Each idea includes the core concept, a step-by-step creation guide, practical design tips, creative variations, and a complete materials checklist.
1. Soft Pastel Dreamscape Gouache Paintings
What This Idea Means:
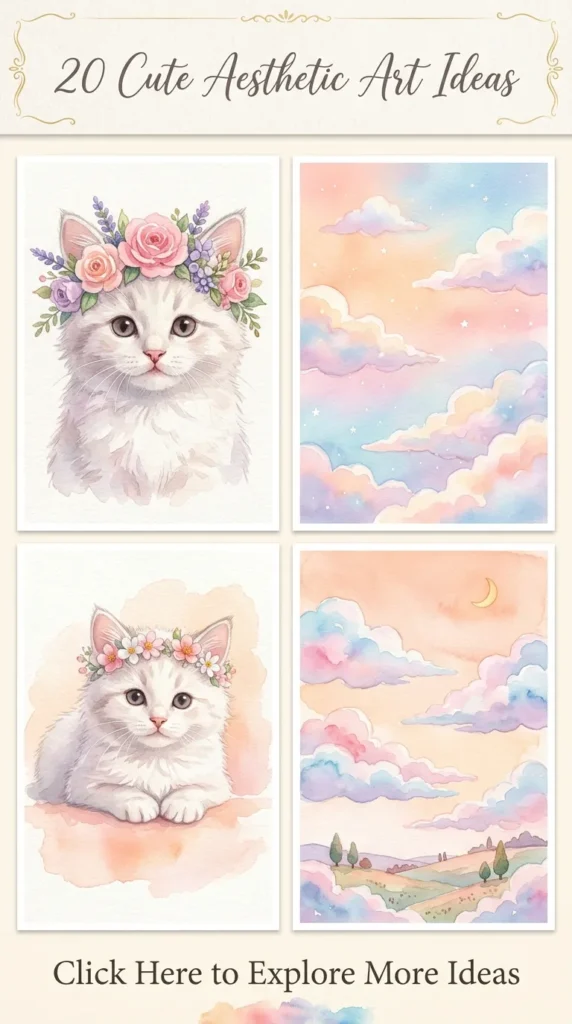
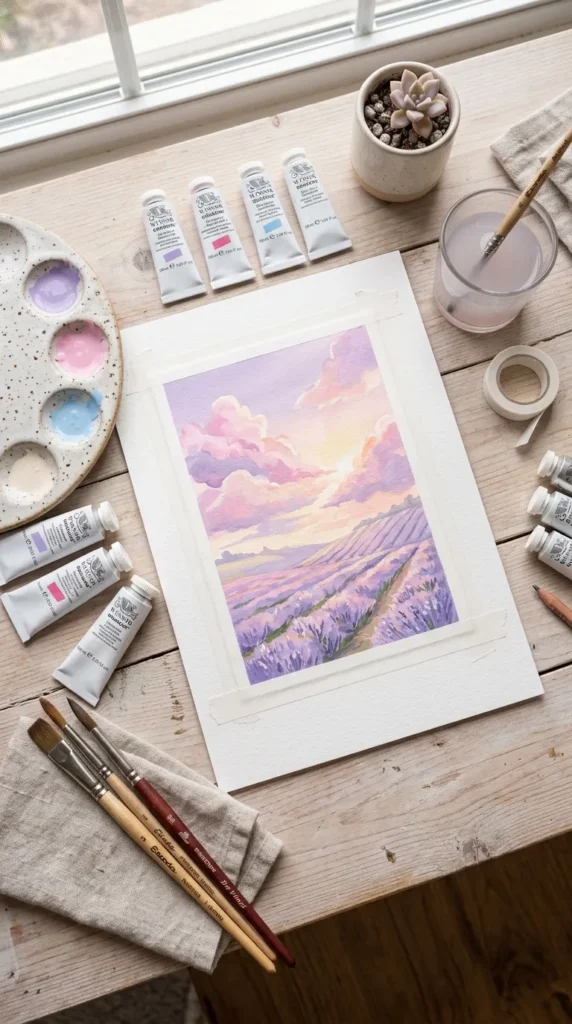
Dreamscape gouache paintings focus on creating surreal, peaceful natural scenes—think cotton-candy clouds, lavender hills, and sun-drenched meadows. Gouache provides an ultra-matte, velvety finish that mimics editorial children’s book illustrations, lending an effortlessly cozy, whimsical atmosphere to classic landscape artwork.
How to Make It:
- Tape down heavy 300 GSM watercolor paper using low-tack washi tape for crisp, clean borders.
- Mix a pastel gradient palette: creamy ivory, butter yellow, soft lilac, and powder pink.
- Lay down a flat, even sky background using broad horizontal brushstrokes with slightly diluted gouache.
- Layer fluffy cloud formations using dry-brush stippling with thick, creamy white and soft blush paint.
- Add silhouettes of rolling hills, petite wildflowers, or a tiny crescent moon using a fine detail liner brush.
- Let dry completely before slowly peeling the tape away at a 45-degree angle.
Tips and Variations:
- Tip: Keep your paint at the consistency of whole milk for smooth base layers and heavy whipping cream for fine surface details.
- Variation: Try a “Midnight Cottagecore” version featuring navy, deep plum, and metallic gold starry details.
Needs to Make That Thing:
- Heavyweight cold-press watercolor paper (300 GSM)
- Designer gouache set (pastel & primary mixing tones)
- Flat wash brush (1 inch) and size 0 round liner brush
- Ceramic mixing palette
- Low-tack artist washi tape
2. Pressed Wildflower Resin Suncatchers
What This Idea Means:
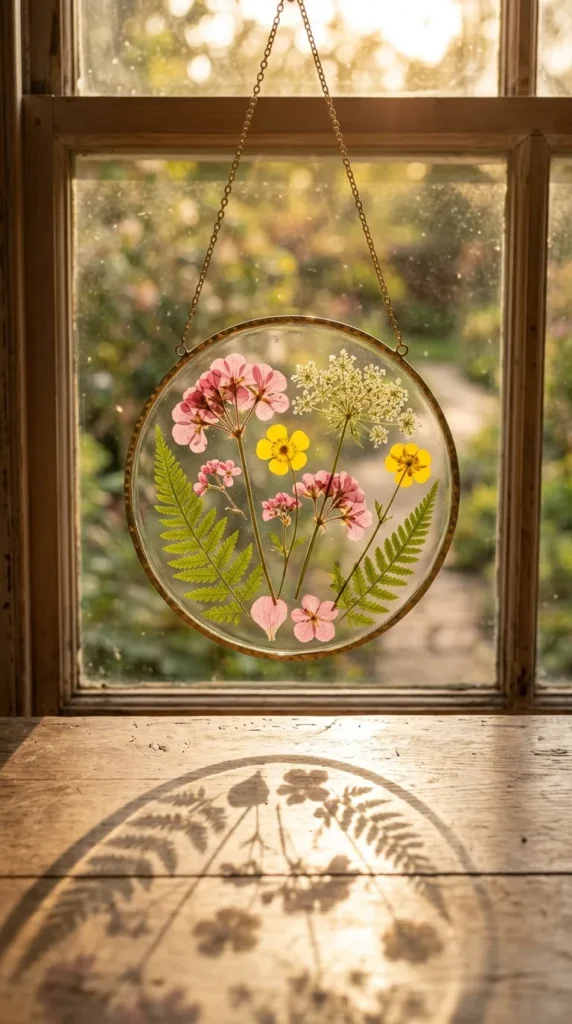
This project captures the delicate beauty of botanicals inside crystal-clear resin suspended within geometric brass or copper frames. When hung near a window, these suncatchers cast soft, natural shadows and vibrant floral glows across your living space.
How to Make It:
- Forage petite wildflowers, pansies, ferns, and baby’s breath, pressing them between heavy books or inside a wooden flower press for 10–14 days.
- Lay open-back brass jewelry bezels or geometric wire frames onto a flat silicone craft mat.
- Mix UV resin or a low-viscosity 2-part epoxy resin according to package instructions, stirring slowly to minimize bubbles.
- Pour a thin base layer inside each frame and cure under a UV lamp for 60 seconds (or let set for 4 hours if using 2-part resin).
- Arrange your dried botanicals gently on top of the cured base with fine tweezers.
- Pour a glossy top coat to dome the surface, pop any surface bubbles with a lighter or heat gun, and fully cure. Add a satin ribbon or vintage brass chain for hanging.
Tips and Variations:
- Tip: Coat pressed flowers in a dab of clear glue or resin sealer before placing them to prevent petal discoloration.
- Variation: Embed flakes of genuine gold leaf or tiny holographic stars alongside the florals for added shimmer.
Needs to Make That Thing:
- Assorted pressed wildflowers and ferns
- High-clarity UV resin or epoxy casting resin
- Open-bezel brass frames (circles, arches, hexagons)
- 36W UV curing lamp
- Precision tweezers and silicone craft mat
- Velvet ribbon or brass ball chain
3. Whimsical Ceramic Air-Dry Trinket Dishes
What This Idea Means:
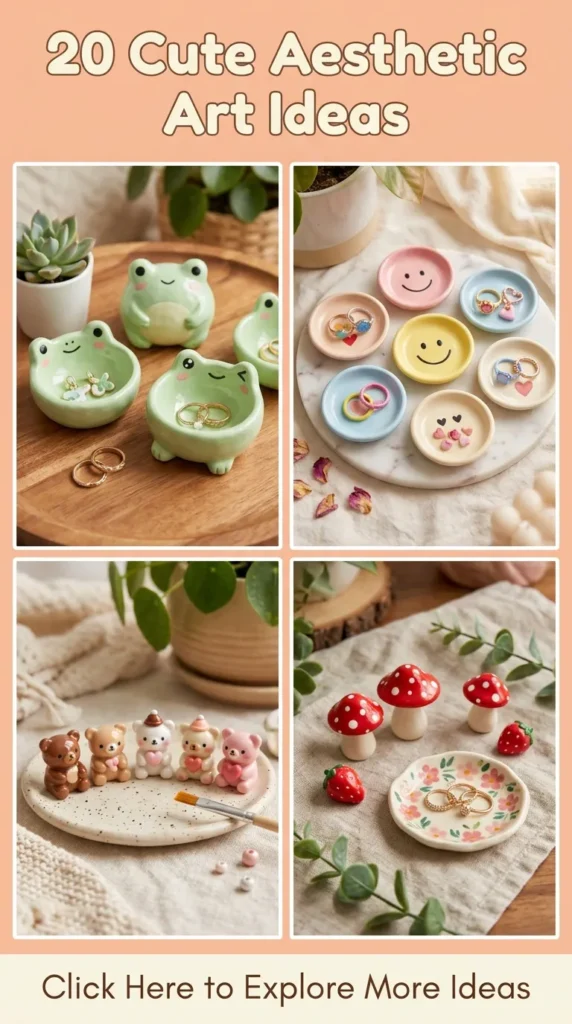
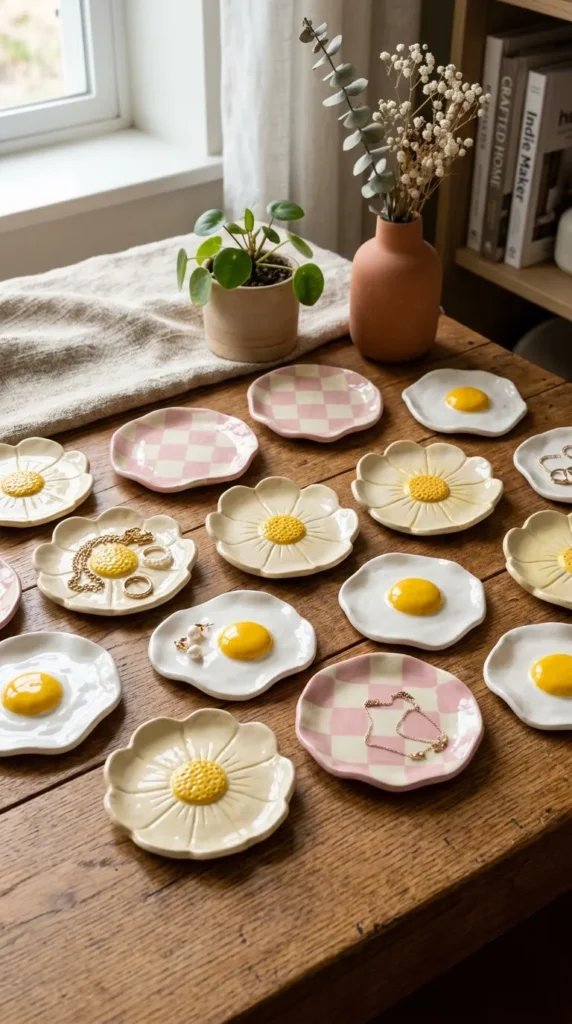
Organic, wavy, handmade trinket dishes made from air-dry clay give your desk or nightstand a personalized indie-boutique aesthetic. Sculpted in playful shapes like fried eggs, daisies, smiling kittens, or checkerboards, they combine cute utility with handmade charm.
How to Make It:
- Knead a palm-sized ball of air-dry clay until warm, pliable, and free of air bubbles.
- Roll the clay out between two guide sticks onto parchment paper to an even thickness of about 5–6 mm.
- Cut out your chosen outline using a craft blade or an inverted bowl as a stencil.
- Gently pinch and smooth the edges upward to create a soft, shallow lip.
- Dip your finger in a small dish of water to buff out cracks, smoothing the perimeter seamlessly.
- Let dry for 48–72 hours, flipping once after 24 hours.
- Paint your design with opaque acrylics, finish with a high-gloss ceramic varnish, and let cure.
Tips and Variations:
- Tip: Do not use excess water while smoothing wet clay; too much moisture creates cracks as it dries.
- Variation: Press antique lace or vintage botanical stamps into the damp clay to create an embossed relief texture before painting.
Needs to Make That Thing:
- White air-dry modeling clay
- Wooden rolling pin and guide sticks
- Precision craft knife / clay sculpting tools
- Multi-surface acrylic paint set
- High-gloss polyurethane varnish or liquid glass glaze
4. Vintage Botanical Scrapbook Ephemera Pages
What This Idea Means:
Journaling and junk collage art focused on vintage botanical ephemera combines coffee-stained paper, antique book pages, vintage postage stamps, and delicate illustrations. It offers an earthy, tactile aesthetic rooted in nostalgia, memory keeping, and romantic study.
How to Make It:
- Dip heavyweight sketch paper or linen cardstock in brewed Earl Grey tea or dark coffee, drying it with a heat tool or oven baking on low heat for an aged patina.
- Tear the edges of book pages, manuscript fragments, and tracing paper by hand to create rich, fibrous deckle borders.
- Arrange your collage layers in a balanced diagonal or rule-of-thirds composition on your journal spread.
- Secure elements with vintage matte tape, distress ink, and acid-free glue sticks.
- Stamp dates, botanical illustrations, or cursive phrases using sepia pigment ink.
- Add dried lavender sprigs, vintage cotton thread stitching, or stamped wax seals for dimensional texture.
Tips and Variations:
- Tip: Use distress ink on a sponge along torn paper edges to give them a natural, time-worn burnished look.
- Variation: Make a “Herbarium Field Study” spread featuring pressed kitchen herbs (rosemary, thyme, sage) with handwritten identification notes.
Needs to Make That Thing:
- Hardbound blank kraft or linen art journal
- Aged book paper, vintage post tickets, and ledger sheets
- Distress inks (Vintage Photo / Walnut Stain) and blending foam
- Acid-free glue stick and matte double-sided tape
- Wax seal stamp, wax beads, and melting spoon

5. Modern Punch Needle Floral Wall Hangings
What This Idea Means:
Punch needle embroidery transforms simple yarn into lush, plush, looped textile tapestries. It blends the cozy tactile comfort of mid-century rug-making with modern pastel color palettes and cute minimalist shapes, such as plump tulips, friendly mushrooms, and cheerful citrus slices.
How to Make It:
- Stretch primary monks cloth or sturdy linen tightly over an embroidery hoop or wooden gripper frame until it sounds like a drum when tapped.
- Trace your design onto the fabric with a water-erasable fabric marker.
- Thread your adjustable punch needle tool with chunky acrylic, wool, or cotton blend yarn.
- Hold the needle perpendicular to the cloth and punch cleanly down through the fabric weave, gliding forward smoothly along your outline.
- Fill in inner background areas, alternating loop heights to create sculptural 3D relief.
- Paint the back with latex rug adhesive or textile glue, let dry, trim excess fabric, and mount on a wooden dowel.
Tips and Variations:
- Tip: Never pull the needle high off the cloth surface between stitches; drag the tip gently against the fabric to avoid pulling out previously formed loops.
- Variation: Mix different textures by combining flat embroidery stitches with tall, sheared loop-pile sections.
Needs to Make That Thing:
- Monks cloth (100% cotton, 24 holes per inch)
- 10-inch wooden embroidery frame or gripper frame
- Adjustable punch needle tool
- Assorted chunky yarn in soft pastels and cream
- Fabric adhesive and yarn scissors

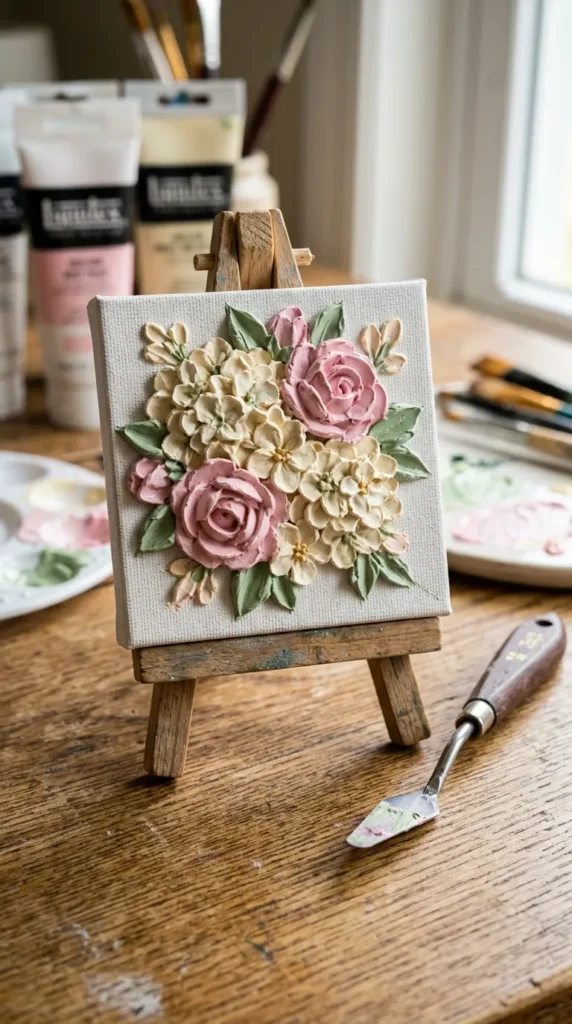
6. Mini Acrylic Canvas Panels with 3D Textured Buttercream Flowers
What This Idea Means:
Using heavy modeling paste and palette knives, this art style mimics cake decorating on 3-inch to 5-inch miniature canvases. It yields creamy, sculptural flower petals that physically lift off the canvas, giving the artwork a playful, tactile, confectionery feel.
How to Make It:
- Prime a mini canvas board with a soft, uniform background color like sage green or vanilla cream.
- Mix heavy acrylic molding paste with various acrylic paint colors until it matches the thickness and appearance of bakery frosting.
- Scoop a dollop of colored paste onto the flat back of a teardrop-shaped palette knife.
- Press and wipe the knife against the canvas in gentle outward-to-inward motions to form realistic flower petals.
- Layer concentric rings of petals to build blooming roses, ranunculus blossoms, or daisies.
- Use a needle tool or small piping bag to apply the flower centers and small green leaf accents, then let cure for 24–48 hours.
Tips and Variations:
- Tip: Clean your palette knife between every single petal stroke on a damp rag to ensure crisp, distinct petal edges.
- Variation: Decorate the entire canvas as a miniature vintage royal-icing cake, complete with faux piped borders, cherries, and cursive slogans.
Needs to Make That Thing:
- Miniature stretched canvases (3×3 or 4×4 inches)
- Heavy acrylic modeling paste (matte finish)
- Flexible offset metal palette knife set
- Heavy body acrylic paints
- Fine piping bags with mini star/petal tips
7. Hand-Drawn Cottagecore Mushroom & Moss Illustrations
What This Idea Means:
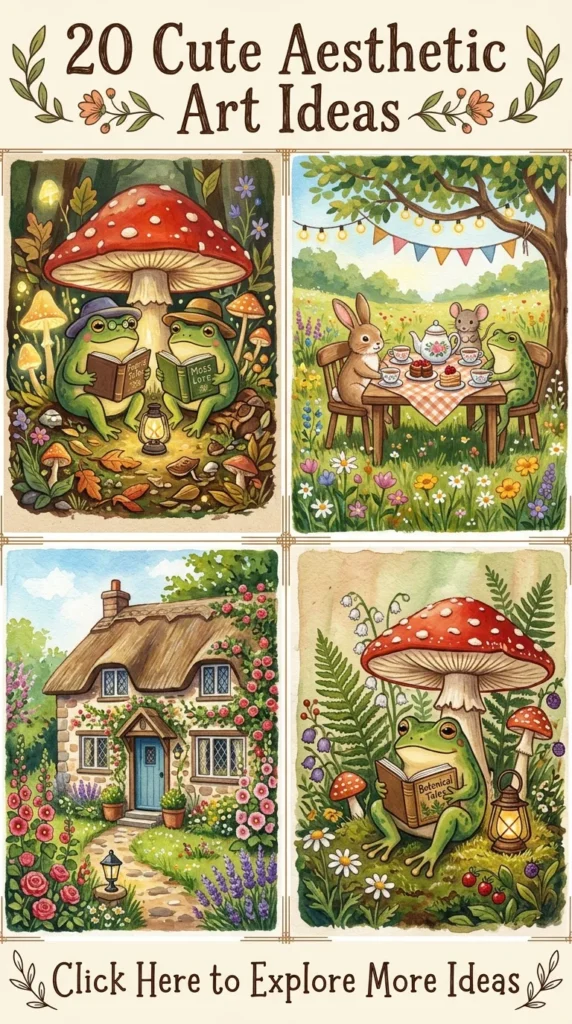
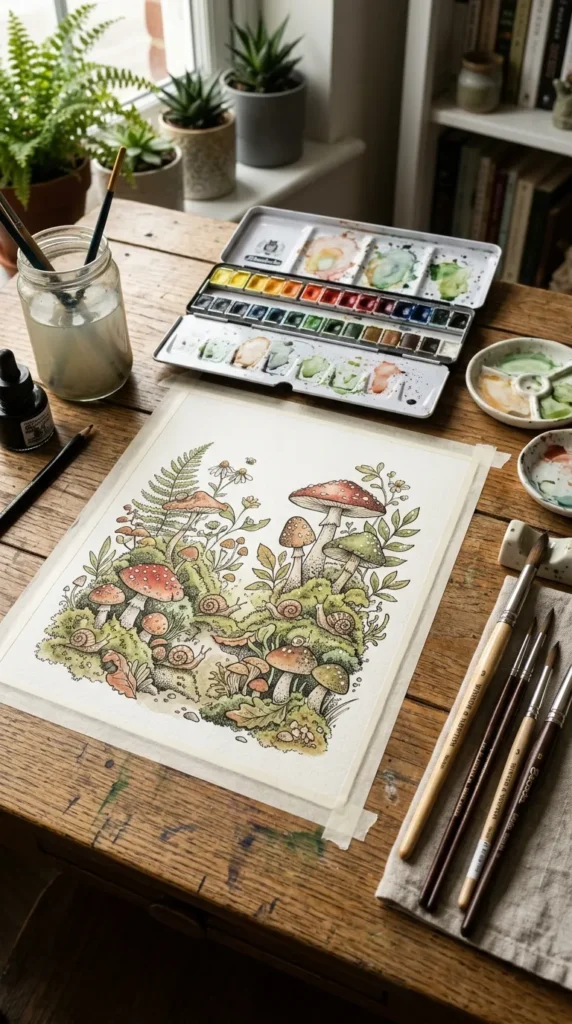
This illustration style celebrates forest folklore through detailed, cozy depictions of red-capped fly agaric mushrooms, damp moss, curling ferns, snails, and woodland creatures. It bridges the gap between classic scientific biological drawing and storybook fantasy.
How to Make It:
- Sketch a naturalistic cluster of varied mushrooms with a 2B pencil on cold-press watercolor paper, adding organic stem curves and ruffled gill underbellies.
- Paint a soft wet-on-wet watercolor undercoat using earth pigments: raw umber, olive green, ochre, and deep crimson.
- Build shadow depth under the mushroom caps and around root clusters with fine, controlled glazes of burnt sienna.
- Use waterproof archival ink fineliners (sizes 0.05 to 0.3) to add stippled dots, intricate line work, and texture along the caps and gills.
- Highlight cap spots, morning dew droplets, and moss highlights using an opaque white gel pen or diluted white gouache.
Tips and Variations:
- Tip: Leave small areas of raw, unpainted white paper on the tops of mushroom caps to simulate radiant, dappled woodland light.
- Variation: Transform the mushrooms into whimsical fairy dwellings by adding tiny arched wooden doors, stone steps, and lantern chimneys.
Needs to Make That Thing:
- Cold-press 100% cotton watercolor block
- Artist-grade watercolor pan set (earth and woodland tones)
- Waterproof micro-pigment fineliners (005, 01, 03)
- White opaque gel pen (0.8 and 1.0 mm)
- Size 2 and 4 Kolinsky sable or synthetic watercolor brushes
8. Luminous Pastel Celestial Moon Watercolor Art
What This Idea Means:
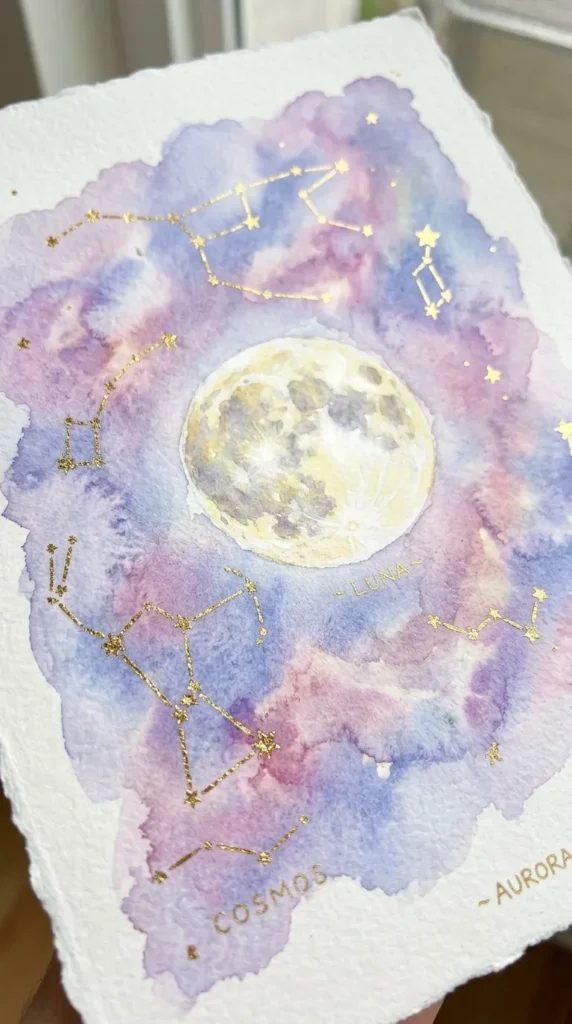
Celestial watercolor art focuses on capturing glowing moons, twinkling star fields, and ethereal nebulae using soft pastels and metallic highlights. It replaces cold, dark outer-space visuals with dreamy hues of periwinkle, rose quartz, and luminous gold.
How to Make It:
- Trace a perfect circle onto watercolor paper with light pencil, masking the inner moon perimeter using liquid frisket (masking fluid).
- Wet the outer canvas completely with clean water until it has a glassy sheen.
- Drop in highly saturated watercolor pigments of magenta, turquoise, and pastel violet, letting them bloom and blend naturally across the wet paper.
- Sprinkle coarse sea salt over the wet paint to create natural starburst crystallization patterns; let dry and gently brush away the salt.
- Peel off the masking fluid and paint the moon’s crater topography using delicate washes of neutral gray, ivory, and soft lilac.
- Accent the craters, moon edge, and outer constellations with reflective, opaque metallic gold watercolor paint.
Tips and Variations:
- Tip: Make sure the paper is damp but not pooling with water to prevent muddy colors and excessive paper buckling.
- Variation: Illustrate the full monthly lunar phase cycle across a long horizontal canvas strip.
Needs to Make That Thing:
- Heavyweight rough-texture watercolor paper
- Liquid masking fluid and silicone applicator
- Professional watercolor pan set
- Coarse sea salt
- Metallic mica-infused gold watercolor pigment
9. Kawaii Miniature Polymer Clay Figurines
What This Idea Means:
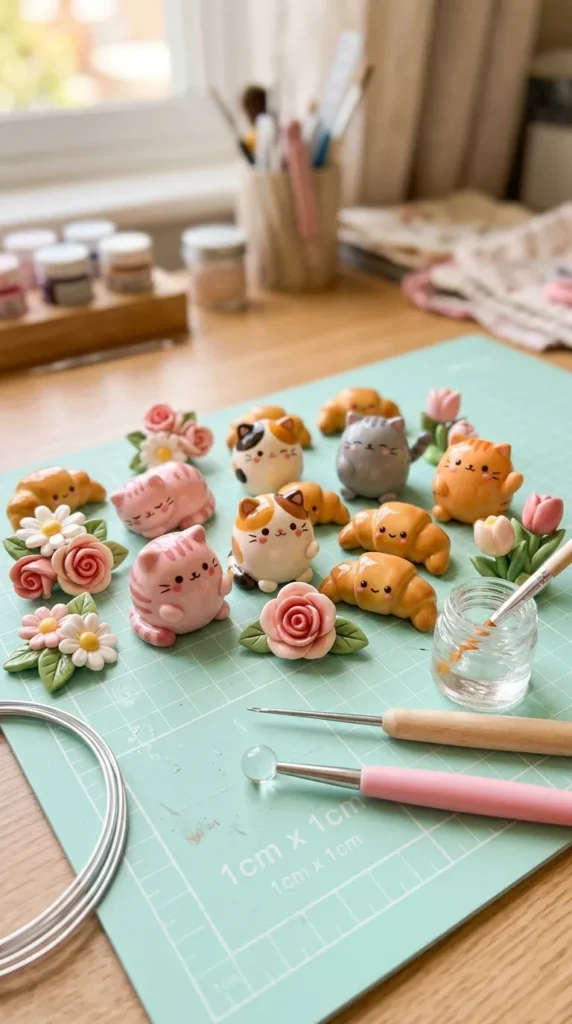
Kawaii polymer clay modeling centers on sculpting tiny, joyful figurines—such as plump chubby animals, smiling pastries, anthropomorphic fruits, or pocket-sized magical creatures—finished with soft blush and glass-like gloss.
How to Make It:
- Condition polymer clay by rolling and working it in your hands until soft and pliable.
- Roll basic geometric components (spheres, teardrops, cylinders) to build the torso, head, and appendages.
- Assemble the parts by gently pressing them together, using a rubber-tipped clay shaper to smooth all joining seams.
- Add micro-sized black clay spheres for simple, expressive bead eyes and indent cute smiling mouths using a needle tool.
- Dust real cosmetic powder blush onto cheeks using a dry, fluffy eyeshadow brush before baking.
- Bake in a dedicated craft oven at the recommended temperature (typically 110°C–130°C / 230°F–275°F) for 30 minutes, let cool, and apply a glossy UV or polyurethane glaze.
Tips and Variations:
- Tip: Keep baby wipes nearby to clean hands and tools when switching between clay colors to prevent color transfer onto light clay.
- Variation: Insert eye-pins before baking to convert these cute figurines into charms for keychains, earrings, or phone straps.
Needs to Make That Thing:
- Premium polymer clay blocks (pastel assortment)
- Silicone clay shaping tools and needle tool
- Soft pastel chalk or cosmetic powder blush
- Glaze / topcoat for polymer clay
- Ceramic baking tile and craft oven thermometer
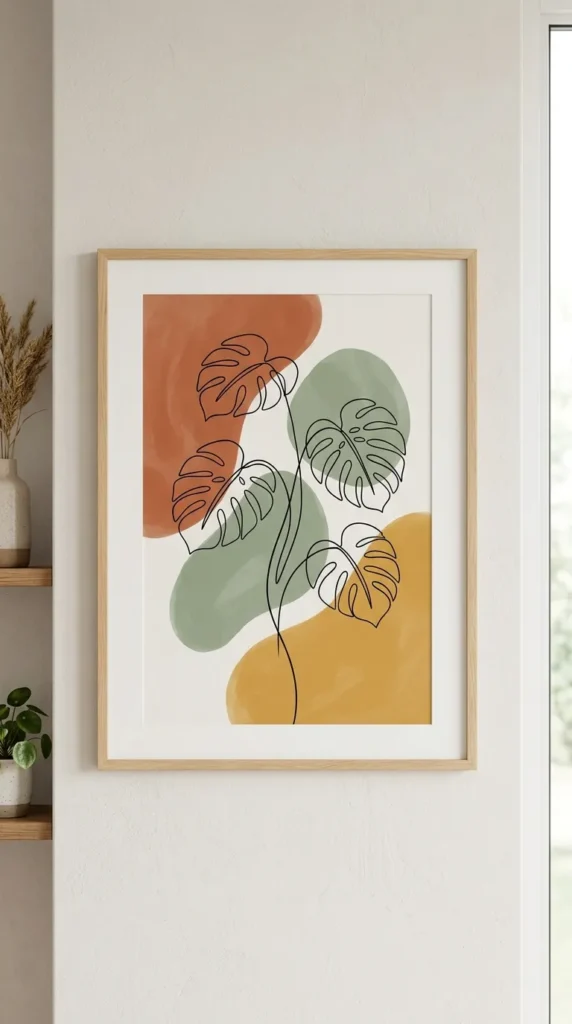
10. Abstract Organic Blob & Minimalist Line Art
What This Idea Means:
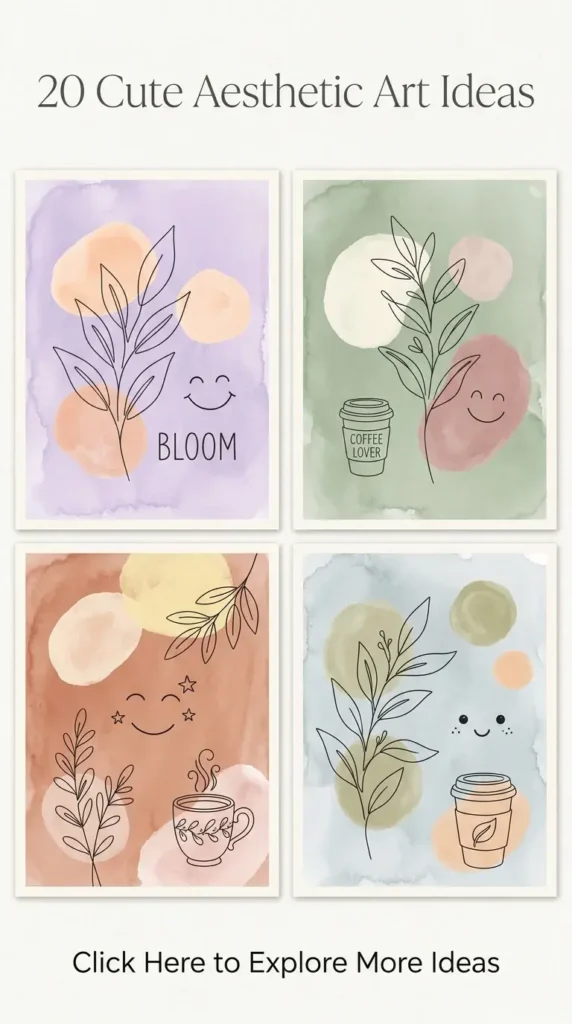
This Scandinavian-inspired aesthetic combines soft, asymmetrical, earthy color blobs with single-line continuous drawings. The flowing contrast between loose organic color shapes and crisp, disciplined line work creates a calming, modern, and sophisticated print.
How to Make It:
- Plan a curated 4-color palette consisting of muted tones like terracotta, warm beige, dusty olive, and muted mustard.
- Paint 3–4 large, overlapping, asymmetrical curved shapes on matte mixed-media paper using fluid acrylics or gouache.
- Allow the background shapes to dry down to an ultra-flat, non-reflective matte finish.
- Using an opaque black brush pen or fine acrylic paint marker, draw a minimalist subject in a single, fluid stroke over the color shapes (such as a profile portrait, Monstera leaf, or graceful feline).
- Add accents like delicate stippled dots, arch silhouettes, or small solid circles to balance the composition.
Tips and Variations:
- Tip: Practice your continuous line drawing on scrap paper beforehand so your hand moves across the final canvas with smooth confidence.
- Variation: Reverse the aesthetic by using rich, dark backgrounds with pure metallic gold or chalk-white continuous line work.
Needs to Make That Thing:
- Smooth Bristol board or hot-press watercolor paper
- Matte acrylic paints or acrylic gouache
- Broad flat brush for background shapes
- Archival pigment black brush pen or 1 mm paint marker
- Pencil and kneaded eraser for preliminary planning
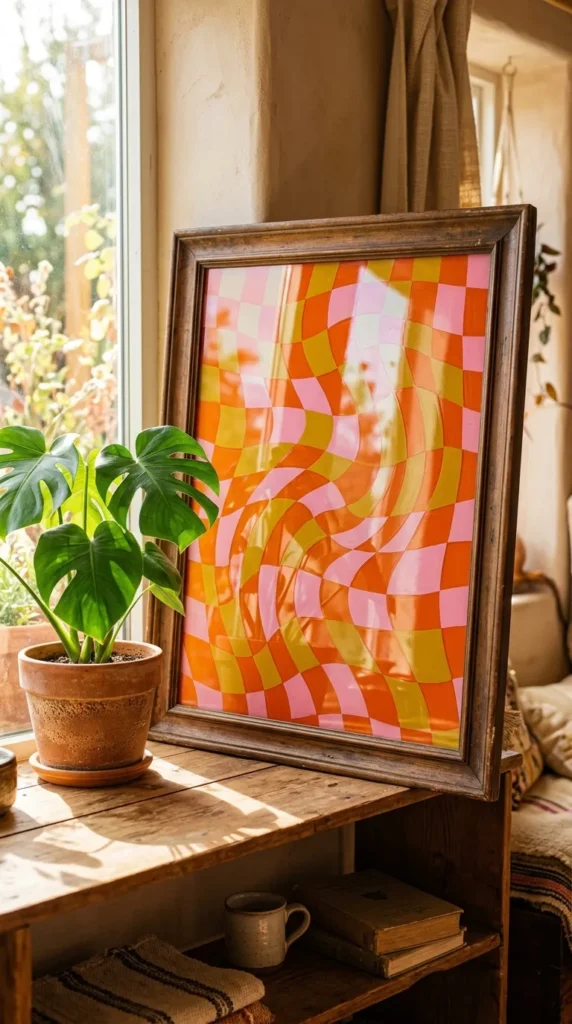
11. Retro 70s Groovy Wave & Checkerboard Glass Paintings
What This Idea Means:
Painted directly on clear glass or acrylic sheets taken from picture frames, this style features funky, joyful 70s nostalgia: wavy stripes, warped checkerboards, smiling daisies, and warm sunset color palettes (mustard, tangerine, bubblegum, and cream).
How to Make It:
- Remove the glass pane from a picture frame and clean it thoroughly with isopropyl alcohol to remove oil and dust.
- Print your retro design on plain paper and tape it underneath the glass as a tracing guide.
- Trace the outlines on the front side of the glass using an opaque oil-based paint marker or acrylic liner.
- Reverse-paint the interior sections with opaque acrylic or enamel craft paint, applying 2–3 layers to achieve rich, streak-free opacity.
- Allow each color section to dry completely before applying adjacent shades to prevent smudging.
- Reassemble the glass inside the frame with a clean backing sheet of contrasting paper, felt, or leave it bare for an airy floating look.
Tips and Variations:
- Tip: Because you are painting in reverse on glass, apply foreground highlights and fine details first, and broad background fill colors last.
- Variation: Use transparent, colored glass paints for a stained-glass effect that lets natural sunlight cast colorful patterns into the room.
Needs to Make That Thing:
- Clean glass or clear acrylic sheet in a vintage frame
- Oil-based paint pen (white or black for outlines)
- High-pigment opaque acrylic or glass craft enamel
- Flat and angled synthetic craft brushes
- Rubbing alcohol and microfiber cleaning cloth
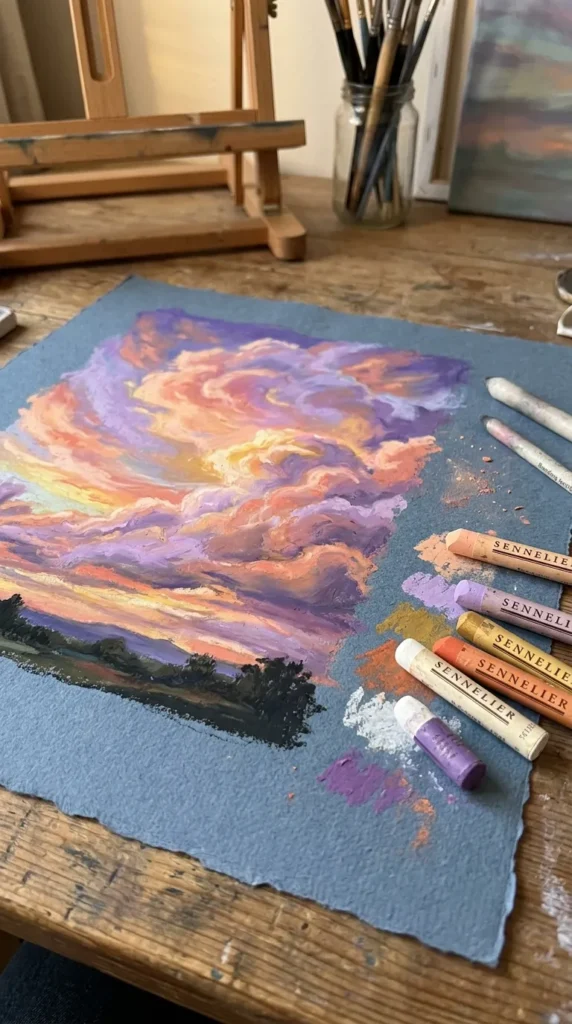
12. Dreamy Oil Pastel Cloudscapes on Tinted Paper
What This Idea Means:
Oil pastels on toned, textured paper produce a lush, creamy, painterly texture reminiscent of impressionist oil paintings. Tinted paper provides an immediate mood and allows pastel pink, orange, and sky-blue clouds to stand out with striking vibrancy.
How to Make It:
- Select a sheet of heavyweight, toothy charcoal or pastel paper in a neutral mid-tone, like warm gray, slate blue, or sand.
- Sketch the general horizon line and major cloud masses lightly using a neutral hard pastel pencil.
- Lay down your light values first, applying heavy, deliberate strokes of titanium white, peach, and soft lemon yellow along the cloud tops.
- Blend the lower bellies of the clouds with lavender, periwinkle, and dusty rose using a silicone blending stump or your fingertips.
- Build up thicker layers of pastel, scraping away and reapplying pigment to generate dimensional, physical texture.
- Seal the finished artwork with a light mist of workable pastel fixative spray to prevent unwanted smudging.
Tips and Variations:
- Tip: Warm your oil pastel sticks between your palms before use to soften the binders for buttery, smooth blending.
- Variation: Create a golden hour sunset version over a still lake, blending mirror-like cloud reflections into the lower half of the composition.
Needs to Make That Thing:
- Professional artist-grade extra-soft oil pastels
- Textured tinted pastel paper (200+ GSM)
- Silicone blending tools or tortillons
- Masking tape for clean margins
- Non-yellowing pastel fixative spray
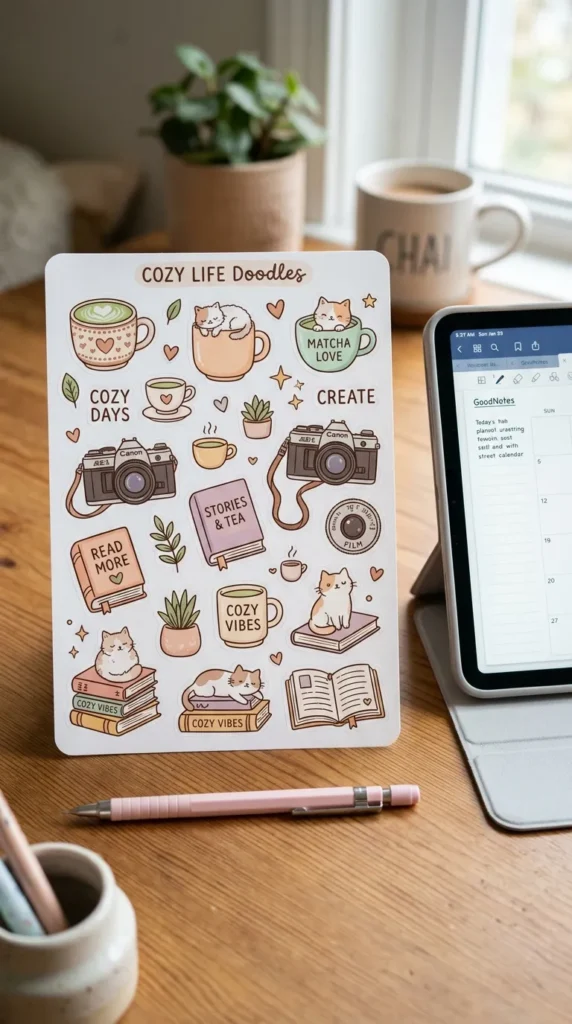
13. Aesthetic Sticker Sheets with Hand-Drawn Daily Life Doodles
What This Idea Means:
Designing custom aesthetic sticker sheets involves illustrating charming, cozy vignettes from everyday life—steaming matcha cups, film cameras, sweet bakeries, stack of novels, and sleepy pets—ready to decorate planners and laptops.
How to Make It:
- Brainstorm a cohesive theme and unified 5-to-6 color palette on digital software (Procreate, Illustrator) or smooth paper.
- Illustrate 8–12 individual spot icons with smooth, rounded outlines, keeping the linework soft (warm brown or charcoal instead of harsh pitch black).
- Add subtle shading, rosy cheek details, and clean white outer cut-line borders around every illustration.
- Print your arranged artwork onto high-gloss or matte printable vinyl sticker paper using high-resolution settings.
- Apply a sheet of clear self-adhesive laminate over the print to make the stickers water-resistant and scratch-proof.
- Cut out the sticker shapes using a digital cutting machine on kiss-cut settings, or hand-cut them with precision craft scissors.
Tips and Variations:
- Tip: Using a rich cocoa-brown or slate outline instead of stark black gives illustrations an instantly softer, friendlier kawaii aesthetic.
- Variation: Print on translucent, frosted sticker paper for an elegant, understated washi-tape finish.
Needs to Make That Thing:
- Digital drawing tablet or fine fineliner pens on smooth marker paper
- Printable matte or glossy vinyl sticker paper sheets
- Clear cold-laminating self-adhesive film
- Inkjet printer (set to photographic quality)
- Precision cutting machine or detail craft shears
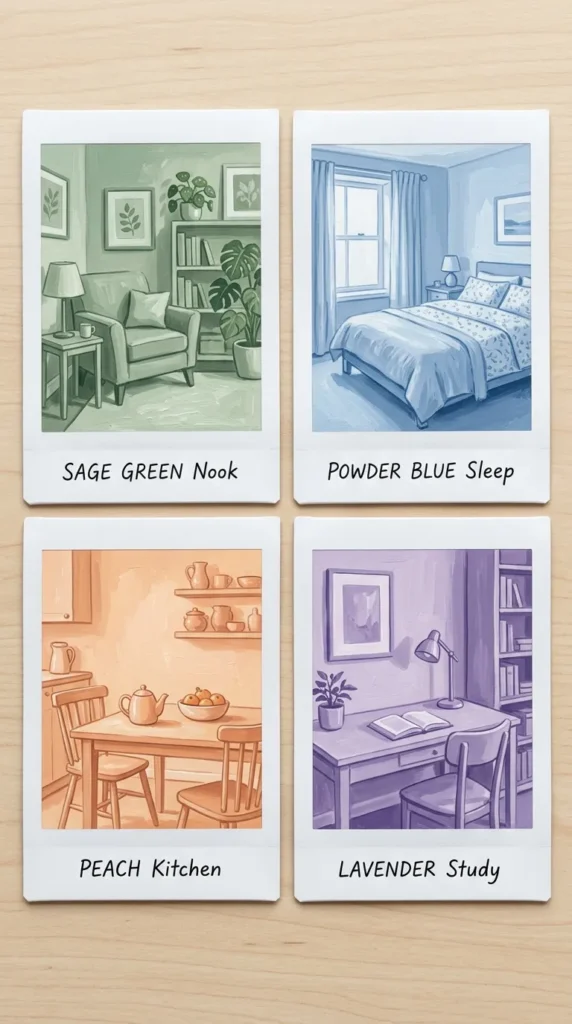
14. Monochromatic Gouache Color-Study Polaroids
What This Idea Means:
This project involves painting miniature everyday scenes or intimate spaces inside a 3.5×4.2 inch faux-Polaroid frame, using values derived from a single hue (such as powder blue, sage green, or peach). It trains your eye for light values while producing a clean, photogenic art grid.
How to Make It:
- Mark out classic Polaroid dimensions on smooth watercolor paper with masking tape, leaving a wider white margin at the bottom.
- Select a single base tube of paint (e.g., Prussian blue) along with pure titanium white.
- Mix a 5-step value gradient scale: ranging from pure deep hue, to mid-tone tints, down to an almost-white pastel tint.
- Sketch a simple everyday subject—such as sunlight filtering through sheer curtains, a cat on a stool, or a bicycle—using light pencil.
- Paint the scene using only your mixed tonal gradient, mapping out deep shadow regions, mid-tones, and pure highlights systematically.
- Let dry completely, peel the tape slowly to reveal the clean border, and write a date or short title in pencil on the bottom margin.
Tips and Variations:
- Tip: Value contrast is everything in monochromatic art: make sure your lightest light and darkest dark have clear, distinct separation.
- Variation: Create a matching series of four monochromatic Polaroid cards in complementary colors (one mint, one butter yellow, one lilac, one peach) and display them in a grid.
Needs to Make That Thing:
- 300 GSM hot-press watercolor paper
- Selected professional gouache paint colors and Titanium White
- 1/4 inch flat shading brush and size 1 round detail brush
- Precision artist drafting tape
- Porcelain well-palette
15. Air-Dry Clay Wall Mirrors with Wavy Squiggle Frames
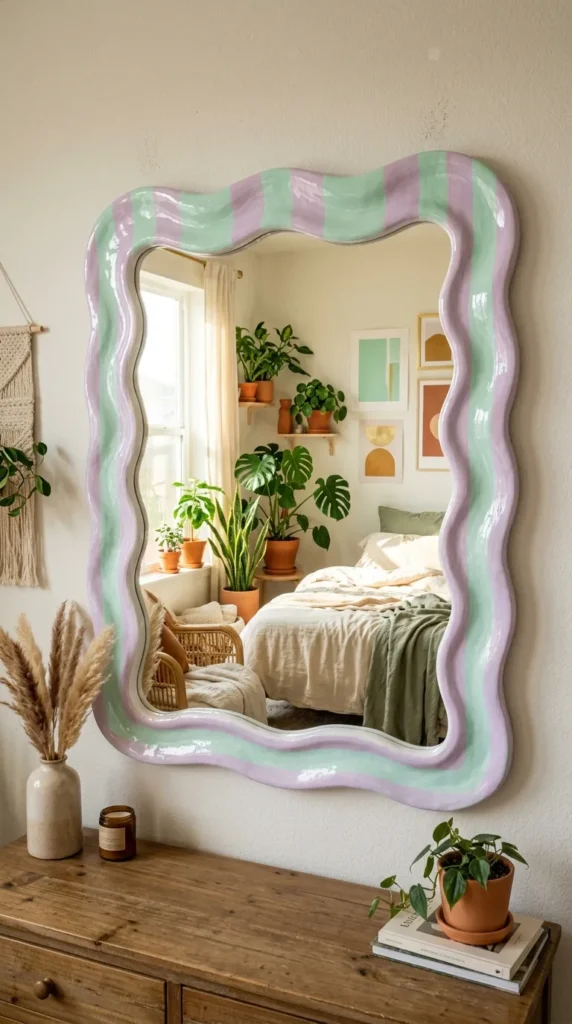
What This Idea Means:
Inspired by retro modernism and playful contemporary decor, this project frames everyday mirrors with wavy, sculptural, cloud-like ripples of clay. It turns a functional vanity mirror into a tactile centerpiece for any gallery wall.
How to Make It:
- Purchase a frameless round, oval, or arch-top glass craft mirror.
- Roll white air-dry clay into long, even, snake-like coils of about 1 inch in thickness.
- Shape the coils into undulating, rhythmic ripples and waves, fitting them snugly around the perimeter of the mirror.
- Blend joint seams together on the reverse side using clay sculpting tools and a minimal amount of water.
- Allow the clay frame to dry undisturbed for 72 hours, turning it occasionally to ensure even drying throughout.
- Sand any rough spots smooth with fine 400-grit sandpaper, paint in vibrant stripes or soft pastels, and seal with a protective gloss coat.
- Affix the mirror glass securely to the back of the clay frame using strong multi-surface epoxy or construction adhesive.
Tips and Variations:
- Tip: Dry the clay frame over a flat, breathable wire cooling rack to encourage balanced airflow from both top and bottom, preventing warping.
- Variation: Embed tiny faux-pearl beads, ceramic flowers, or glass beads into the soft clay waves before drying.
Needs to Make That Thing:
- Frameless round or arched vanity mirror (6 to 10 inches)
- High-density white air-dry clay (1 kg)
- Fine-grit sandpaper (220 and 400 grit)
- Acrylic paints and high-gloss clear varnish
- Heavy-duty two-part epoxy or industrial mounting glue
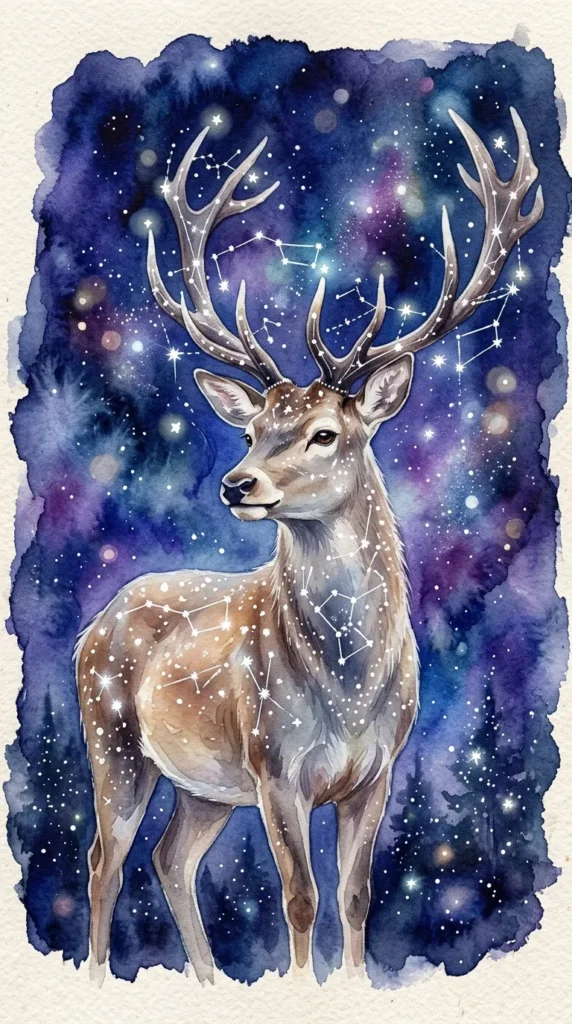
16. Whimsical Watercolor Constellation Animal Portraits
What This Idea Means:
This concept merges cute wildlife portraits—like foxes, otters, deer, or rabbits—with cosmic, starry night overlays. The animals feature celestial markings, crystal details, or glowing star patterns painted across their fur and ears.
How to Make It:
- Sketch a gentle animal portrait on watercolor paper, focusing on soft eyes, rounded cheeks, and a peaceful expression.
- Apply a clean water wash over the animal’s silhouette, working wet-in-wet with diluted indigo, violet, and rose tones.
- Drop in deep, concentrated pigments along the outer fur edges, letting the colors feather naturally toward a lighter face.
- While damp, sprinkle fine salt or alcohol droplets across the fur to generate subtle starburst nebulae textures.
- Once dry, use a fine 00-detail brush with opaque white ink to connect stars and draw zodiac constellation maps across the forehead and shoulders.
- Paint the eyes with rich, reflective gloss, adding white light points to bring life and sweetness to the animal’s face.
Tips and Variations:
- Tip: Keep the facial features soft and minimal; overworking line details can detract from the gentle storybook mood.
- Variation: Replace constellations with delicate botanical wildflower vines and blooming head-wreaths woven between antlers or ears.
Needs to Make That Thing:
- Cotton cold-press watercolor paper
- Artist watercolor paints (Indigo, Payne’s Gray, Quinacridone Rose)
- Opaque white calligraphy ink or gouache
- Detail liner brushes (sizes 000, 0, and 2)
- Graphite transfer paper
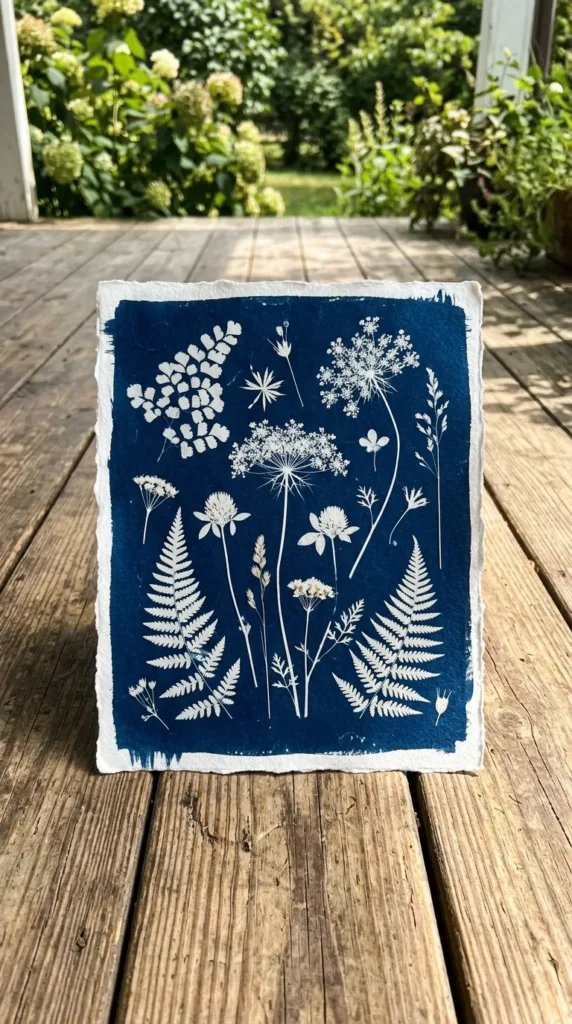
17. Vibrant Botanical Cyanotype Sun Prints
What This Idea Means:
Cyanotype is an antique photographic printing process that produces deep, Prussian blue silhouettes using the natural ultraviolet light of the sun. Pairing this historical medium with modern pressed botanicals and lace creates crisp, dreamy blue-and-white nature prints.
How to Make It:
- In a room with dim indoor light, mix cyanotype Part A (Ferric Ammonium Citrate) and Part B (Potassium Ferricyanide) in equal measures.
- Coat watercolor paper or heavy linen fabric evenly with the mixed solution using a foam brush, then let dry in total darkness.
- Arrange pressed botanical specimens, ferns, skeleton leaves, or calligraphy transparencies over the sensitized dry surface.
- Clamp the arrangement under a sheet of clear glass in a contact frame to keep all elements flat and sharp.
- Expose the frame to bright, direct outdoor sunlight for 3 to 8 minutes (the paper will shift from yellow-green to a metallic bronze-blue).
- Rinse the exposed paper under cold running water for 5 minutes to wash out unexposed chemistry, revealing the deep Prussian blue print; hang to dry.
Tips and Variations:
- Tip: Adding a few drops of hydrogen peroxide to the water bath causes the blue background to oxidize instantly to its deepest navy hue.
- Variation: Paint cyanotype chemicals in loose, gestural brushstrokes or splatter patterns instead of a sharp rectangle for organic, artistic edges.
Needs to Make That Thing:
- Cyanotype chemical kit (Part A & B)
- Heavyweight mixed-media or watercolor paper
- Foam brushes and a plastic mixing dish
- Glass contact printing frame or photo clip frame
- Fresh or pressed botanicals and leaves
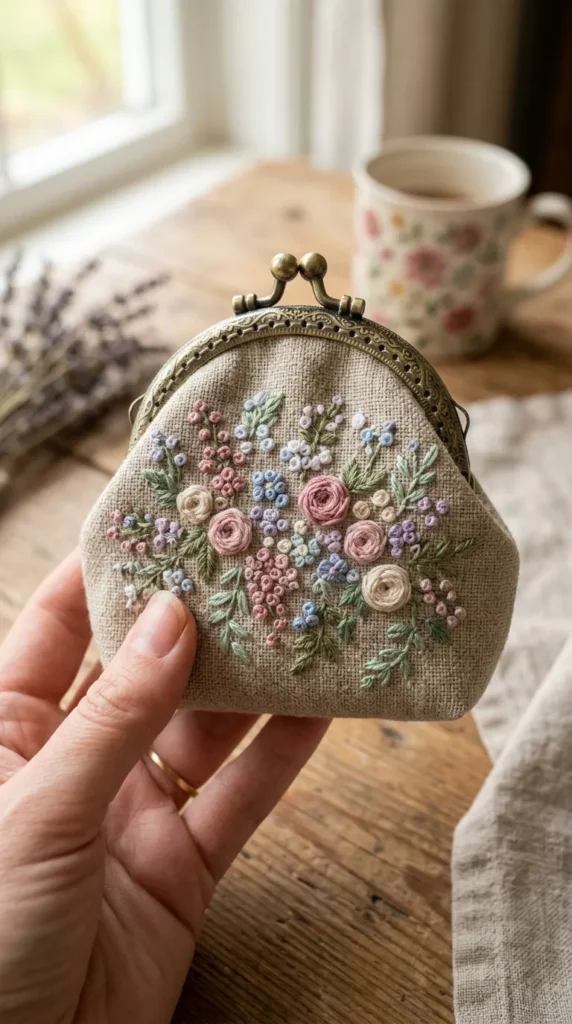
18. Cute Miniature Embroidery on Canvas Coin Purses
What This Idea Means:
Hand embroidery on small linen accessories blends cottagecore fashion with cute, portable fiber arts. Stitching petite floral bouquets, honeybees, little cats, or citrus slices onto natural cotton or linen coin purses elevates a daily carry item into a sweet heirloom accessory.
How to Make It:
- Transfer a small 2-inch illustration onto a blank, unlined linen coin purse or pouch using a water-soluble transfer pen.
- Mount the canvas area securely into a mini 3-inch embroidery hoop, keeping the fabric drum-tight.
- Thread an embroidery needle with two strands of cotton embroidery floss in your chosen color palette.
- Embroider flower petals with the woven wheel stitch for dimensional roses, leaves with the satin stitch, and small accents with French knots.
- Add details like stems and sweet lettering with a clean backstitch or split stitch.
- Rinse or dab the fabric with cool water to dissolve the blue transfer markings, let dry, and lightly press with an iron.
Tips and Variations:
- Tip: Use short thread lengths (12–15 inches) to prevent knotting, fraying, and thread tension issues while stitching.
- Variation: Sew glass seed beads and micro sequins into the flower centers for subtle sparkle.
Needs to Make That Thing:
- Blank natural linen/cotton coin purse with metal clasp
- Six-strand cotton embroidery floss
- Embroidery needles (size 5 to 7)
- Miniature wooden embroidery hoop (3 to 4 inches)
- Water-soluble fabric marking pen
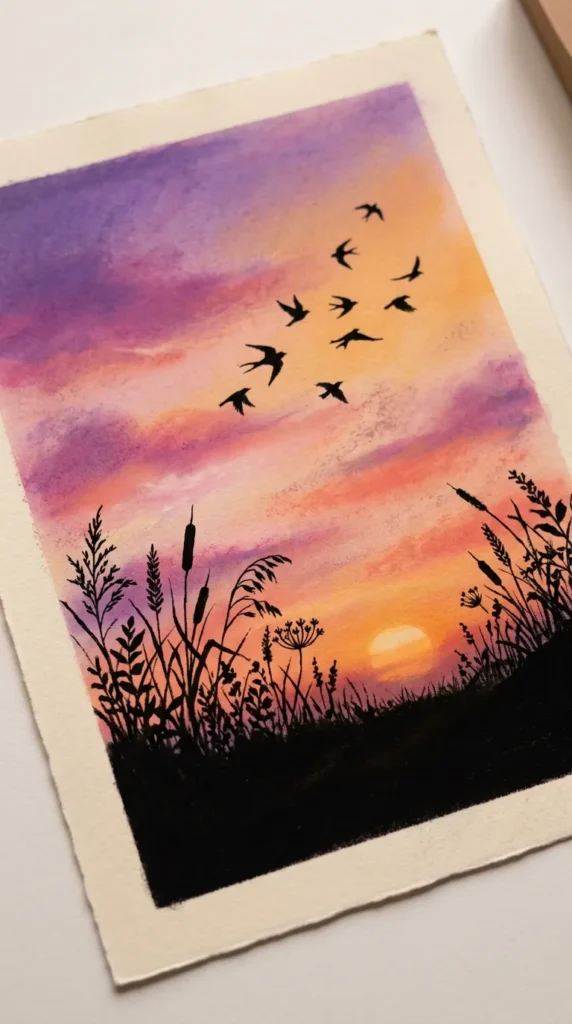
19. Dreamy Soft Pastel Chalk Sunset Gradients
What This Idea Means:
Soft pastel chalks offer rich, luminous color payoff and blend effortlessly with simple finger or sponge work. Creating soft sunset sky gradients—layered with delicate black silhouettes of palm leaves, utility wires, or rooftops—captures a quiet, nostalgic, golden-hour atmosphere.
How to Make It:
- Tape down heavy toothy pastel cardstock using low-tack artist tape.
- Apply horizontal bands of soft chalk pastels in a smooth color sequence: deep violet at top, fading into blush pink, warm apricot, and pale butter yellow at the base.
- Blend the pastel transitions smoothly using a soft blending sponge, microfiber cloth, or the side of your palm with light, circular motions.
- Wipe away pastel dust using a gentle tap on the back of the paper over a waste bin.
- Paint crisp foreground silhouettes—such as wild meadow grasses, flying birds, or vintage power lines—using opaque black acrylic ink and a fine liner brush.
- Seal the piece with a light layer of non-altering pastel fixative spray.
Tips and Variations:
- Tip: Always blend from your lightest color into your darkest color to prevent deep pigments from overpowering soft pastel tones.
- Variation: Leave the lower half blank to paint calm water, mirroring the sunset gradient downward for a glassy lake reflection.
Needs to Make That Thing:
- Professional soft chalk pastels (artist quality)
- Pastel cardstock or sanded pastel paper
- Soft blending sponges (cosmetic grade or pan-pastel sponges)
- Waterproof deep black acrylic ink
- Fine detail script liner brush (size 0)
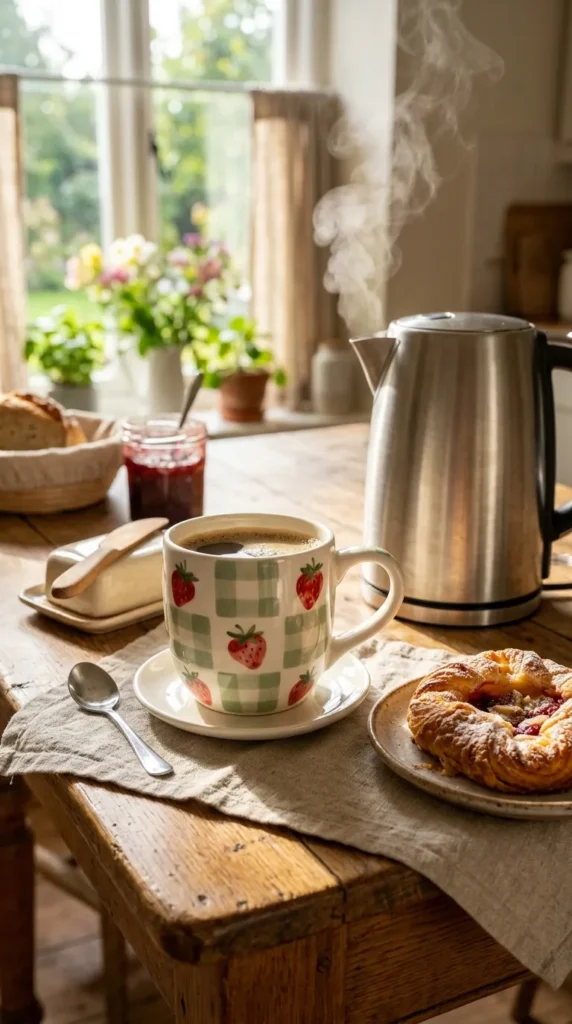
20. Cute Illustrated Ceramic Mug Painting
What This Idea Means:
Custom-painted ceramic mugs bring cute, bespoke illustrations to your daily coffee or tea rituals. Featuring small doodles like strawberries, checkerboards, happy ghosts, or retro florals, this project makes functional homeware feel deeply personal and charming.
How to Make It:
- Clean a plain white, unglazed or glazed ceramic mug with rubbing alcohol to remove grease and fingerprints.
- Lightly draft your design onto the mug surface using a washable graphite pencil.
- Paint your artwork using specialized porcelain enamel paint or ceramic paint markers, applying even, controlled coats.
- Use a fine-tip ceramic pen to outline details, write playful phrases, or paint the handle in a bold contrasting accent color.
- Allow the painted mug to dry and cure for a full 24 hours at room temperature.
- Place the mug in a cold domestic oven, heat to 150°C–160°C (300°F–325°F), bake for 30–35 minutes to set the paint, turn off the heat, and allow the mug to cool completely inside the oven before handling.
Tips and Variations:
- Tip: Leave the top rim (where your lips touch) and the interior of the mug unpainted for food safety and durability.
- Variation: Paint a surprise illustration at the inside bottom of the mug that is only revealed once the beverage is completely finished.
Needs to Make That Thing:
- Plain glazed ceramic or porcelain mug
- Porcelain/ceramic bake-on paint set or enamel paint pens
- Detail synthetic paint brushes
- Isopropyl alcohol and lint-free cotton rounds
- Standard household baking oven